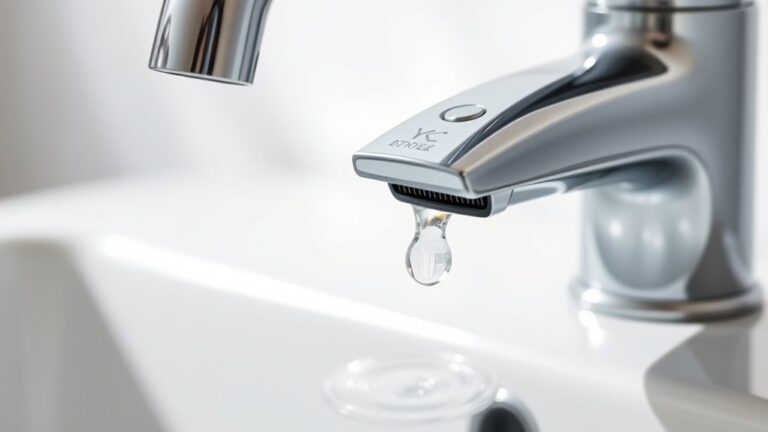
How to Fix a Leaky Outdoor Faucet
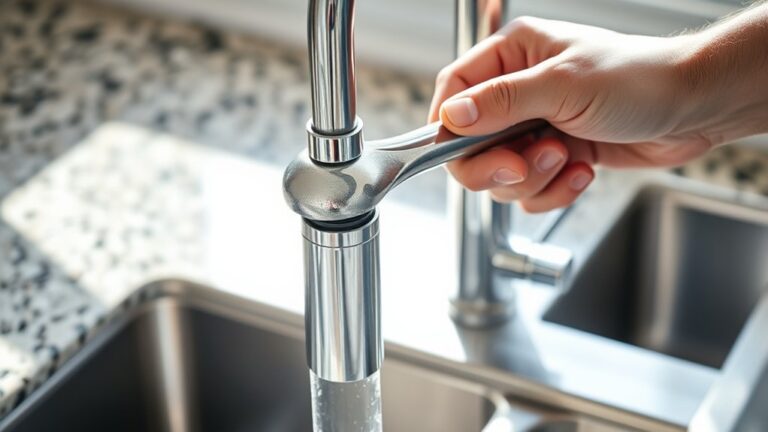
To fix a leaky outdoor faucet, first turn off the water supply and relieve pressure by opening the faucet. Identifying the issue is crucial—common causes include a worn washer, loose packing nut, or damaged valve.
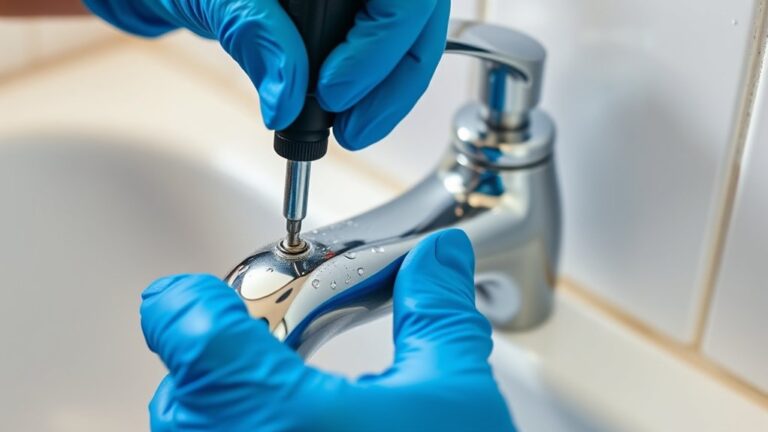
Next, remove the handle using basic tools and inspect the internal parts carefully. Replace any faulty washers or the valve seat as needed. Tighten or replace the packing nut if it appears loose or worn.
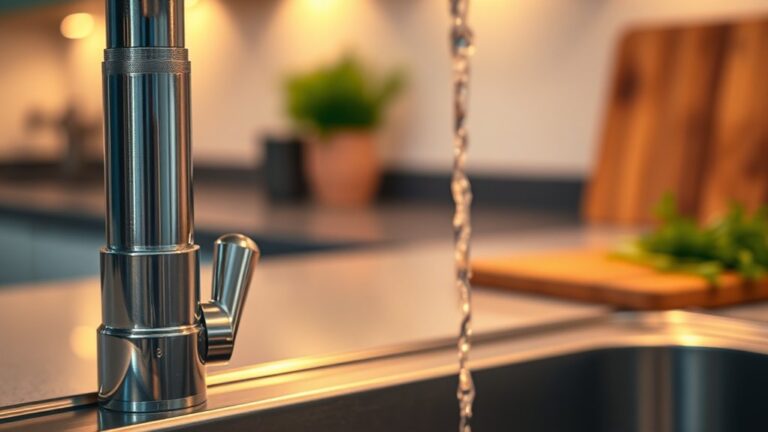
After reassembling the faucet, turn the water back on and test for leaks. Following these steps guarantees a solid repair.
Additional guidance can help prevent future leaks and maintain your outdoor faucet in good condition.
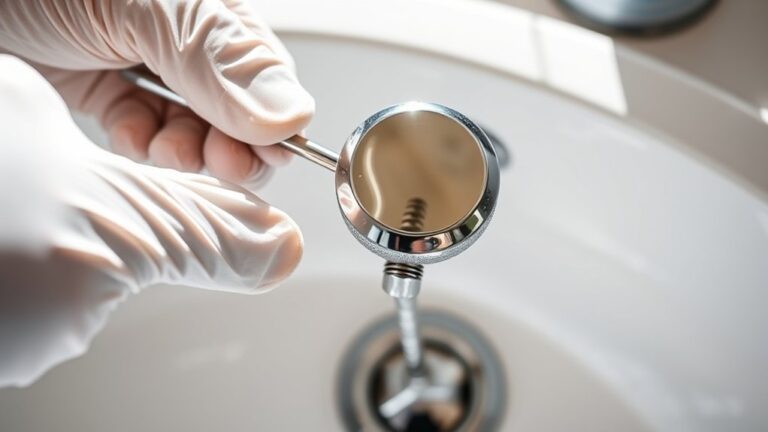
Identify the Cause of Your Leaky Outdoor Faucet (Washer, Packing Nut, Valve)
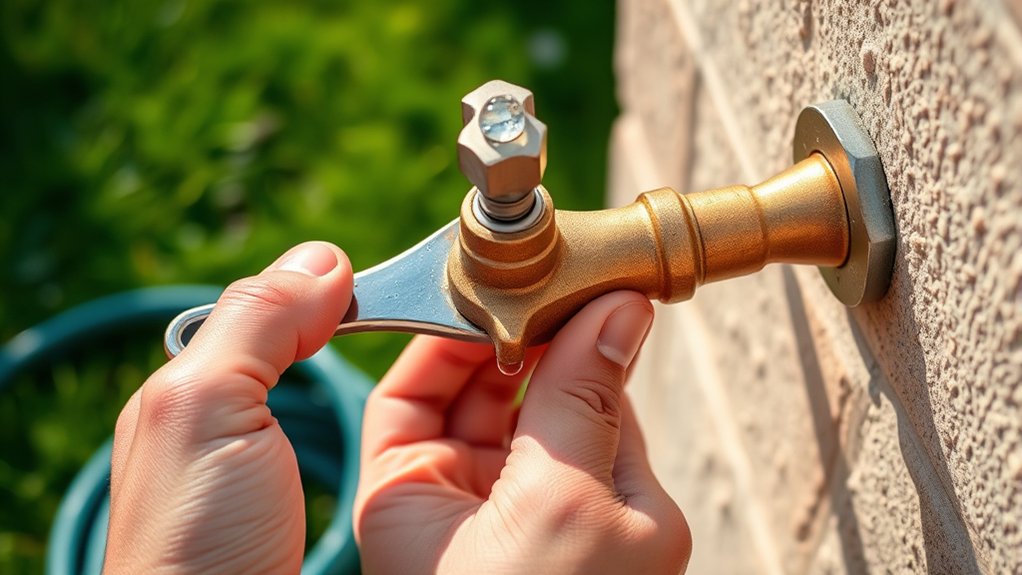
Before you can fix a leaky outdoor faucet, you need to identify the exact cause of the leak. Start by turning off the water supply and opening the faucet to relieve pressure. Most leaks stem from a worn washer, faulty packing nut, or damaged valve.
Perform a valve inspection by removing the handle and checking for corrosion or damage. If the valve seat is compromised, it may need replacement. A common cause is a deteriorated washer causing dripping; washer replacement often resolves this.
Also, examine the packing nut for looseness or wear, as tightening or replacing the packing can stop leaks around the stem. By pinpointing whether the issue is the washer, packing nut, or valve, you guarantee you address the root problem efficiently.
Tools and Materials for Fixing a Leaky Outdoor Faucet
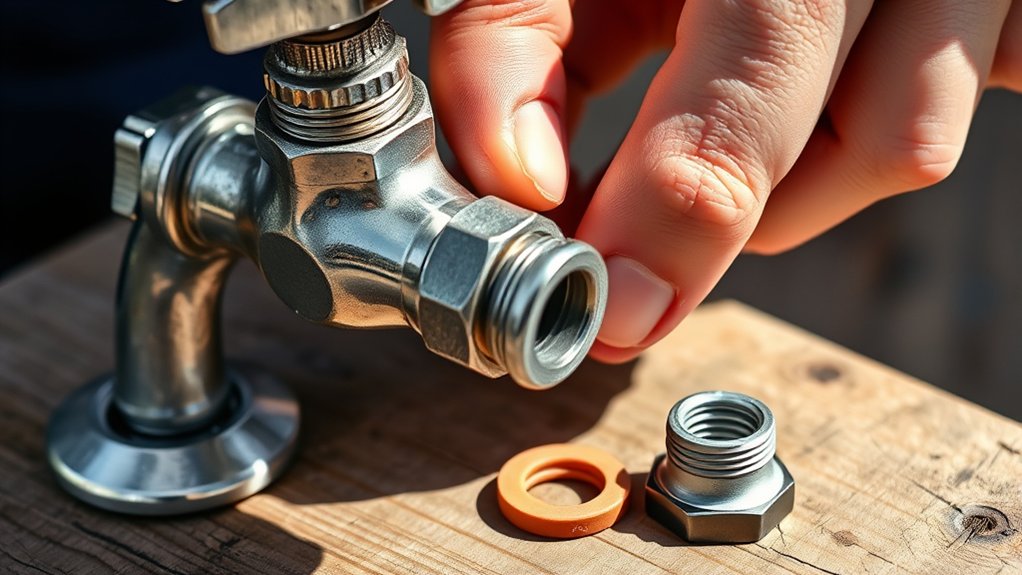
To fix a leaky outdoor faucet effectively, you’ll need a specific set of tools and materials. Start with a basic repair kit tailored for common faucet types, including washers, O-rings, and packing materials. A wrench set and screwdriver will help you access internal components.
You should also have plumber’s tape to guarantee tight seals and prevent leaks under varying water pressure. Keep garden hoses disconnected during repair to avoid pressure spikes and damage. For seasonal maintenance, consider replacing worn parts proactively to reduce future leaks.
Additionally, a small container to catch drips and a flashlight for visibility can be useful. Having the right tools and materials ready streamlines the repair process, ensuring you address the leak efficiently without unnecessary delays or complications.
Fix Your Leaky Outdoor Faucet Step-by-Step
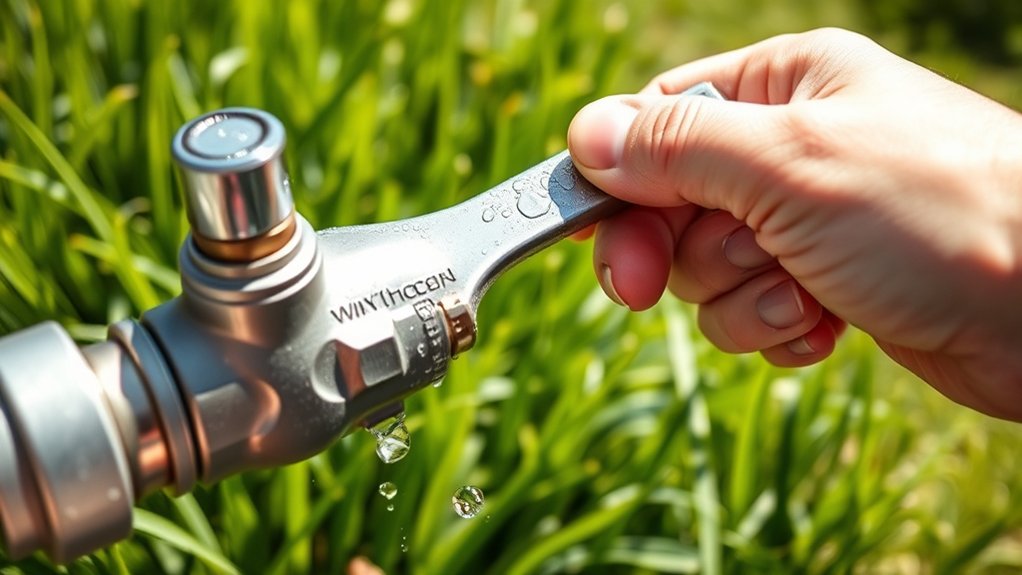
Start by shutting off the water supply to the outdoor faucet to prevent flooding during the repair. Identify your faucet type, such as compression, ball, or cartridge, to target common issues accurately. Remove the handle and inspect the washer or cartridge for wear. Replace damaged parts and reassemble.
| Step | Action |
|---|---|
| 1. Identify | Determine faucet type |
| 2. Disassemble | Remove handle and inspect parts |
| 3. Replace | Swap worn washers or cartridges |
Test the faucet by turning the water back on. If leaks persist, check the packing nut or valve seat. This systematic approach addresses common issues across faucet types, ensuring a durable fix.
Prevent Future Leaks With Simple Maintenance
Although fixing a leaky outdoor faucet resolves immediate issues, regular maintenance prevents future problems and extends its lifespan. You should adopt preventive measures like regular inspections to identify wear or damage early.
Fixing leaks helps now, but regular maintenance prevents future issues and prolongs faucet life.
Pay close attention to proper drainage around your faucet to avoid water accumulation that can cause corrosion or freezing. Seasonal maintenance is essential; before winter, drain and insulate the faucet to withstand cold weather considerations.
Additionally, consider faucet upgrades with weather-resistant materials for added durability.
- Conduct regular inspections to detect leaks or worn washers.
- Guarantee proper drainage to prevent water damage and freezing.
- Perform seasonal maintenance including draining and insulating before winter.
Frequently Asked Questions
Can a Leaky Outdoor Faucet Cause Water Damage to My Home’s Foundation?
Yes, a leaky outdoor faucet can cause foundation damage by allowing continuous moisture to seep into the soil near your home. This leads to moisture concerns that weaken the foundation and increase the risk of structural issues over time.
Is It Safe to Fix a Leaky Faucet During Freezing Weather?
You wouldn’t want to battle frozen pipes without repair precautions. They can burst like a volcano! Always shut off water, drain the faucet, and wear insulated gloves to safely fix leaks during freezing weather without risking pipe damage.
How Much Water Does a Slow Drip Typically Waste per Day?
A slow drip rate of one drip per second wastes about 3,000 gallons annually. You’ll conserve water and reduce costs considerably by fixing leaks promptly. Prioritize repairs to support effective water conservation efforts.
Are There Eco-Friendly Faucet Repair Options Available?
Yes, you’ll find sustainable materials and DIY repairs coincide perfectly. You can replace worn washers with eco-friendly rubber or silicone, reducing waste and saving water.
These practical fixes guarantee efficiency while supporting sustainability in your faucet maintenance.
When Should I Consider Replacing the Entire Outdoor Faucet?
You should consider replacing the entire outdoor faucet when its lifespan exceeds 10-15 years or frequent repairs increase. Weigh installation costs against ongoing maintenance to decide if replacement offers better long-term value and reliability.