How to Fix Dripping Faucet
To fix a dripping faucet, first identify the type—compression, cartridge, ball, or ceramic-disk—and locate the leak source. This initial step is crucial for an effective repair.
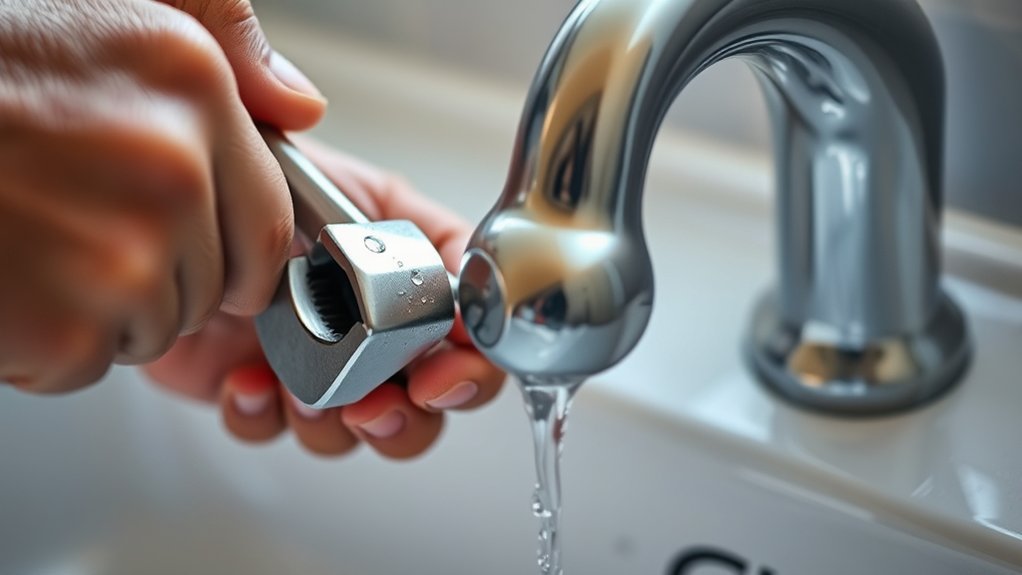
Shut off the water supply before disassembling the faucet using appropriate tools like wrenches and screwdrivers.
Replace worn washers, O-rings, or valve seats, then reassemble and test for leaks.
Regular maintenance, such as cleaning aerators and tightening connections, helps prevent future drips.
For detailed repair steps and troubleshooting, you can explore further guidance to guarantee a reliable fix.
Tools You’ll Need to Fix a Dripping Faucet
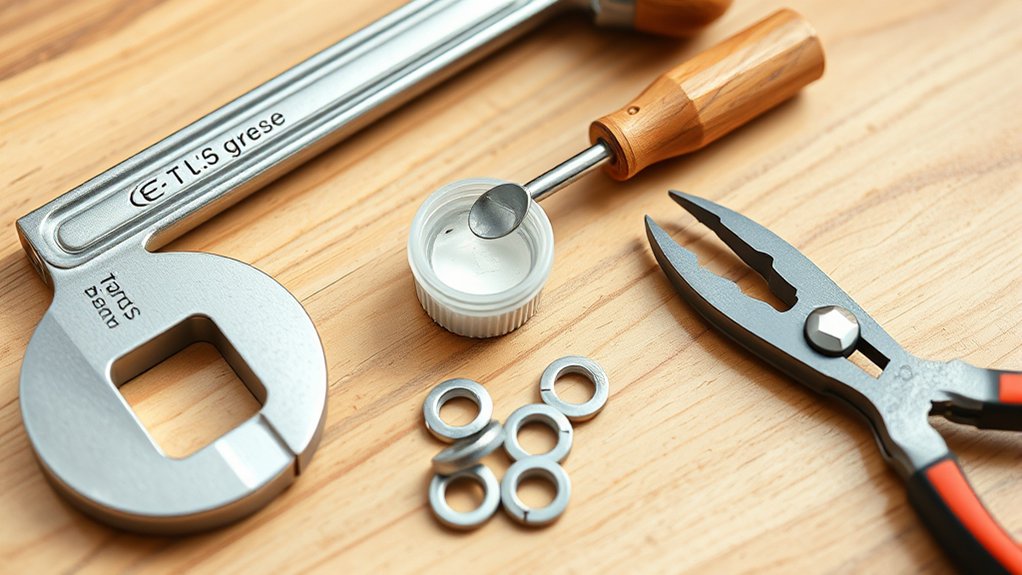
To fix a dripping faucet effectively, you’ll need a specific set of tools that allow you to access, inspect, and replace internal components with precision. Start with an adjustable wrench and a set of screwdrivers, both flathead and Phillips, to remove handles and fittings.
Essential tools like adjustable wrenches and screwdrivers are key to accessing and repairing faucet components effectively.
A basin wrench proves invaluable for hard-to-reach nuts beneath the sink. Depending on the faucet types you have, compression, cartridge, ball, or ceramic disc, you’ll require corresponding repair kits that include replacement washers, O-rings, and seals.
A pair of needle-nose pliers helps with small parts, while plumber’s grease guarantees smooth reassembly. Additionally, keep a small container handy to organize screws and parts during disassembly.
Having these tools ready assures a methodical, efficient repair process tailored to your faucet’s design.
How to Identify What’s Causing Your Dripping Faucet
With the right tools at hand, you can start pinpointing the cause of your dripping faucet. Begin by identifying your faucet type: compression, cartridge, ball, or ceramic-disk faucet, since each has distinct internal mechanisms.
Next, listen carefully for dripping sounds; consistent drips often signal worn-out washers or seals. For compression faucets, check for damaged rubber washers or corroded valve seats. Cartridge and ceramic-disk faucets typically suffer from faulty O-rings or cartridges.
Ball faucets may have defective springs or seals. Inspect the faucet handle and spout for mineral buildup or corrosion, which can affect the internal components.
Step-by-Step Fix for a Dripping Faucet
Start by pinpointing the exact source of the leak, whether it’s the handle, spout, or cartridge.
Next, shut off the water supply and disassemble the faucet to access the faulty components.
Finally, replace worn-out parts like washers or seals to stop the drip effectively.
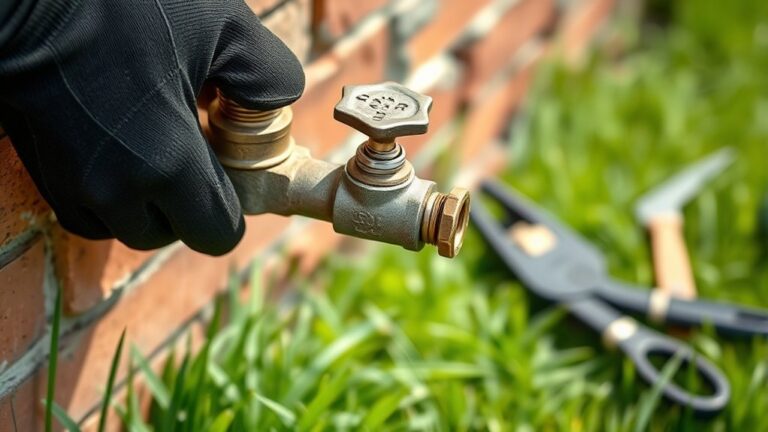
Identifying The Leak
How can you pinpoint the exact source of a faucet drip? Start by inspecting common leak sources: the spout, handle, cartridge, or valve seat. Understanding drip causes helps you isolate the problem efficiently.
Turn off the water supply and dry the faucet. Observe where water accumulates or seeps. Use a flashlight for better visibility inside the faucet.
| Leak Source | Common Drip Causes |
|---|---|
| Spout | Worn washers, corroded seat |
| Handle | Loose packing, damaged O-rings |
| Cartridge | Faulty seals, internal damage |
| Valve Seat | Erosion, mineral buildup |
| Supply Lines | Loose connections, cracks |
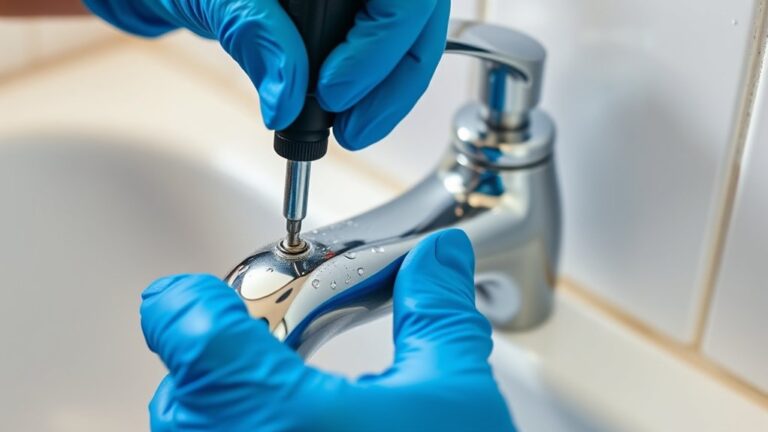
Replacing Faucet Components
Begin by gathering the necessary tools and replacement parts specific to your faucet model. Different faucet types, such as compression, cartridge, ceramic disk, or ball, require distinct components.
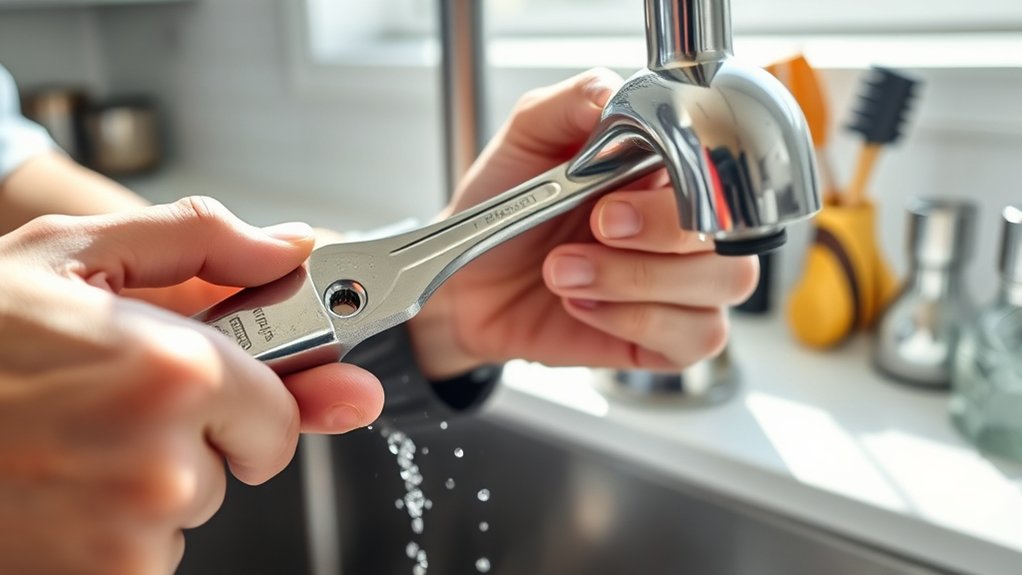
First, turn off the water supply and relieve pressure by opening the faucet. Remove the handle and access the internal parts carefully.
Inspect the washers, O-rings, or cartridges for wear and replace them accordingly. Use installation tips like applying plumber’s grease to seals and tightening screws just enough to avoid damage.
Reassemble the faucet in reverse order, ensuring all components align properly. Turn on the water supply and test for leaks.
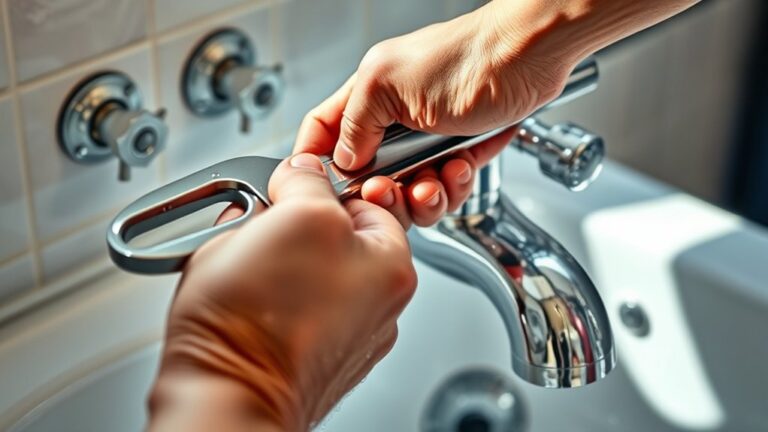
How to Replace Worn Washers, O-Rings, and Valve Seats
Replacing worn washers, O-rings, and valve seats requires carefully disassembling the faucet to access these components. Start by turning off the water supply and removing the handle and stem. Identify the worn parts and note the washer materials and O-ring types for accurate replacements.
Use a wrench to unscrew the valve seat if damaged.
| Component | Common Materials | Replacement Tips |
|---|---|---|
| Washer | Rubber, Silicone | Choose durable materials |
| O-Ring | Nitrile, EPDM, Viton | Match size and resilience |
| Valve Seat | Brass, Stainless Steel | Inspect for corrosion or wear |
Install new parts precisely, reassemble the faucet, and test for leaks. This guarantees a long-lasting repair.
Maintenance Tips to Prevent Future Dripping Faucet Leaks
Although fixing a dripping faucet addresses the immediate issue, regular maintenance is vital to prevent future leaks and extend the lifespan of your plumbing. Implement preventive maintenance by scheduling regular inspections of faucet components, including washers, O-rings, and valve seats.
Check for signs of wear, corrosion, or mineral buildup that can compromise seals. Clean aerators and cartridge parts to guarantee smooth water flow and reduce pressure on seals.
Tighten loose connections and replace worn parts promptly to avoid small leaks escalating. Use appropriate lubricants on moving parts to maintain flexibility and prevent cracking.
When to Call a Plumber for a Dripping Faucet
If your faucet continues dripping after basic repairs, it’s time to call a plumber. Persistent leaks, unusual noises, or water damage often indicate complex plumbing issues beyond simple fixes.
A professional can accurately diagnose and resolve these problems to prevent further damage.
Signs You Need Help
When a dripping faucet persists despite your efforts to tighten or clean its components, it’s a clear sign you should call a plumber. Key signs of urgency include continuous water wastage and loud, irregular noise indicators, which suggest internal damage beyond basic DIY fixes.
Common symptoms like worsening leaks, visible corrosion, or water pooling under fixtures directly impact your household’s water bill and structural integrity. Conduct an urgency assessment by monitoring these symptoms over 24-48 hours.
If the drip rate increases or noise intensifies, it indicates a worsening condition requiring professional intervention. Considering cost implications, delaying repairs may lead to higher bills and extensive damage.
Your DIY readiness should be limited to minor repairs; persistent issues demand expert diagnostics to avoid unnecessary expenses and protect your plumbing system.
Complex Plumbing Issues
Since complex plumbing issues often involve internal components beyond simple repairs, you’ll need a professional plumber’s expertise to diagnose and fix the problem accurately. If DIY repairs don’t resolve persistent dripping, factors like valve corrosion, irregular water pressure, or pipe blockages might be causing it.
Different faucet types require specialized knowledge and plumbing tools for effective repair or faucet installation. A plumber uses advanced leak detection techniques to identify hidden faults, ensuring water conservation and preventing further damage.
While understanding plumbing basics helps you troubleshoot minor leaks, tackling issues involving worn valves or internal corrosion demands professional intervention. Calling a plumber not only restores proper function but also safeguards your plumbing system’s longevity and efficiency.
Frequently Asked Questions
What Causes a Faucet to Start Dripping Suddenly?
You’ll find a faucet starts dripping suddenly due to worn-out washers, damaged seals, or mineral buildup.
Regular faucet maintenance tips help prevent these common faucet issues, ensuring smooth operation and avoiding leaks over time.
Can Hard Water Damage Faucet Components?
Just like a sword dulled by rust, hard water can corrode your faucet components over time. You’ll want to prioritize faucet maintenance and follow plumbing tips to prevent mineral buildup, ensuring smooth, drip-free operation.
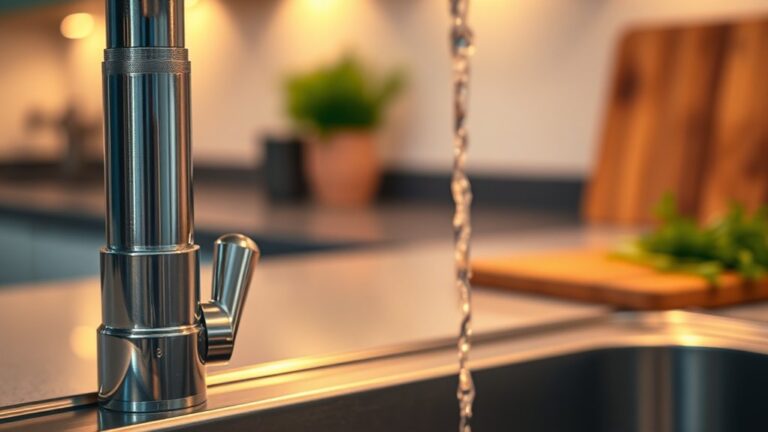
How Much Water Does a Dripping Faucet Waste Daily?
You waste about 20 gallons of water daily from a dripping faucet, impacting water conservation efforts.
Regular faucet maintenance helps prevent leaks, preserving resources and reducing your water bill effectively. Address drips promptly for efficiency.
Are There Eco-Friendly Faucet Repair Options?
You won’t believe it, but eco-friendly materials like recycled brass and sustainable practices in faucet repair can save gallons daily!
You’ll use durable, non-toxic seals and reduce waste by choosing these precise, practical solutions.
Can a Dripping Faucet Increase My Water Bill Significantly?
Yes, a dripping faucet can increase your water bill considerably over time. Prioritizing plumbing maintenance supports water conservation by preventing leaks and reducing unnecessary water waste. This ultimately helps lower your monthly utility expenses.