How to Change Outside Faucet Spigot
To change your outside faucet spigot, start by shutting off the indoor water supply and draining the faucet. This will prevent water from flowing while you work on the spigot.
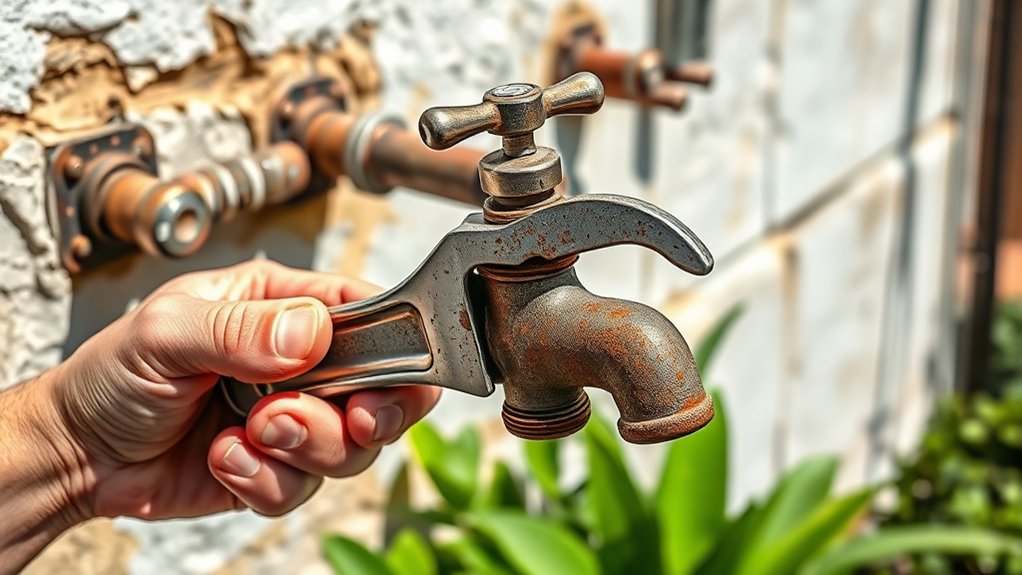
Use a wrench to remove the old spigot, applying penetrating oil if it’s stuck to make removal easier.
Next, clean the pipe threads thoroughly to ensure a good seal. Wrap the threads with plumber’s tape before screwing on the new spigot securely. This helps prevent leaks and ensures a tight fit.
Finally, turn the water back on carefully and check for any leaks around the new spigot.
Using the proper tools and performing regular maintenance will guarantee a tight seal and long-lasting function. Keep following to understand detailed steps and maintenance tips.
How to Know When Your Outside Faucet Spigot Needs Replacing
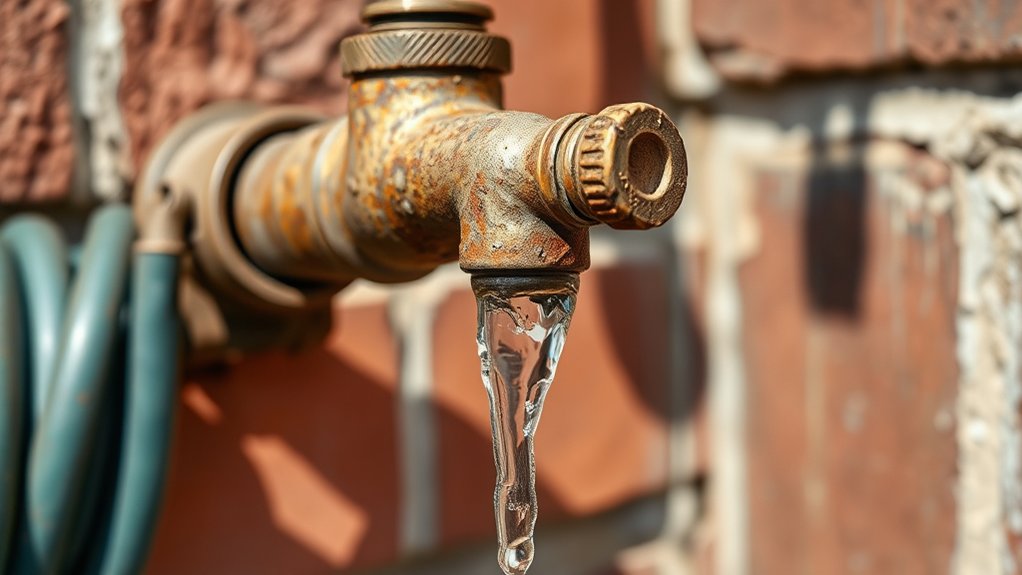
How can you tell when your outside faucet spigot needs replacing? First, examine faucet lifespan indicators such as persistent leaks, reduced water flow, and difficulty turning the handle. These signs often point to internal wear or corrosion.
Next, inspect for rust signs on the spigot body and connections, which indicate metal degradation compromising structural integrity. Pay attention to cracks or mineral buildup around joints, as these suggest the seal is failing.
If the spigot drips despite tightening or replacement washers, it’s a clear replacement cue. Additionally, if the handle feels loose or wobbly, the valve stem may be damaged.
Identifying these technical signs early prevents water waste and potential damage, ensuring you replace the spigot before failures escalate.
How to Shut Off Water and Prepare Your Outside Faucet Area
Once you’ve identified the need to replace your outside faucet spigot, the next step is to shut off the water supply to prevent leaks and water damage during the repair. Locate the faucet location on your property, usually near an exterior wall or basement.
Find the indoor shut-off valve controlling this spigot, often in your basement or crawl space. Turn the valve clockwise to stop water flow. Drain the faucet by opening it fully to remove residual water, essential for winter preparation and avoiding pipe damage.
Then, clear the area around the faucet to guarantee unobstructed access.
- Locate indoor shut-off valve linked to the outside faucet
- Turn valve clockwise to shut off water
- Open outside faucet fully to drain water
- Clear the faucet area for safe workspace and winter preparation
Tools and Materials Needed to Replace an Outside Faucet Spigot
Replacing an outside faucet spigot requires several specific tools and materials to guarantee a proper and leak-free installation. You’ll need a replacement spigot compatible with your faucet types, typically brass or frost-free models.
Gather an adjustable wrench, pipe wrench, Teflon tape, pipe thread sealant, and plumber’s putty. A pipe cutter or hacksaw may be necessary if you need to trim piping.
Installation tips include confirming you have the correct size and type of spigot to match existing plumbing. Use Teflon tape or thread sealant on all threaded connections to prevent leaks.
A bucket or towel will help catch residual water during installation. Having these tools and materials ready streamlines the process and guarantees a secure, durable replacement.
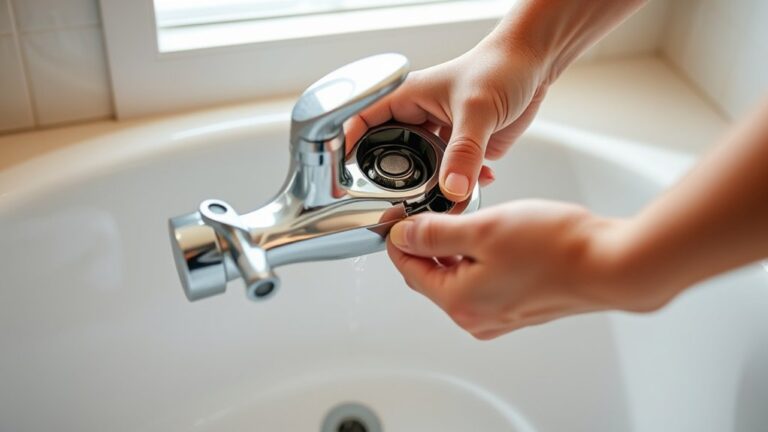
How to Remove the Old Outside Faucet Spigot
First, make sure you turn off the water supply to prevent any leaks.
Next, use a wrench to carefully loosen and remove the old spigot from the pipe.
Finally, clear away any residual plumbing materials to prepare the area for the new installation.
Turn Off Water Supply
Before you start removing the old faucet spigot, you need to turn off the water supply to prevent leaks and water damage. Locate your main water shutoff valve, often near the water meter, to cut the home’s water flow. This step is essential for safe seasonal maintenance. Confirm the water is off by opening the outside faucet and verifying no water flows out.
Follow these steps:
- Find the main shutoff valve by the water meter.
- Turn the valve clockwise until fully closed.
- Open the outside faucet to drain residual water.
- Check for zero water flow before proceeding.
Completing this guarantees a dry work area and prevents accidental flooding during spigot removal.
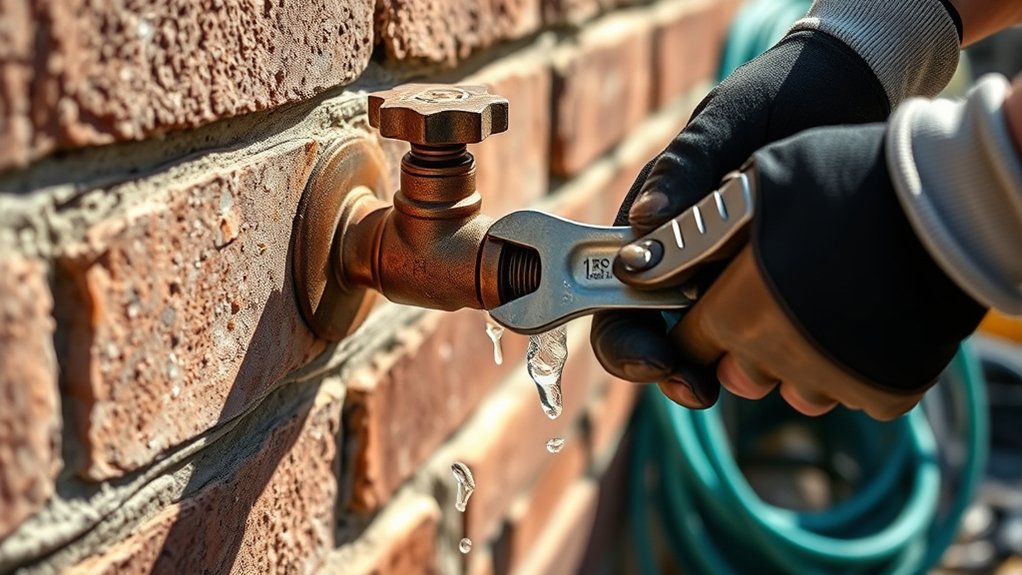
Loosen Old Spigot
With the water supply securely shut off and the faucet drained, you can now focus on loosening the old spigot. First, identify the faucet type: compression, ball, or cartridge, as this affects removal technique.
Examine the spigot materials; common ones include brass, stainless steel, or plastic, which influence tool choice and effort required. Use an adjustable wrench or pipe wrench to grip the spigot firmly at its base, where it threads into the plumbing.
Turn counterclockwise to loosen, applying steady pressure to avoid damaging the pipe or surrounding fittings. If the spigot resists, apply penetrating oil and allow it to sit for 10 minutes before retrying.
Avoid excessive force that could strip threads or crack pipes. Once the spigot is loose, you’re ready to unscrew it completely.
Remove Residual Plumbing Materials
Scrape away any remaining plumber’s tape, sealant, or debris from the threaded pipe to confirm a clean surface for the new spigot. Use a wire brush or utility knife to carefully remove buildup without damaging the threads. Proper plumbing cleanup guarantees a tight, leak-free connection.
For effective removal and material disposal, follow these steps:
Use a wire brush to clean pipe threads thoroughly.
Apply gentle scraping to remove hardened sealant.
Collect debris and old tape for proper disposal.
Inspect threads for damage; repair if necessary before installation.
Dispose of all removed materials according to local regulations to maintain a safe work area and prevent contamination. Thorough plumbing cleanup is critical for a secure, long-lasting spigot replacement.
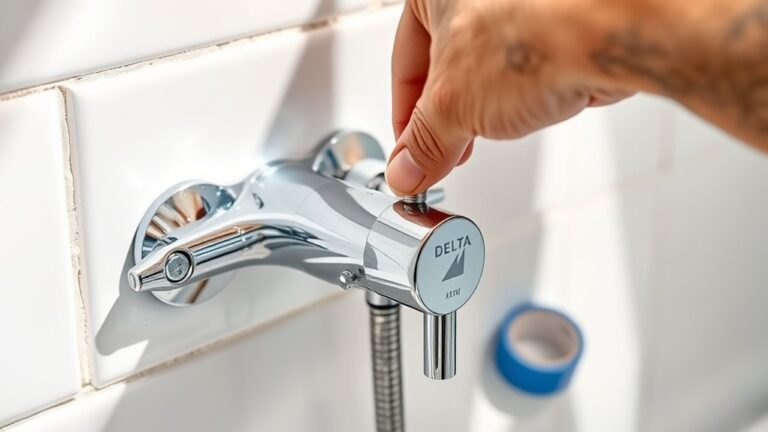
How to Install a New Outside Faucet Spigot
Installing a new outside faucet spigot requires careful preparation and the right tools to guarantee a secure, leak-free connection. First, select the appropriate faucet type based on your plumbing system: compression, threaded, or frost-free models.
Prepare the pipe by cleaning its threads and applying plumber’s tape to confirm a tight seal. Align the spigot with the pipe, then hand-tighten before using a wrench for a firm fit, avoiding overtightening.
For frost-free faucets, confirm the stem extends properly into the heated area inside the wall. Installation tips include verifying pipe compatibility and using thread sealant if plumber’s tape isn’t sufficient.
Secure the spigot to the wall bracket, if available, to reduce strain on the plumbing and prevent damage over time.
How to Test Your New Spigot and Prevent Leaks
After installing your new spigot, inspect all connections closely to verify they’re secure. Turn the water on slowly to avoid sudden pressure that could cause leaks.
Watch carefully for any drips or moisture forming around the joints.
Inspect Connections Thoroughly
To guarantee your new faucet spigot functions properly, you need to inspect every connection carefully before finalizing the installation. Pay close attention to faucet materials and connection types, as compatibility affects sealing and durability.
Begin by visually checking each joint for proper alignment and tightness. Next, feel for any gaps or play that could indicate loose fittings. Confirm that all threaded connections have adequate plumber’s tape or sealing compound applied.
Finally, verify that compression or soldered joints are secure and free of corrosion or damage.
- Examine faucet materials for compatibility with your plumbing system
- Verify connection types to confirm proper sealing methods are used
- Check all threaded fittings for tightness and correct application of sealant
- Inspect soldered or compression joints for integrity and absence of leaks
Turn Water On Slowly
Once you’ve confirmed all connections are secure and properly sealed, slowly turn the water supply back on to test your new faucet spigot. Gradually increasing the water pressure prevents sudden stress on the fittings, reducing the risk of leaks.
Monitor the spigot and all joints carefully as water begins to flow. If you notice any signs of faucet leaks, immediately shut off the water supply and tighten the connections or reseal as needed.
Avoid rushing this step; a slow, controlled water flow guarantees the integrity of your installation under normal operating pressure. This method safeguards against damage and detects weaknesses early, allowing you to address issues before full pressure is applied, ensuring your new spigot functions reliably without leaks.
Check For Drips
Although you’ve turned the water on slowly, you need to carefully inspect the new spigot for any drips or leaks. This step is essential for drip prevention and effective faucet maintenance. Start by observing all connection points and the spigot body.
If you notice moisture, tighten fittings or apply plumber’s tape as needed. Then, test the handle operation to guarantee it shuts off water completely.
To check for drips:
- Examine the spigot base and handle for water accumulation
- Look under the spigot for any slow leaks or wet spots
- Inspect the hose connection for secure sealing
- Monitor water flow after shutting off to confirm no residual dripping
Consistent drip prevention today saves you from costly repairs tomorrow.
How to Maintain Your Outside Faucet Spigot to Avoid Future Problems

Regular maintenance of your outside faucet spigot prevents leaks, freezes, and corrosion that can lead to costly repairs. Begin with spigot cleaning tips: remove dirt and debris using a wire brush and mild detergent to guarantee clear water flow.
Inspect the spigot for signs of rust or wear, replacing washers or O-rings as necessary. Apply plumbing grease to moving parts to maintain smooth operation. Seasonal maintenance is critical. Before winter, drain the spigot and shut off the water supply to prevent freezing damage.
In spring, check for cracks or leaks caused by cold weather. By performing these precise steps regularly, you’ll extend the spigot’s lifespan and maintain peak function, reducing the risk of emergency repairs and water waste throughout the year.
Frequently Asked Questions
Can I Replace an Outside Faucet Spigot Myself Without Plumbing Experience?
Yes, you can replace an outside faucet spigot yourself. Follow spigot installation tips carefully, like shutting off water and using proper tools.
Use DIY plumbing advice to guarantee tight seals and avoid leaks during the replacement process.
What Types of Spigots Are Best for Cold Climates?
Over 60% of plumbing issues in cold climates stem from frozen pipes. You’ll want frost free spigots paired with insulated covers to prevent freezing.
Install them correctly for reliable, year-round outdoor water access.
How Long Does It Typically Take to Replace an Outside Faucet Spigot?
You’ll typically spend 30 to 60 minutes replacing an outside faucet spigot. Follow spigot installation tips closely and incorporate seasonal maintenance to guarantee durability and prevent leaks throughout the year.
Are There Any Local Codes or Permits Required for Spigot Replacement?
You’ll need to check local regulations, as some areas require plumbing permits for spigot replacements.
Contact your city’s building department to confirm permit requirements and make certain your work complies with all applicable codes before starting the project.
Can a Leaking Spigot Cause Damage to My Home’s Foundation?
Yes, a leaking spigot can cause foundation issues by allowing water to pool near your home’s base. You should fix leaks promptly to prevent water damage that may weaken the foundation and lead to costly repairs.