How to Remove Kitchen Faucet Nut
To remove your kitchen faucet nut, first turn off the water supply and clear the space under the sink.
Use a flashlight to locate the nut, then disconnect the water lines using an adjustable wrench.
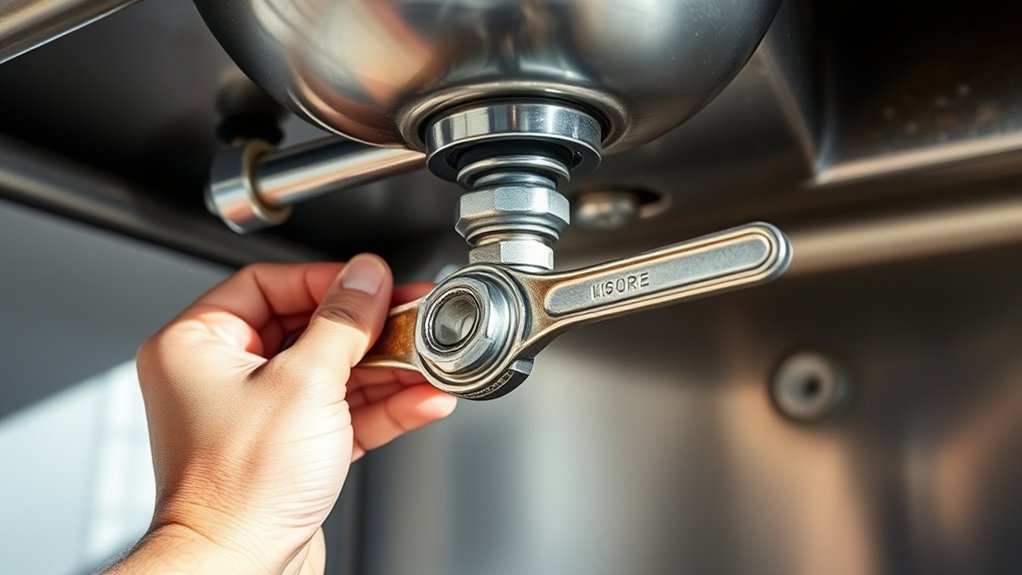
Next, employ a basin wrench to fit around the nut and turn it counterclockwise to loosen.
If the nut is stuck, apply penetrating oil and let it sit for a while before trying again.
After loosening the nut, carefully detach the faucet assembly.
For detailed steps and tips to handle stubborn nuts or reinstall the faucet, keep exploring the process further.
Essential Tools for Removing a Kitchen Faucet Nut
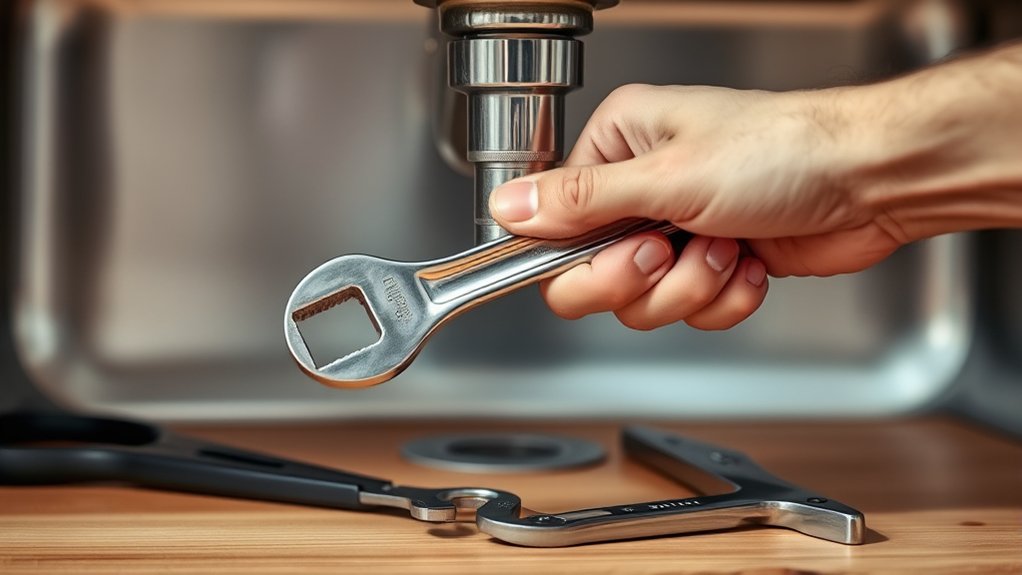
To remove a kitchen faucet nut efficiently, you’ll need a specific set of tools designed for tight spaces and stubborn fittings. Start with a basin wrench; its long handle and pivoting jaw let you reach nuts in confined areas beneath the sink.
A basin wrench’s long handle and pivoting jaw make it ideal for tight spaces under the sink.
Slip-joint pliers provide additional grip for nuts that resist loosening. Depending on faucet types, single-handle or double-handle, you may also require an adjustable wrench or a socket wrench with an extension.
Keep installation tips in mind: always turn off the water supply and protect surfaces with cloth to avoid damage. Having these essential tools on hand guarantees you can tackle various configurations precisely, reducing the risk of stripping nuts or harming the faucet assembly.
Preparation with the right tools streamlines the removal process considerably.
How to Access and Loosen the Kitchen Faucet Nut
Start by clearing the area beneath your sink to gain unobstructed access to the faucet nut. This step is vital for efficient faucet removal and aligns with essential faucet installation tips.
Next, follow these steps carefully:
- Use a flashlight to locate the faucet nut securing the fixture.
- Disconnect water supply lines with an adjustable wrench to prevent leaks.
- Position a basin wrench around the nut. Its long handle is designed for tight spaces.
- Turn the wrench counterclockwise to loosen the nut steadily, applying plumbing maintenance advice to avoid damage.
Handling Stubborn or Rusted Kitchen Faucet Nuts
When a kitchen faucet nut resists loosening due to rust or corrosion, you’ll need targeted techniques to avoid damaging the fixture or surrounding plumbing. Start by applying a rust removal solution to the affected area; let it penetrate for 10-15 minutes to break down corrosion.
Next, use a high-quality nut lubricant, such as penetrating oil, directly on the nut and threads. Allow the lubricant time to seep in, reducing friction and easing removal.
Use an adjustable wrench or basin wrench with steady pressure, turning counterclockwise. If the nut remains stuck, gently tapping it with a hammer can help loosen rust bonds.
Avoid excessive force to prevent stripping threads or damaging pipes. Reapply rust removal and lubricants as needed until the nut turns smoothly.
Next Steps After Removing the Kitchen Faucet Nut
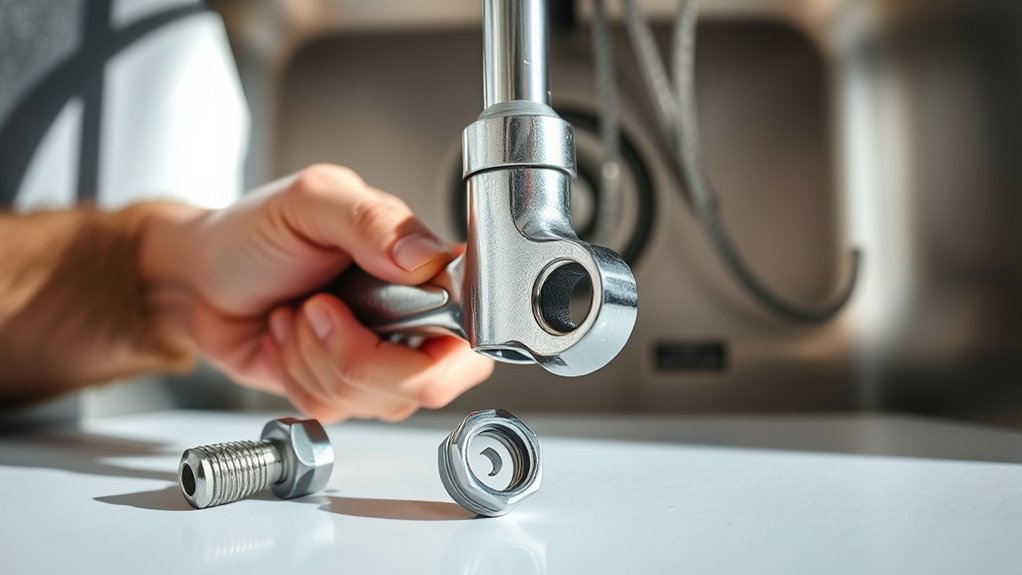
Once the kitchen faucet nut is fully loosened and removed, carefully detach the faucet assembly from the sink. This step requires steady hands to avoid damaging surrounding components.
Next, follow these actions precisely:
- Inspect the faucet for wear or damage, noting areas that need cleaning or repair.
- Thoroughly clean the faucet, removing mineral deposits and debris to guarantee peak function.
- Prepare the sink area by cleaning the mounting surface, ensuring a smooth installation of the replacement.
- Align and install the replacement faucet, securing it with a new nut, and tighten firmly to avoid leaks.
Frequently Asked Questions
Can I Replace the Kitchen Faucet Nut Without Shutting off the Water?
You shouldn’t replace the kitchen faucet nut without shutting off the water first.
During faucet installation, always use proper plumbing tools to avoid leaks or water damage. Turning off the water guarantees a safe, precise job.
What Materials Are Kitchen Faucet Nuts Typically Made From?
Kitchen faucet nuts are typically made from brass or stainless steel due to their durability and corrosion resistance.
During faucet installation, these plumbing materials guarantee a secure, long-lasting connection between components in wet environments.
How Long Does It Usually Take to Remove a Kitchen Faucet Nut?
Speedy screw success usually takes 5 to 15 minutes if you follow faucet installation tips and use the right plumbing tools guide.
Proper preparation and precision prevent prolonged problems and make your task efficient and effective.
Are There Any Safety Precautions When Working Under the Sink?
Yes, you should always shut off the water supply before sink maintenance. Wear gloves, use proper plumbing tools, and guarantee good lighting.
Avoid electrical hazards by unplugging nearby appliances to work safely under the sink.
Can I Reuse the Old Kitchen Faucet Nut After Removal?
You can reuse the old faucet nut if it shows no wear or corrosion, but check faucet nut longevity carefully. For secure reinstallation, clean threads, apply plumber’s tape, and tighten firmly to prevent leaks and guarantee stability.