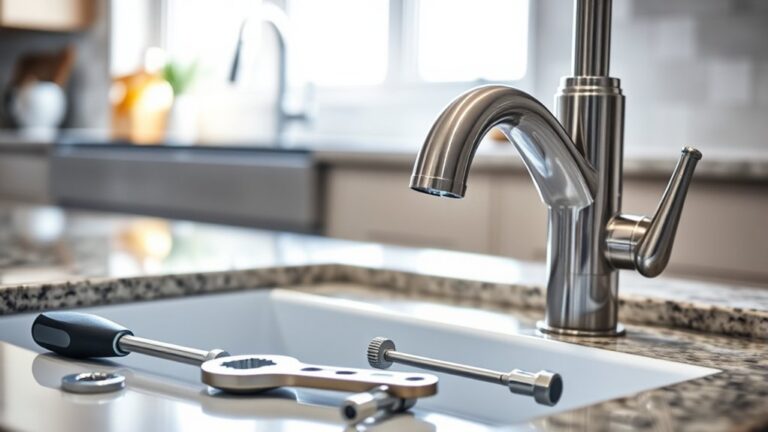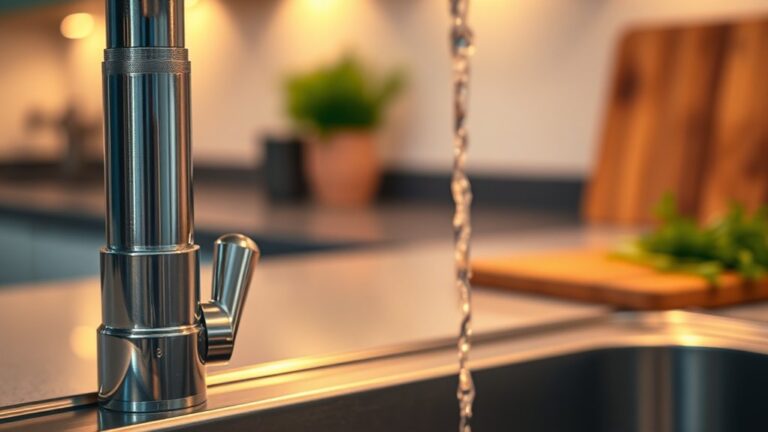
Why Is My Tub Faucet Leaking
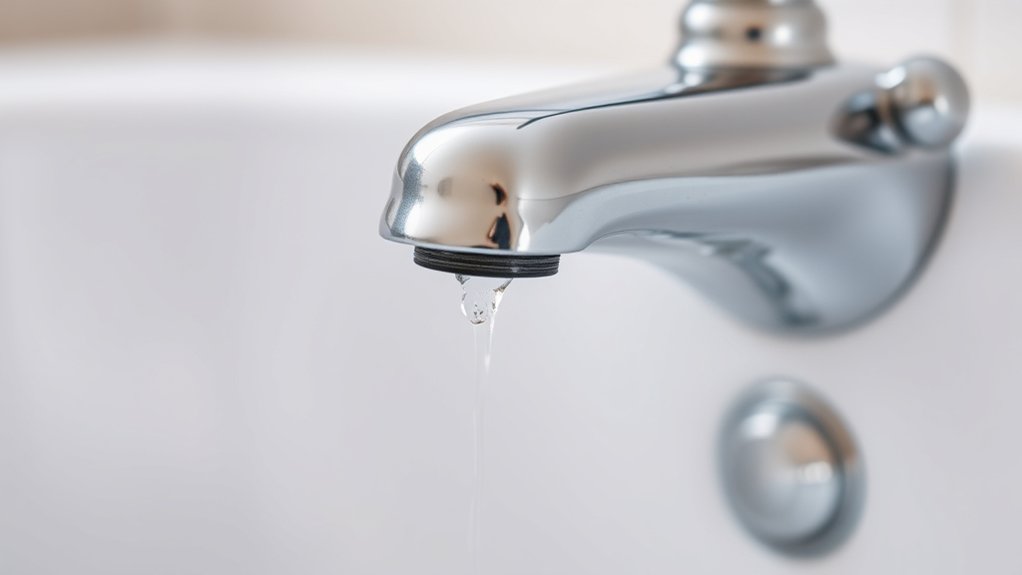
Your tub faucet leaking is commonly caused by worn washers, cracked O-rings, or corroded valve seats that compromise the seals and allow water to escape.
High water pressure and improper installation may also contribute to leaks by putting extra stress on these components.
Over time, mineral buildup and general wear increase friction, which leads to persistent drips and water waste.
Addressing these issues early can prevent further damage and costly repairs.
You can often fix a leaking tub faucet by replacing damaged parts or adjusting the water pressure.
Understanding the underlying causes and solutions will help you stop leaks more effectively and maintain your faucet’s performance.
What Causes a Tub Faucet Leak?
Although a leaking tub faucet might seem minor, it usually indicates worn-out components like washers, O-rings, or valve seats. These common leak sources degrade over time due to constant water pressure and mineral buildup.
You’ll often find that washers, which create a seal, become brittle or misshapen, causing drips. O-rings, responsible for preventing water escape around the faucet handle, can also wear out and crack.
Valve seats, where the faucet stem meets the spout, may corrode, leading to leaks. To avoid leaks, follow faucet maintenance tips such as regularly inspecting these parts, cleaning mineral deposits, and replacing damaged components promptly. Staying proactive with maintenance guarantees your tub faucet stays leak-free and functional for longer.
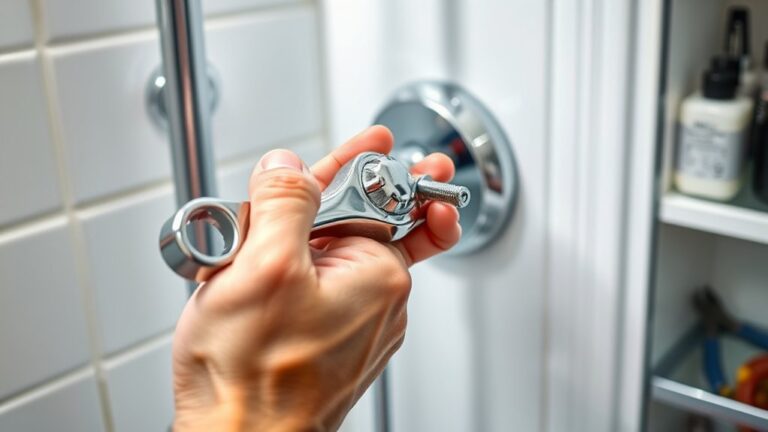
How to Diagnose Your Tub Faucet Leak
Identifying the exact source of your tub faucet leak helps you target repairs effectively. Start by turning off the water supply and drying the faucet area. Observe where water accumulates: is it the spout, handle, or base?
Use a flashlight to inspect internal parts after removing the handle. Document your findings to guide repairs and apply faucet maintenance tips that prevent future leaks.
| Leak Location | Inspection Step | Common Cause |
|---|---|---|
| Spout | Check for worn seals | Seal deterioration |
| Handle | Remove and inspect valve | Valve corrosion |
| Base | Look for loose fittings | Loose or damaged nuts |
| Drip Rate | Measure drip frequency | Pressure or valve issue |
Follow these leak prevention strategies to maintain faucet integrity and extend its lifespan.
How Worn Washers Cause Tub Faucet Drips
When your tub faucet drips, worn washers are often the culprit. Over time, washer materials degrade due to constant water pressure and friction, losing their ability to create a tight seal.
This wear directly impacts faucet performance, allowing water to leak through even when the tap is off.
Washer Material Degradation
Since your tub faucet relies on washers to create a watertight seal, worn or degraded washers often cause persistent drips. Different washer types, such as rubber, neoprene, or silicone, wear down due to mineral buildup, temperature changes, and friction.
Regular maintenance helps prolong their lifespan and prevents leaks.
| Washer Type | Common Degradation | Maintenance Tips |
|---|---|---|
| Rubber | Hardening, cracking | Replace annually |
| Neoprene | Shrinking, brittleness | Clean mineral deposits |
| Silicone | Tear, lose elasticity | Inspect quarterly |
Impact On Faucet Performance
Although a worn washer might seem like a minor issue, it directly compromises your tub faucet’s ability to maintain a watertight seal, causing persistent drips. This leakage reduces your faucet efficiency, forcing your plumbing system to work harder and increasing water waste. Addressing worn washers promptly improves water conservation and prevents further damage.
Here’s how worn washers impact your tub faucet performance:
- Seal Breakdown: The washer loses its shape, allowing water to bypass the valve seat.
- Increased Friction: A damaged washer causes rough valve operation, reducing smooth control.
- Constant Drips: Continuous water flow adds up, wasting gallons daily and lowering faucet efficiency.
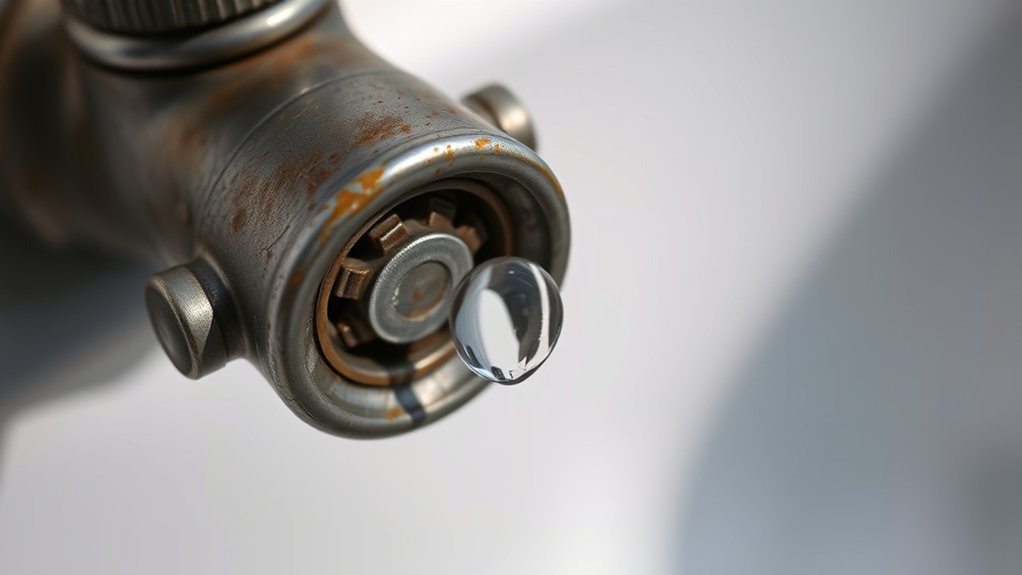
Why Corroded Valve Seats Cause Faucet Leaks
If your tub faucet keeps leaking despite replacing washers, the valve seat might be corroded. Corrosion creates gaps that prevent a tight seal, causing water to drip continuously.
You can spot corrosion by inspecting for rough or pitted surfaces and fix it by grinding or replacing the valve seat.
Valve Seat Corrosion Effects
When water continuously flows over the valve seat, it gradually wears down and corrodes the metal surface. This corrosion disrupts the valve’s sealing capability, leading to persistent leaks in your tub faucet.
Understanding valve seat corrosion effects helps you prioritize valve maintenance and corrosion prevention strategies.
Corroded valve seats cause:
- Uneven surfaces that prevent tight sealing, allowing water to seep through.
- Accelerated wear on washers and other components due to rough contact.
- Increased pressure on the faucet handle, causing premature failure.
Regular valve maintenance, including cleaning and inspecting the valve seat, minimizes corrosion risks. Applying corrosion-resistant materials or protective coatings also extends valve life, ensuring your faucet operates leak-free and efficiently.
Signs of Corroded Seats
How can you tell if your tub faucet’s valve seat is corroded? Look for persistent leaks even after tightening the faucet handle or replacing washers. Corroded valve seats often cause uneven water flow and a dripping sound when the faucet is off.
During valve maintenance, inspect the seat for pitting, roughness, or discoloration. These are clear signs of corrosion. Corrosion weakens the seal between the valve seat and the washer, leading to leaks.
You might also notice mineral buildup around the valve seat area, which accelerates corrosion. Regular valve maintenance and corrosion prevention, such as flushing the valve seat area and using corrosion-resistant materials, can help you avoid these issues.
Identifying these signs early guarantees you address the problem before it worsens.
Repairing Corroded Valve Seats
Although corroded valve seats often cause leaks, you can repair them effectively by restoring a proper seal between the seat and washer. Corrosion compromises the valve seat’s surface, preventing a tight shut-off and causing drips. To fix this, focus on valve seat maintenance and corrosion prevention.
Follow these steps:
- Remove the faucet stem and inspect the valve seat for pitting or damage.
- Use a valve seat grinder or a seat file to smooth and reshape the seat, ensuring a flat surface.
- Clean thoroughly to remove debris, then apply a corrosion-resistant sealant or replace the valve seat if severely damaged.
Regular valve seat maintenance and corrosion prevention extend faucet life and stop leaks efficiently.
How Old Plumbing Leads to Faucet Leaks
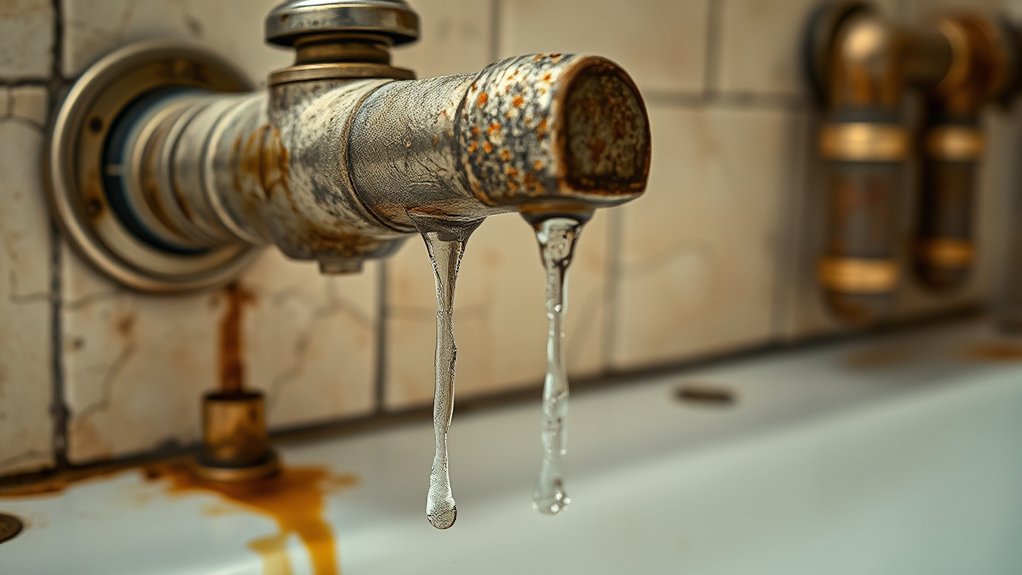
Since plumbing materials degrade over time, your tub faucet is more prone to leaks as the pipes and fixtures age. The pipe age directly impacts the integrity of your plumbing system.
Older pipes often suffer from corrosion, mineral buildup, and wear, which compromise seals and joints. Plumbing materials like galvanized steel, copper, or PVC each have a specific lifespan; exceeding that can lead to cracks or brittleness.
As these components deteriorate, water can seep through small gaps, causing faucet drips or leaks. Additionally, worn-out washers and gaskets in aged plumbing lose elasticity, further increasing leak risks.
Understanding the pipe age and material composition helps you identify when replacement is necessary to maintain a leak-free tub faucet and avoid costly water damage.
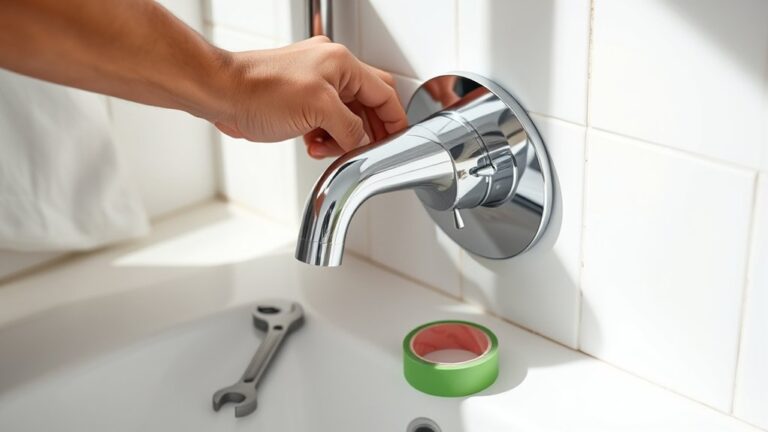
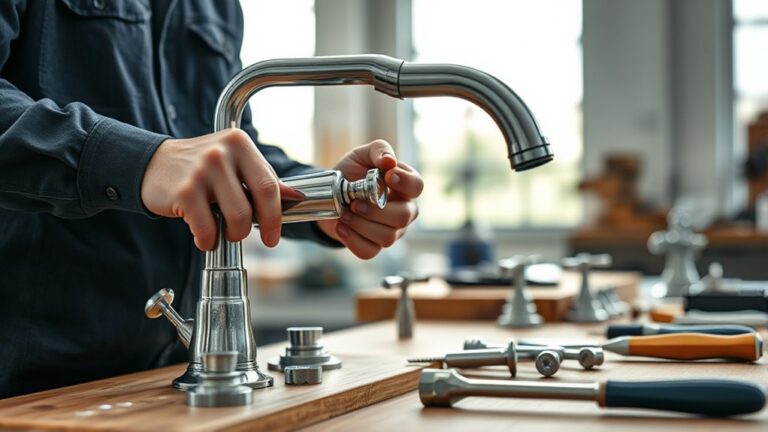
DIY Fixes to Stop Tub Faucet Dripping
When aging plumbing contributes to a dripping tub faucet, you can often address the issue yourself before calling a professional. Start by gathering common tools like a screwdriver, wrench, and replacement washers. Follow these faucet maintenance tips to stop the drip efficiently:
- Turn off water supply to prevent leaks during repair.
- Disassemble the faucet handle to access and inspect the cartridge or valve stem for wear or damage.
- Replace worn washers or seals with new parts matching your faucet model.
After reassembly, turn the water back on and check for leaks. Regularly performing these faucet maintenance tips can extend your faucet’s lifespan and prevent costly repairs. If the drip persists, the cartridge might need a full replacement or professional assessment.
Frequently Asked Questions
Can a Leaking Tub Faucet Increase My Water Bill?
Yes, a leaking tub faucet can increase your water bill considerably. You should prioritize plumbing maintenance to stop leaks and conserve water efficiently.
Address issues promptly to avoid unnecessary expenses and prevent continuous water wastage.
Is It Safe to Use a Leaking Faucet Before Repair?
You shouldn’t use a leaking faucet before repair. Over 10,000 gallons can waste yearly. Temporary solutions like tightening parts help, but potential hazards include water damage and mold. Fix it promptly to avoid complications.
How Long Does It Take to Fix a Leaking Tub Faucet?
Faucet repair time typically takes 30 to 60 minutes, depending on common causes like worn washers, damaged cartridges, or loose parts.
You’ll want to gather tools and replacement parts before starting to guarantee a smooth, efficient fix.
Can Hard Water Cause Tub Faucet Leaks?
Think of hard water effects as tiny soldiers depositing mineral buildup inside your tub faucet. This buildup corrodes seals and wears components, causing leaks.
You’ll need regular maintenance to prevent damage and keep your faucet functioning properly.
Should I Replace the Entire Faucet or Just Repair It?
You should repair your faucet if costs remain low and the issue is minor. Replace it if your faucet type is outdated or repairs become frequent, as full replacement often saves money long-term on repair costs.