How to Clean Sink Faucet
To clean your sink faucet effectively, start by gathering a soft cloth, mild detergent, white vinegar, and an old toothbrush.
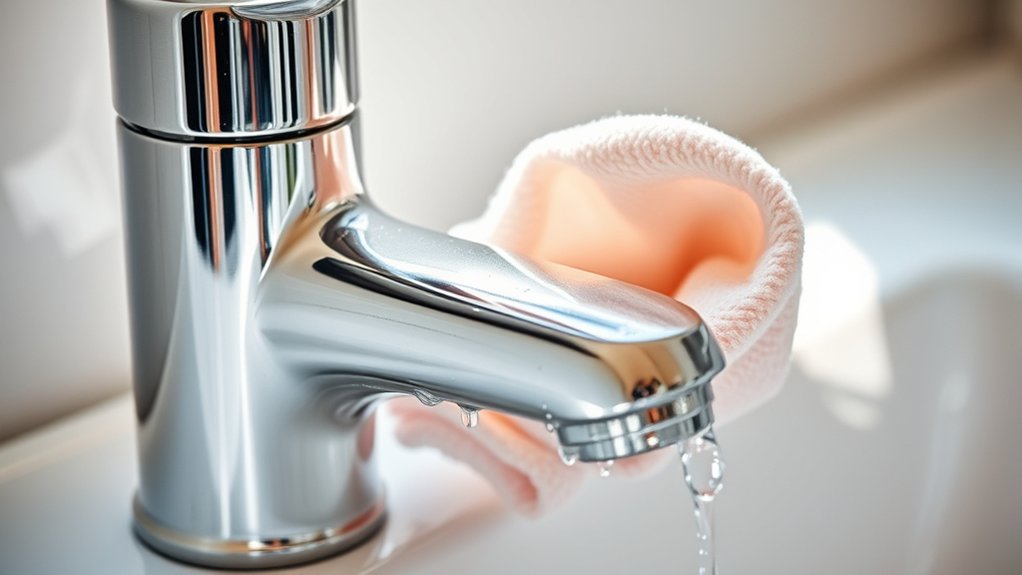
Mix equal parts vinegar and water, then wipe your faucet to dissolve mineral deposits and grime.
Use the toothbrush for tight crevices and base buildup.
Rinse thoroughly and dry to prevent water spots.
For aerators, remove and soak them in vinegar to clear blockages.
You’ll find additional techniques to maintain shine and avoid damage throughout the rest of the guide.
Quick Steps to Clean Your Sink Faucet
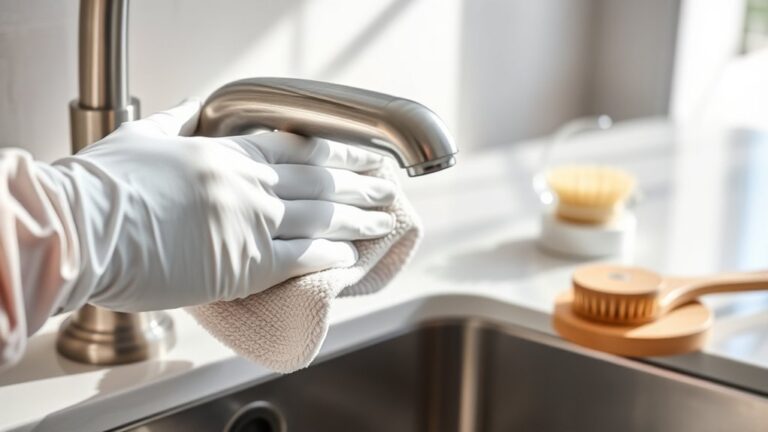
Begin by gathering essential cleaning supplies: a soft cloth, mild detergent, an old toothbrush, white vinegar, and a small bowl. Mix equal parts white vinegar and water in the bowl to create an effective eco friendly cleaner.
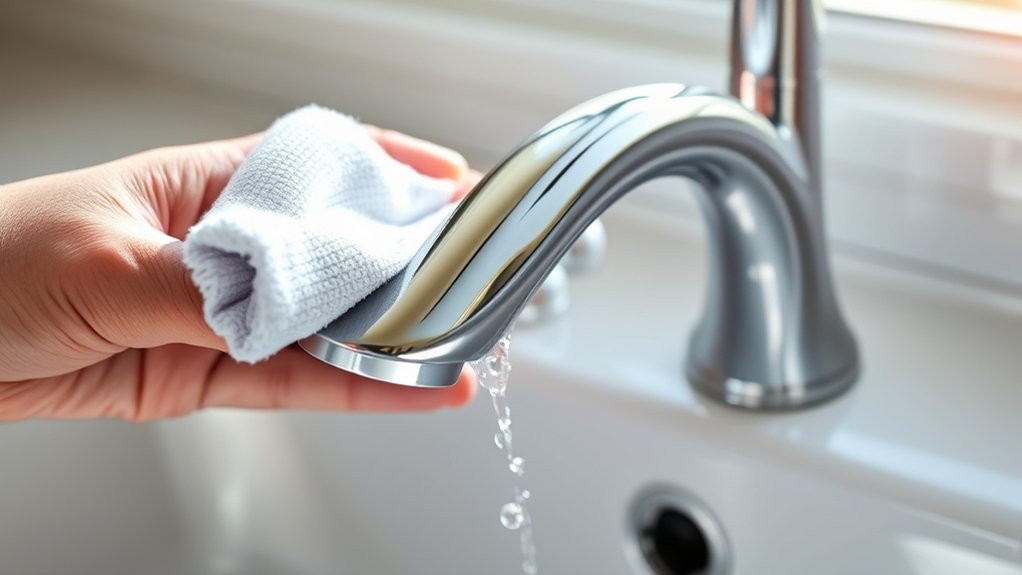
Dampen the cloth with this solution and wipe the faucet surface thoroughly, removing surface grime. Use the old toothbrush dipped in the solution to access crevices and around the base, ensuring buildup is dislodged.
Rinse the entire faucet with clean water and dry with a fresh cloth to prevent water spots. These faucet maintenance tips help maintain both appearance and functionality by preventing mineral deposits and corrosion.
Regular cleaning using eco friendly cleaners extends your faucet’s lifespan while minimizing environmental impact.
Best Household Items for Cleaning Sink Faucets
Several common household items can effectively clean your sink faucet without harsh chemicals. These natural alternatives offer eco friendly options that are safe and efficient.
Vinegar dissolves mineral deposits, baking soda acts as a gentle abrasive, and lemon juice provides natural antibacterial properties. Olive oil helps restore shine, while mild dish soap removes grease and grime. Using these items reduces environmental impact and avoids damaging finishes.
| Household Item | Function | Usage Tips |
|---|---|---|
| White Vinegar | Dissolves mineral buildup | Apply with cloth, rinse well |
| Baking Soda | Gentle abrasive cleaner | Make paste, scrub softly |
| Lemon Juice | Antibacterial, deodorizer | Use fresh, avoid prolonged contact |
| Olive Oil | Restores shine | Rub lightly with soft cloth |
| Dish Soap | Removes grease | Dilute and wipe carefully |
These eco friendly options keep your faucet clean while preserving finishes.
Step-by-Step Guide to Deep Cleaning Your Faucet (Including Mineral Buildup Removal)
To thoroughly deep clean your sink faucet and remove stubborn mineral buildup, follow a systematic process that targets each component. Start by mixing an eco-friendly cleaner, such as a solution of white vinegar and water, to dissolve mineral deposits effectively without damaging finishes.
Soak a cloth in the solution and wrap it around the faucet’s base and spout for 15-20 minutes. Scrub gently with a soft brush to lift loosened residue. Rinse thoroughly with water to prevent corrosion.
Next, wipe the faucet dry to avoid water spots. Incorporate these faucet maintenance tips regularly to prolong your faucet’s lifespan and maintain peak function. Avoid harsh chemicals that could erode protective coatings.
This precise routine guarantees a deep clean while preserving your faucet’s integrity and appearance.
Cleaning Hard-to-Reach Faucet Parts and Aerators
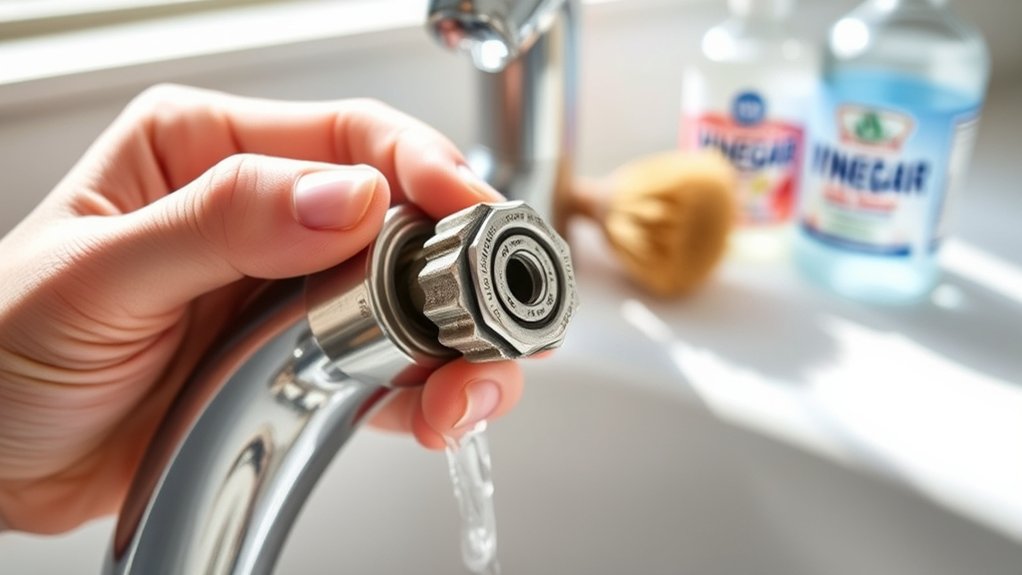
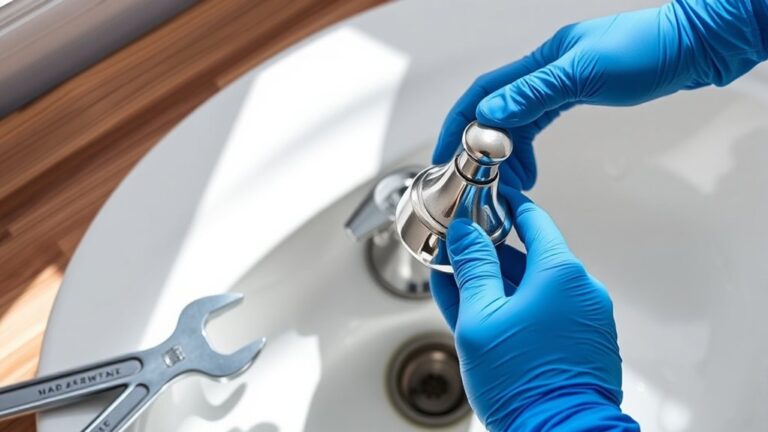
To clean hard-to-reach faucet parts, start by carefully removing the aerator using a wrench or pliers wrapped in tape to avoid damage. Soak small components in a vinegar solution to dissolve mineral deposits effectively.
Use specialized brushes or toothpicks to scrub crevices and guarantee thorough cleaning before reassembling.
Removing Faucet Aerators
Although faucet aerators are small, they play an essential role in controlling water flow and preventing debris from clogging your sink. To remove an aerator, first identify the aerator type, screw-on or snap-in, to determine the correct removal method. Use a wrench or pliers with a cloth to avoid scratching the finish. Turn counterclockwise gently; don’t force it to prevent damage.
It’s wise to check the cleaning frequency based on water hardness and usage, typically every 3-6 months.
Keep these tips in mind:
- Identify aerator type before removal
- Protect faucet finish when using tools
- Turn counterclockwise gently
- Note cleaning frequency for maintenance
- Inspect for wear or damage during removal
Proper removal guarantees effective cleaning and prolongs faucet lifespan.
Soaking Small Faucet Parts
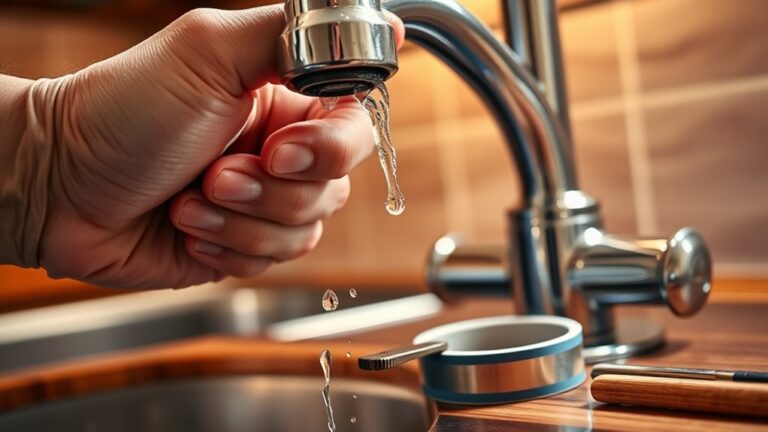
Anyone tackling faucet cleaning knows that small parts like aerators and washers can trap mineral deposits and debris in hard-to-reach areas. To effectively remove buildup, use soaking techniques by submerging these components in a solution of equal parts white vinegar and warm water.
Let them soak for 30 to 60 minutes, allowing the acidic solution to dissolve mineral deposits. During this process, maintain strict parts organization by placing each component in labeled containers or on a clean, segmented tray. This prevents loss or misplacement, ensuring efficient reassembly.
After soaking, rinse parts thoroughly with water and inspect for remaining debris. Soaking small faucet parts using these methods will restore functionality and prolong your faucet’s lifespan without the need for aggressive scrubbing.
Using Specialized Cleaning Tools
When you encounter stubborn mineral deposits or grime in tight faucet spaces, specialized cleaning tools can reach areas that standard brushes and cloths can’t. Using specialized brushes designed for narrow crevices and aerators guarantees thorough cleaning without damage.
Pair these tools with appropriate cleaning solutions, such as vinegar or mild descalers, to dissolve buildup effectively. Focus on precision and avoid excessive force to maintain faucet integrity.
Consider these tools for ideal results:
- Small nylon or brass specialized brushes for scrubbing aerators
- Toothbrush-style brushes with fine bristles for narrow joints
- Pipe cleaners for flexible access inside tubes
- Aerator cleaning kits with soft brushes and picks
- Spray bottles to apply cleaning solutions precisely
These tools help maintain faucet functionality and extend its lifespan by preventing blockages and corrosion.
Easy Tips to Prevent Water Spots and Soap Scum on Faucets
To prevent water spots and soap scum, wipe your faucet daily with a soft cloth to remove moisture and residue. Use a vinegar solution regularly to break down mineral deposits without damaging the finish.
Finally, apply a protective coating to create a barrier that reduces buildup and makes cleaning easier.
Daily Wiping Routine
Although daily wiping may seem minor, it considerably reduces water spots and soap scum buildup on your faucet. Incorporating a daily maintenance routine tailored to your faucet’s surface materials extends its lifespan and maintains its finish. Use a soft microfiber cloth and avoid abrasive materials that may scratch delicate surfaces like chrome or brushed nickel.
Follow these easy steps for effective daily wiping:
- Wipe down faucet surfaces after each use to remove water droplets.
- Use a damp cloth with mild soap if necessary.
- Dry thoroughly to prevent mineral deposits.
- Pay attention to joints and crevices where buildup starts.
- Avoid harsh chemicals that can degrade surface coatings.
This consistent, targeted approach minimizes cleaning time and preserves your faucet’s appearance.
Use Vinegar Solutions
Apply vinegar solutions to tackle mineral deposits and soap scum buildup effectively on your sink faucet. Mix equal parts white vinegar and water in a spray bottle for a powerful yet gentle cleaner.
Vinegar benefits include its acidity, which dissolves calcium deposits and prevents water spots without damaging metal finishes. Spray the solution directly onto the faucet, focusing on areas with visible buildup.
Let it sit for 5-10 minutes to break down residues. Then, scrub gently with a soft cloth or toothbrush to remove loosened deposits. Rinse thoroughly with water to avoid vinegar residue.
Apply Protective Coatings
Protect your sink faucet by adding a thin layer of protective coating designed to repel water and prevent soap scum buildup. Using protective sprays enhances faucet durability by creating a hydrophobic barrier that minimizes water spots and mineral deposits.
The coating benefits extend to easier cleaning and prolonged faucet shine. Before application, verify the faucet surface is clean and dry for maximum adhesion. Apply the spray evenly, then buff gently with a microfiber cloth for a smooth finish.
- Choose a protective spray compatible with your faucet material
- Apply coatings monthly for consistent protection
- Avoid abrasive cleaners after coating application
- Store protective sprays in a cool, dry place
- Reapply after deep cleaning to maintain effectiveness
This method effectively reduces maintenance frequency and preserves faucet aesthetics.
Why Keeping Your Faucet Clean Makes a Big Difference
Because your faucet is a high-touch fixture exposed to water, soap, and minerals, keeping it clean prevents buildup that can impair its function and appearance. Consistent faucet hygiene minimizes deposits like limescale and soap scum, which can obstruct water flow and strain internal components.
By removing grime regularly, you maintain the faucet’s mechanical efficiency and extend its operational lifespan. Additionally, a clean faucet enhances your sink’s aesthetic appeal, presenting a polished, sanitary look that complements your kitchen or bathroom design.
Neglecting cleanliness accelerates corrosion and discoloration, leading to costly repairs or early replacement. Maintaining faucet hygiene is a practical step that preserves both functionality and visual integrity, ensuring your faucet performs effectively while contributing positively to your space’s overall hygiene and appearance.
When to Hire a Professional or Replace Your Faucet

Regular cleaning keeps your faucet functioning smoothly, but some issues require more than routine maintenance. If your faucet shows signs of persistent leaks, corrosion, or reduced water pressure despite cleaning, it might be time to contemplate professional help or replacement.
Understanding the faucet lifespan, typically 15-20 years, helps you decide when repairs aren’t cost-effective. Professional costs can vary, so weigh them against replacement expenses.
Knowing a faucet lasts 15-20 years helps determine when repairs outweigh replacement costs.
Think about hiring a professional or replacing your faucet if you notice:
- Continuous leaks after gasket or cartridge replacement
- Corroded or damaged components affecting performance
- Frequent clogs or pressure problems not resolved by cleaning
- High repair costs nearing or exceeding replacement price
- Outdated faucet models lacking efficiency or parts availability
Assess these factors to maintain ideal sink functionality efficiently.
Frequently Asked Questions
Can Cleaning My Faucet Improve Water Flow?
Yes, cleaning your faucet can improve water flow by removing mineral buildup. Use faucet maintenance tips like regular descaling to enhance performance and address water pressure solutions effectively.
This ensures consistent, ideal water delivery every time you use it.
Are There Any Safe Commercial Cleaners for All Faucet Finishes?
Though not from the Renaissance, eco-friendly options exist today, like gentle vinegar-based sprays, that suit all faucet finishes.
You’ll maintain your faucet effectively, ensuring longevity and function without harsh chemicals compromising its surface or performance.
How Often Should I Clean My Faucet for Best Hygiene?
You should clean your faucet at least once a week for ideal faucet hygiene tips. Adjust cleaning frequency based on usage and water quality to prevent buildup, ensuring practical, effective maintenance and reducing bacterial growth on surfaces.
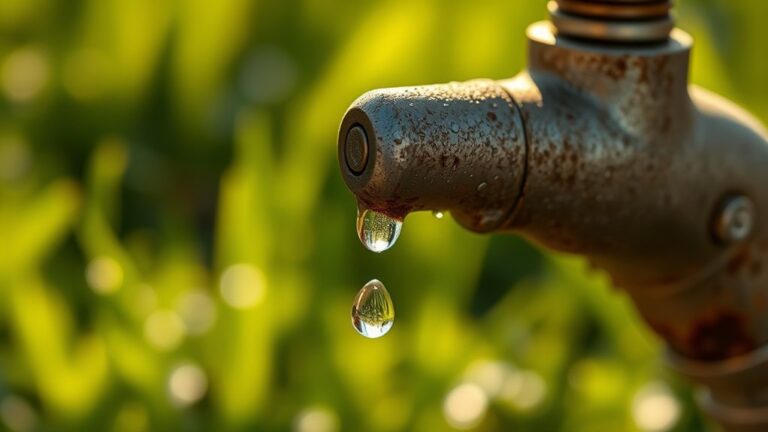
Can Hard Water Damage My Faucet Over Time?
Hard water can be a silent thief, causing mineral buildup that shortens your faucet lifespan. You’ll need regular descaling to prevent corrosion and maintain smooth operation, ensuring your faucet stays efficient and damage-free over time.
Is It Safe to Use Vinegar on All Types of Faucets?
You shouldn’t use vinegar on all faucet types; its acidity can damage finishes like brass or bronze.
Vinegar benefits stainless steel and chrome faucets, but always check manufacturer guidelines before applying it to avoid corrosion or discoloration.