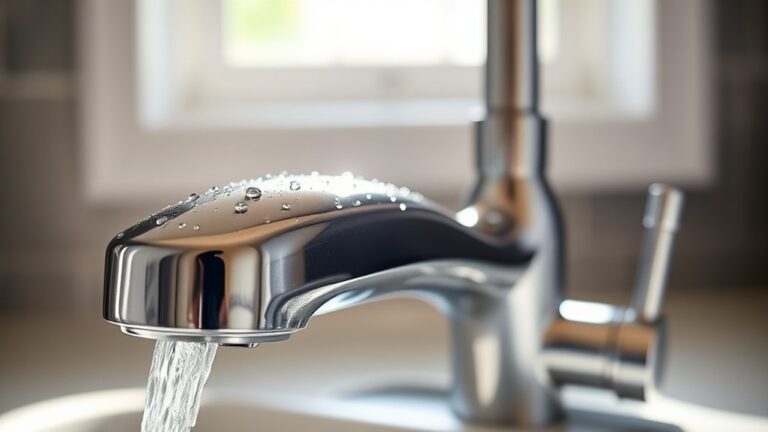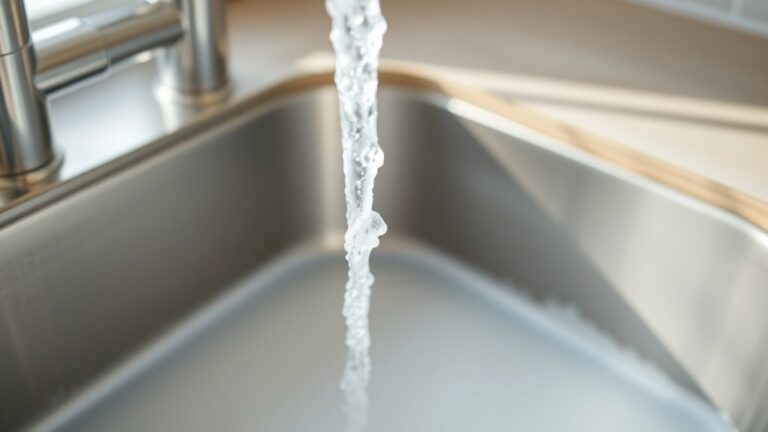
How to Repair a Leaky Shower Faucet Valve
To fix a leaky shower faucet valve, first shut off your water supply and remove the handle to identify the valve type—compression, cartridge, or ceramic. Knowing the valve type is essential to effectively address the issue.
Next, inspect for worn washers, damaged O-rings, or corroded seats. Gather the appropriate tools and replacement parts based on your findings.
Carefully remove the valve stem or cartridge, replace any faulty components, and then reassemble the valve. Use plumber’s grease and Teflon tape to ensure a secure seal.
Following these steps helps restore function and prevent future leaks. For detailed guidance, keep exploring the repair process.
Identify the Cause of Your Leaky Shower Valve
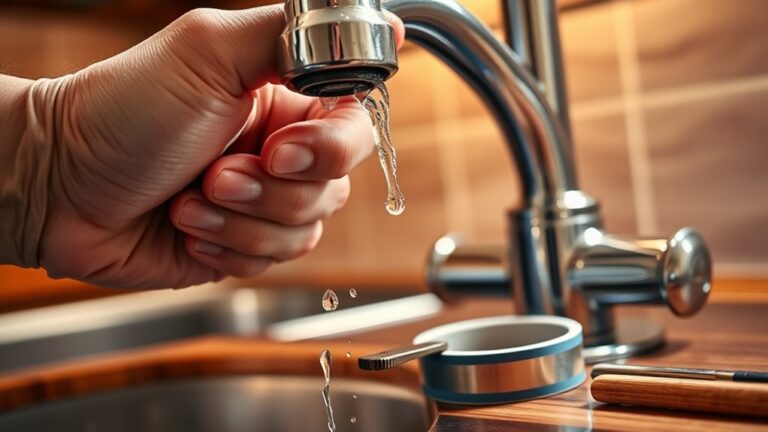
Before you start repairing your shower faucet valve, you need to pinpoint the exact cause of the leak. Leaks often stem from worn-out washers, damaged O-rings, or corroded valve seats.
Understanding the valve types, such as compression, cartridge, ball, or ceramic disc, helps you identify specific issues. For instance, compression valves usually leak due to deteriorated washers, while cartridge valves may fail because of damaged seals.
Inspect the valve by shutting off the water supply, removing the handle, and examining internal components for wear or mineral buildup. Note any visible cracks or corrosion.
Gather Tools and Parts for Shower Valve Repair
To repair your leaky shower faucet valve efficiently, you’ll need to gather specific tools and replacement parts tailored to your valve type. Start by identifying whether you have a compression, cartridge, ball, or ceramic disc valve, as each requires distinct repair techniques and components.
Identify your shower valve type first to gather the right tools and parts for an efficient repair.
Common tools include an adjustable wrench, screwdrivers, pliers, and a valve puller for cartridge or ball valves. You’ll also need replacement O-rings, valve seats, cartridges, or washers specific to your valve model.
Have plumber’s grease and Teflon tape on hand to guarantee proper sealing during reassembly. Carefully sourcing parts compatible with your valve type prevents further leaks and guarantees a durable fix.
Proper preparation streamlines the repair process and minimizes the risk of damage or improper installation.
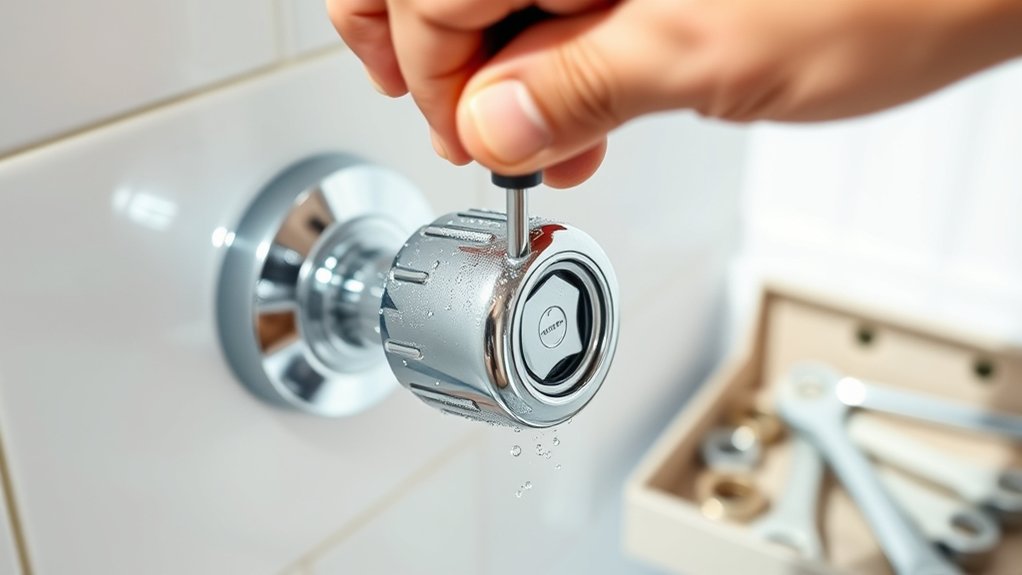
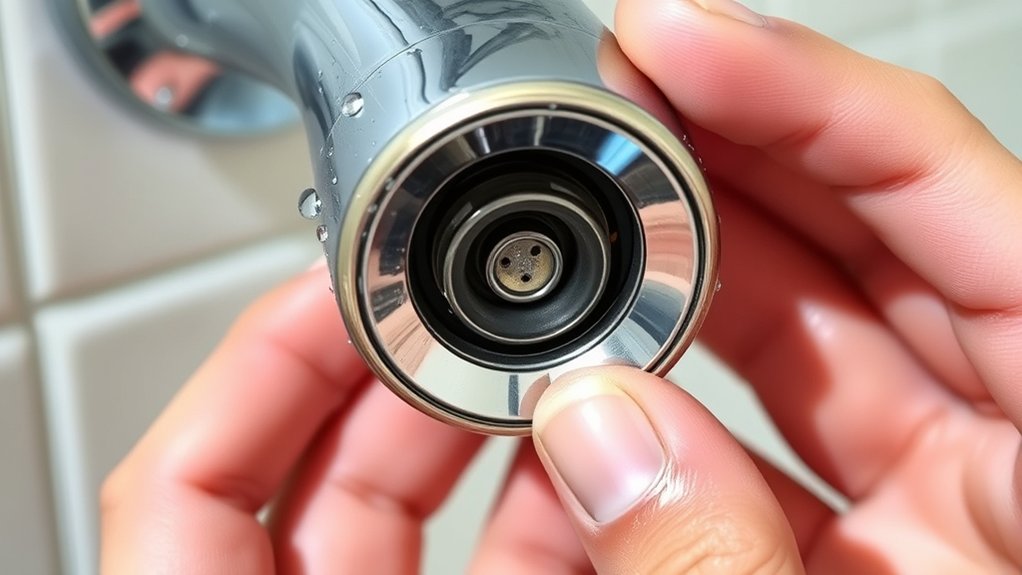
Remove and Inspect the Shower Faucet Valve
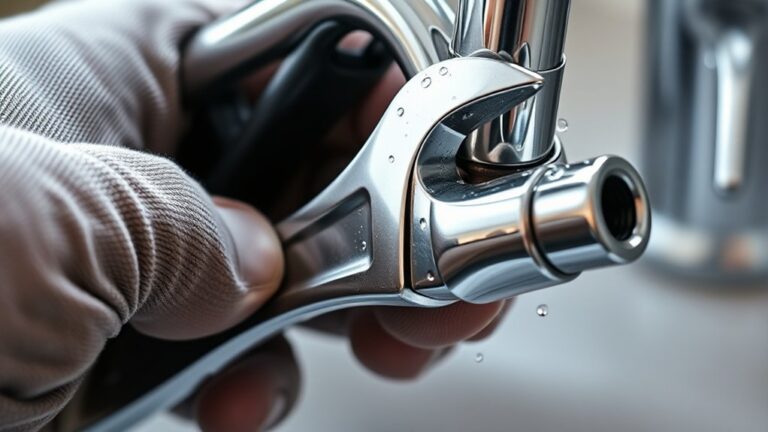
Once you’ve gathered the proper tools and parts for your specific valve type, you can move on to removing the shower faucet valve. Start by shutting off the water supply and opening the faucet to drain residual water.
Remove the handle and escutcheon plate carefully, noting any screws or clips. Identify your valve type, compression, cartridge, or ball, and consult installation tips specific to that model.
Use the appropriate tool to extract the valve stem or cartridge without damaging surrounding plumbing. Once removed, inspect the valve body for mineral buildup, corrosion, or cracks that may affect performance.
Check seals and washers for wear. Proper inspection guarantees you correctly diagnose the issue and apply installation tips for a secure, leak-free reassembly.
Repair or Replace Your Leaky Shower Faucet Valve
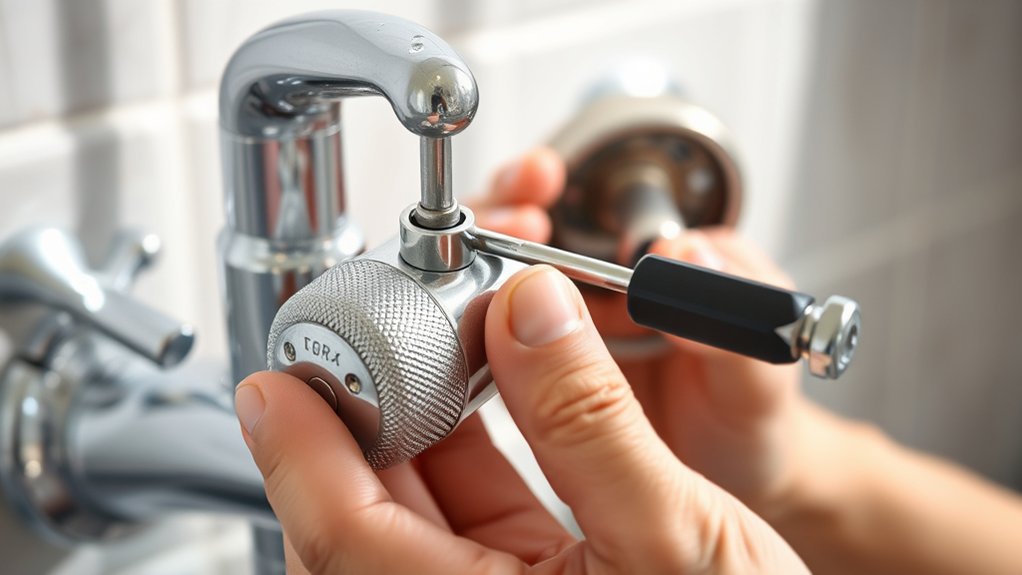
Although repairing your shower faucet valve can be straightforward, you’ll need to decide whether to replace worn components or install a new valve entirely based on your inspection. Identify the faucet types: compression, cartridge, or ceramic disc, as each demands specific repair techniques.
Decide whether to repair parts or replace the valve by first identifying your faucet type—compression, cartridge, or ceramic disc.
Examine valve materials; brass valves typically last longer and resist corrosion, while plastic ones may crack or degrade, necessitating replacement. If seals, washers, or cartridges show minor wear, replace those parts to restore proper function.
However, if you find extensive corrosion, cracks, or damage to the valve body, opt for a full valve replacement. Confirm the new valve matches your existing plumbing’s valve materials and dimensions to maintain compatibility.
Use manufacturer guidelines to install components correctly, preventing future leaks and guaranteeing reliable operation.
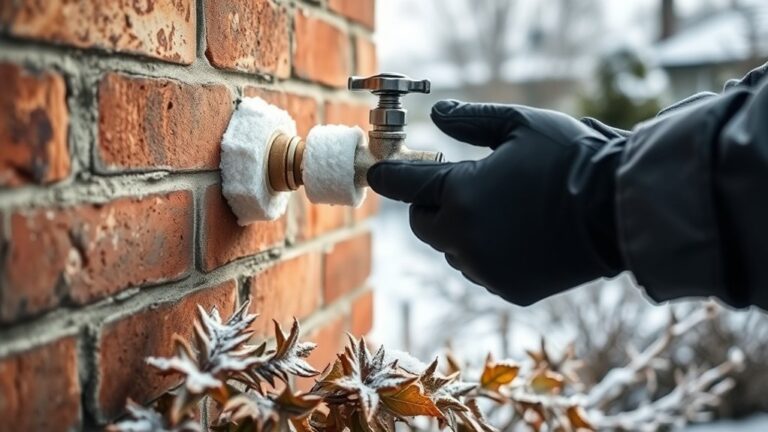
Prevent Future Leaks and Maintain Your Shower Valve
Since regular maintenance extends the life of your shower valve, you should schedule periodic inspections and cleanings. Follow essential shower maintenance tips such as checking for worn washers, tightening loose components, and applying valve lubrication techniques to reduce friction and prevent seal damage.
Use a silicone-based lubricant suitable for plumbing fixtures to guarantee smooth operation.
| Task | Frequency | Recommended Tools |
|---|---|---|
| Inspect valve seals | Every 6 months | Flashlight, wrench |
| Lubricate valve parts | Annually | Silicone lubricant, cloth |
| Clean valve housing | Annually or as needed | Vinegar solution, brush |
Adhering to this schedule helps you avoid leaks and costly repairs by maintaining valve integrity and performance.
Frequently Asked Questions
What Type of Shower Valve Do I Have?
You can identify your shower valve by removing the handle and inspecting the cartridge types inside. Look for a single or dual handle design, brand markings, and cartridge shape to determine the valve identification accurately.
Can a Leaky Shower Valve Cause Water Damage?
A stitch in time saves nine; you should act fast. Leaky shower valves cause water damage by seeping behind walls.
Prioritize leak detection and water damage prevention to protect your home’s structure and avoid costly repairs.
How Long Does a Typical Shower Valve Repair Take?
You’ll typically complete shower valve repair within 30 to 60 minutes. Repair techniques vary by valve types, like cartridge or compression valves, so identify your valve first to apply the correct method efficiently and avoid unnecessary delays.
Is It Safe to Repair a Shower Valve Myself?
You can tackle DIY repairs like a pro, but shower valve types vary, so know your tools and valve specs. Proper shower maintenance prevents leaks, saves costs, and guarantees safety. Just follow instructions precisely to avoid water damage.
When Should I Call a Professional Plumber?
You should call a professional plumber when leak detection reveals hidden damage or your DIY tools can’t access internal valve components.
Complex repairs demand expertise to prevent worsening leaks and guarantee proper valve function and water safety.