How to Remove Kitchen Faucet
To remove your kitchen faucet, first shut off the water supply beneath the sink and open the faucet to drain any remaining water. This step is crucial to prevent leaks during the removal process.
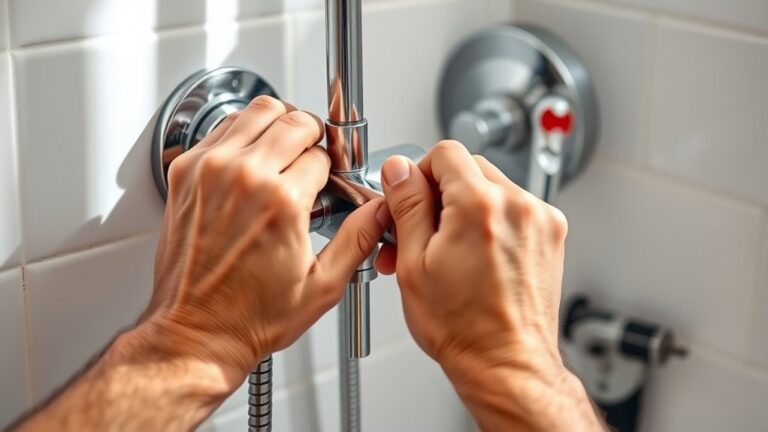
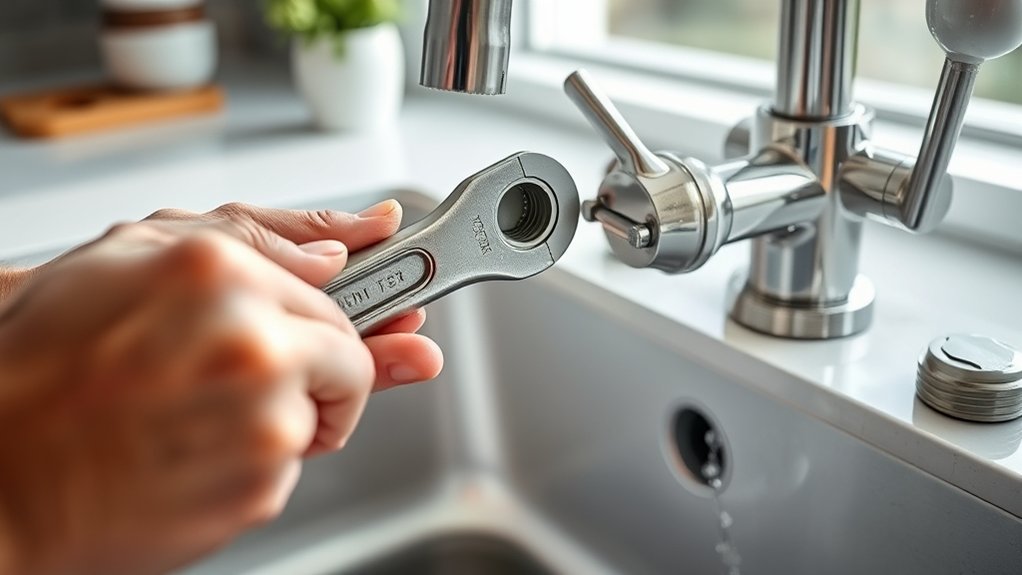
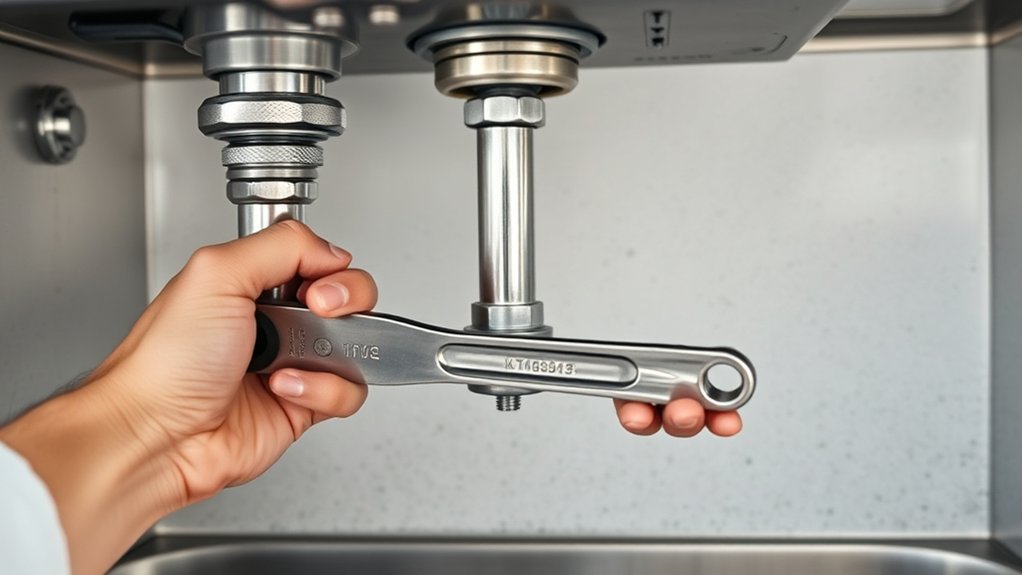
Use an adjustable or basin wrench to loosen the mounting nuts securing the faucet. Carefully disconnect the supply lines to avoid any damage or water spillage.
Clear the area under the sink for easy access, and identify the type of faucet you have. If the nuts are stuck or corroded, apply penetrating oil to loosen them.
Lift the faucet out gently, clean the surface around the sink, and prepare the area for the new installation.
Keep following for detailed steps and troubleshooting tips.
Tools You Need to Remove Your Kitchen Faucet

To remove your kitchen faucet efficiently, you’ll need a set of essential tools ready at hand. Start with an adjustable wrench and a basin wrench; these help you access and loosen nuts in tight spaces under the sink.
A screwdriver, preferably both Phillips and flathead, is necessary for detaching mounting hardware. Plumber’s putty or a silicone sealant aids in reinstalling or preventing leaks later.
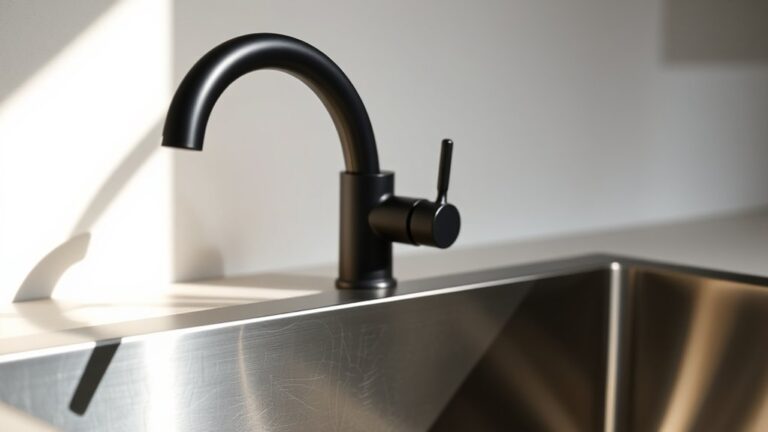
Different faucet types, single-handle, double-handle, or pull-out sprayers, may require specific tools or adapters, so check your model before starting. Installation tips include organizing tools for quick access and protecting sink surfaces with a towel.
Having these tools prepared guarantees you can remove your kitchen faucet smoothly, minimizing the risk of damage and streamlining any future installations.
How to Turn Off Water and Disconnect Faucet Lines
Before disconnecting any faucet lines, make certain you shut off the water supply valves located under the sink. These valves control the flow to both hot and cold water lines, preventing leaks when you disconnect.
If your kitchen lacks individual shutoff valves, turn off the main water supply to the house. Once the water is off, open the faucet to relieve pressure and drain remaining water.
Next, identify the faucet types you have, such as compression, cartridge, ball, or ceramic disc, as this affects line connections. Use an adjustable wrench to loosen the nuts connecting the supply lines to the faucet.
Identify your faucet type to properly loosen supply line connections with an adjustable wrench.
Be prepared for residual water in the lines. Carefully disconnect each line, avoiding damage to fittings or hoses. Properly shutting off and disconnecting guarantees a smooth removal process without water damage.
Step-by-Step Guide to Removing Your Kitchen Faucet
Start by clearing out the area under your sink to give yourself ample working space. Next, identify your faucet type: single-hole, center-set, or widespread, as this affects removal steps.
Use an adjustable wrench to loosen the mounting nuts securing the faucet; some models may require a basin wrench due to tight spaces. Detach supply lines carefully, avoiding damage to fittings.
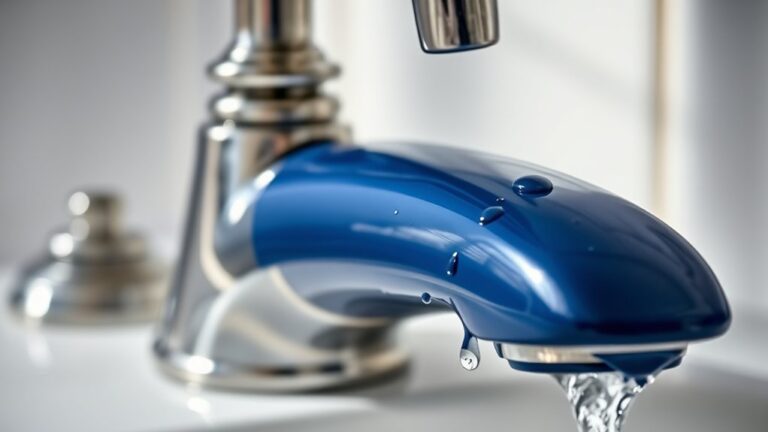
Once loose, lift the faucet from above the sink. Clean the sink surface thoroughly to remove old sealant or debris.
When reinstalling or replacing the faucet, remember installation tips like applying plumber’s putty or a silicone sealant to prevent leaks. Following these precise steps guarantees safe removal while preparing you for smooth installation of new faucet types.
Fix Common Issues When Removing Your Kitchen Faucet
Although removing a kitchen faucet usually goes smoothly, you may encounter stubborn mounting nuts, corroded supply lines, or tight spaces that complicate the process. To address these, use penetrating oil for rusted nuts and flexible supply line wrenches to access confined areas.
Always shut off water and disconnect power if applicable before starting. Proper tools prevent damage during faucet installation or removal, guaranteeing efficient kitchen plumbing maintenance.
| Issue | Cause | Solution |
|---|---|---|
| Stubborn nuts | Corrosion/rust | Apply penetrating oil, wait |
| Corroded supply lines | Mineral buildup | Replace lines, use wrench carefully |
| Tight spaces | Compact cabinet area | Use flexible wrench, flashlight |
Following these tips guarantees a smooth faucet installation and prevents plumbing damage.
Frequently Asked Questions
How Do I Choose a New Kitchen Faucet After Removal?
You’ll want to evaluate faucet style options like single-handle or pull-down, then consider installation tips such as mounting holes and water line compatibility.
Choose a design that fits your sink and matches your kitchen’s functionality and look.
Can I Remove a Kitchen Faucet Without Shutting off the Main Water Supply?
You can’t safely remove a kitchen faucet without shutting off the main water supply. Faucet removal techniques require cutting water flow to prevent leaks.
Follow plumbing safety tips to avoid water damage and guarantee a smooth, secure replacement.
What Are the Best Materials for a Durable Kitchen Faucet?
You should choose faucet materials like brass or stainless steel for durability factors. These resist corrosion and wear well.
Solid brass offers longevity, while stainless steel provides strength and low maintenance, making both ideal for kitchen faucets.
How Long Does It Typically Take to Replace a Kitchen Faucet?
If you follow faucet removal tips like turning off water and loosening connections, you can expect installation time to take about 1-2 hours. For example, Jane replaced her faucet efficiently by prepping tools beforehand.
Are There Any Warranties on Kitchen Faucets After Installation?
Yes, you’ll find faucet warranty details vary by brand, often covering defects but not installation. Installation warranty coverage depends on your installer’s policies, so always confirm both warranties before proceeding to guarantee full protection.