How to Install Bathtub Faucet
To install a bathtub faucet, first shut off the water supply and drain any remaining water.
Removing the old faucet is the next step; unscrew the handles and mounting nuts carefully.
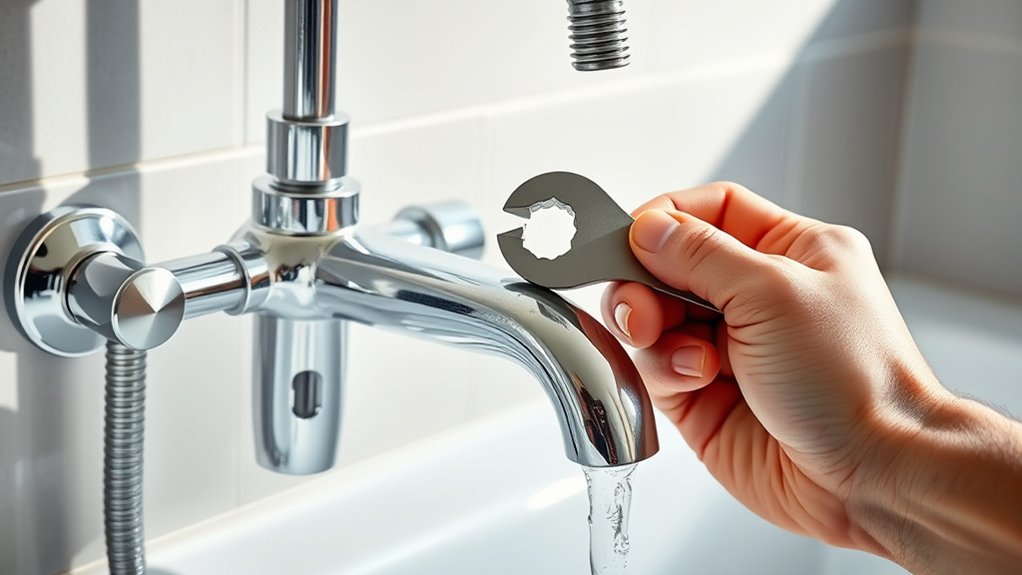
Position your new faucet so it aligns properly with the water lines. Hand-tighten all connections initially, then use a wrench to secure them firmly.
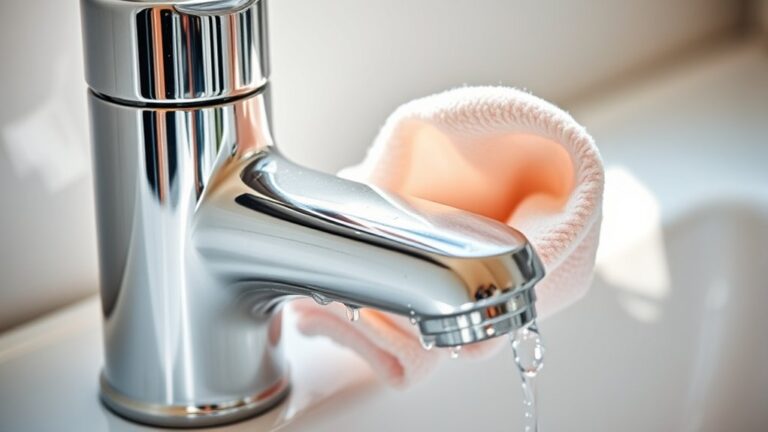
Apply silicone or plumber’s tape around the joints to seal them and prevent leaks.
After installation, turn on the water slowly to check for leaks and ensure proper flow.
Follow additional steps as needed to guarantee flawless performance and avoid common issues.
Tools and Materials Needed for Bathtub Faucet Installation
To install a bathtub faucet, you’ll need a specific set of tools and materials to guarantee a smooth and secure fit. Start by selecting the appropriate faucet type, such as single-handle, dual-handle, or thermostatic, matching your plumbing system and design preferences.
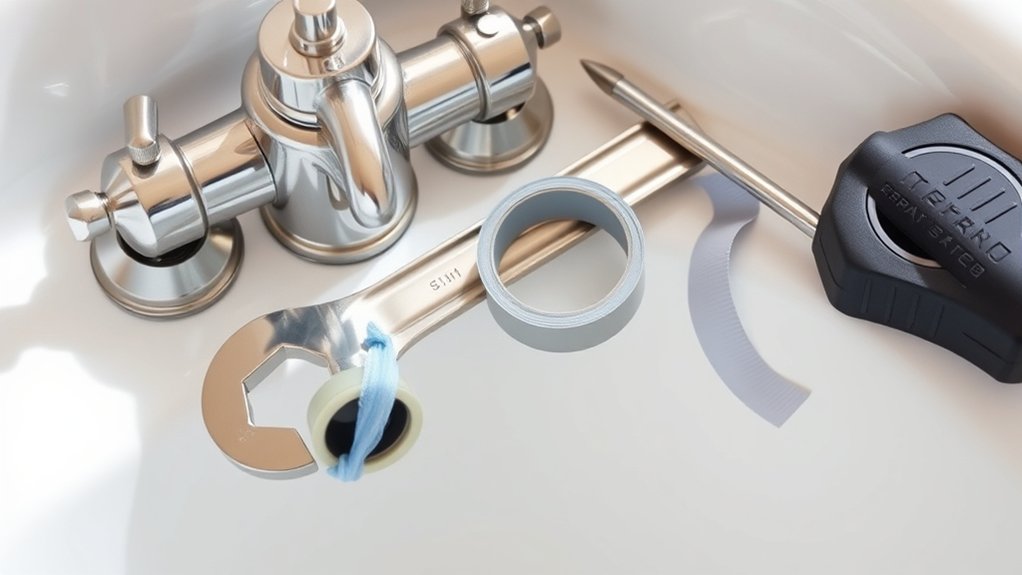
Acquire a compatible installation kit, which typically includes mounting hardware, gaskets, and adapters tailored for your faucet type. Essential tools consist of an adjustable wrench, plumber’s tape, a screwdriver set, and a pipe cutter if modifications are necessary.
Additionally, have a bucket and towels ready to catch residual water. Ascertain you have silicone sealant to prevent leaks around the fixture. Gathering these precise tools and materials beforehand streamlines the installation process, reduces errors, and guarantees a durable, leak-free connection between the faucet and your bathtub’s water supply.
Shut Off Water and Prep the Installation Area
First, locate and shut off the main water valve to stop water flow. Next, open the faucet to drain any remaining water from the pipes.
Finally, clear the area around the tub to guarantee a safe and accessible workspace.
Locate Main Water Valve
Before you begin any plumbing work, locate the main water valve to shut off the water supply effectively. Start by identifying the valve location, which is typically near the water meter, basement, or where the main line enters your home.
Knowing this spot is essential to control water pressure and prevent leaks during the installation. Once found, turn the valve clockwise to close it, stopping water flow entirely.
Verify the shutoff by opening a faucet and checking for water flow. If water still flows, recheck the valve location or confirm it’s fully closed. Properly controlling water pressure at the main valve safeguards your work area, ensuring a dry, safe environment for installing your new bathtub faucet.
Drain Remaining Water
Once you’ve shut off the main water valve, drain any remaining water from the pipes by opening the lowest faucet in your home and the bathtub faucet itself. This step guarantees water pressure is fully released, preventing leaks during installation.
Employ water drainage techniques by allowing all residual water to flow out completely. Use a bucket or towels to catch drips and protect the area.
This process is vital for effective bathtub maintenance tips, as it safeguards plumbing components and avoids water damage. Confirm the water flow ceases before proceeding to the next installation phase.
Properly draining water not only simplifies faucet replacement but also extends the longevity of your bathtub’s plumbing system. Accurate execution of this step is fundamental for a smooth, efficient faucet installation.
Clear Installation Area
Although you’ve already shut off the main water valve, double-check that no water flows by testing the faucet handles. This guarantees the system is fully depressurized, a critical safety precaution before proceeding.
Next, clear the installation area by removing any objects, debris, or old fixtures around the bathtub. Wipe down surfaces to prevent dust or grime from interfering with the new faucet’s seal and alignment.
Use a flashlight to inspect the plumbing connections for leaks or corrosion. These installation tips help avoid complications during assembly.
Keep tools and replacement parts organized nearby to streamline the process. Maintaining a clean, accessible workspace reduces the risk of accidents and guarantees precise fitting.
Following these steps prepares you for a smooth, trouble-free bathtub faucet installation.
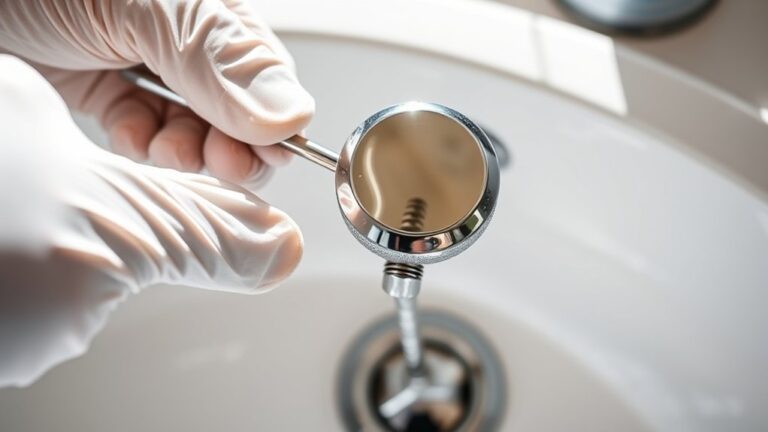
Remove the Old Bathtub Faucet Safely
Start by turning off the water supply to the bathtub to prevent leaks and water damage. Next, open the faucet to drain any remaining water.
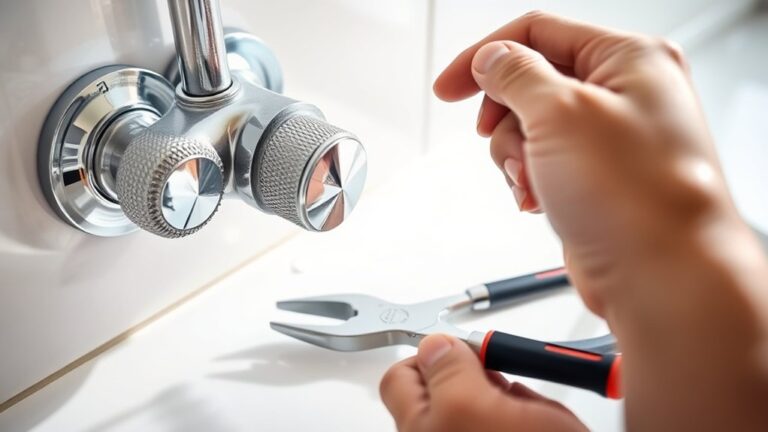
Use appropriate removal techniques: carefully unscrew the faucet handles and escutcheon plate with a wrench or screwdriver, depending on your model. Loosen the mounting nuts securing the faucet body to the plumbing.
Carefully unscrew handles, escutcheon plate, and mounting nuts to safely detach the faucet body from plumbing.
When detaching the faucet, avoid excessive force to prevent damaging pipes or fittings. Follow safety precautions by wearing gloves and safety glasses to protect against sharp edges and debris.
Confirm the workspace is dry and well-lit. Double-check the water is fully shut off before proceeding. These steps guarantee a secure, damage-free removal, preparing the area for your new bathtub faucet installation.
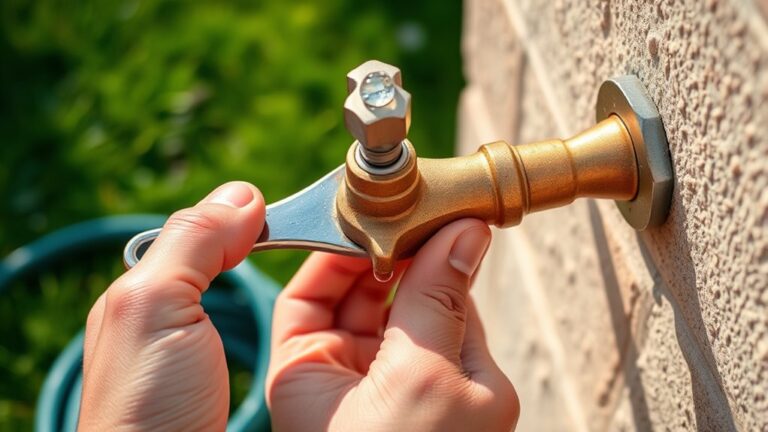
Install Your New Bathtub Faucet Step-by-Step
Begin by inspecting the new faucet components to confirm you have all necessary parts and tools. Identify your faucet type: wall-mounted, deck-mounted, or freestanding, as installation steps vary.
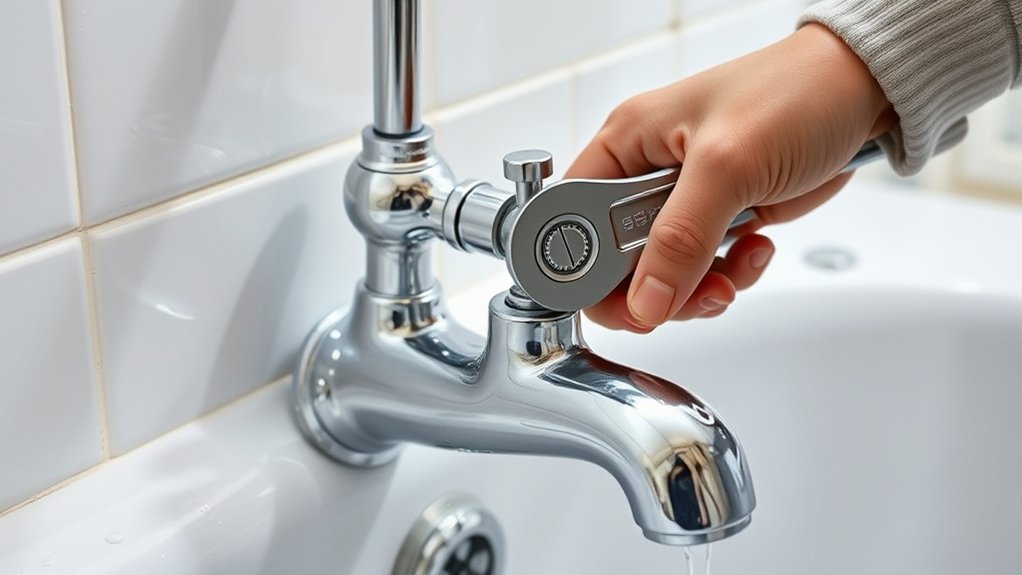
Follow these installation tips: align the faucet with water supply lines, hand-tighten connections first, then use a wrench to secure. Avoid overtightening to prevent damage.
| Step | Action | Tip |
|---|---|---|
| 1 | Position faucet | Match faucet type to plumbing |
| 2 | Connect water supply lines | Use plumber’s tape for threads |
| 3 | Secure faucet in place | Tighten nuts gradually |
| 4 | Test for leaks | Turn on water slowly |
This methodical approach guarantees proper installation and longevity of your new bathtub faucet.
How to Seal Bathtub Faucet Connections to Stop Leaks
To prevent leaks, you need to choose the right sealant compatible with your faucet materials. Apply the sealant evenly on threaded connections and tighten fittings securely.
Proper sealing guarantees a watertight bond that lasts.
Choosing The Right Sealant
Although selecting the right sealant might seem straightforward, choosing one that effectively prevents leaks and withstands water exposure is essential for a durable bathtub faucet installation. You’ll encounter various sealant types, including silicone, plumber’s putty, and thread seal tape.
Silicone sealants offer excellent water resistance and flexibility, making them ideal for faucet joints. Plumber’s putty works well for non-pressurized areas but isn’t suitable where constant water contact occurs. Thread seal tape is perfect for threaded pipe connections, ensuring a tight, leak-proof fit.
Understanding each sealant’s properties helps you select the best option. Keep in mind the compatibility with faucet materials and exposure conditions. Proper selection complements your application techniques, ensuring a secure, long-lasting seal that prevents leaks effectively.
Applying Sealant Properly
Apply sealant evenly and sparingly to the faucet connections to guarantee a tight, leak-proof seal without excess material that can cause clogs or interfere with assembly. Choose appropriate sealant types such as silicone-based or plumber’s putty, depending on the faucet material and water exposure.
Use a steady hand to apply a thin, continuous bead around threaded joints or flanges. Avoid over-application, which can lead to curing issues or trapped debris. For threaded connections, wrap plumber’s tape before applying sealant for added security.
Smooth the sealant with a damp finger or tool to confirm full coverage and eliminate air pockets. Allow the sealant to cure as per manufacturer instructions before testing for leaks. Mastering these application techniques guarantees durable, leak-resistant bathtub faucet installations.
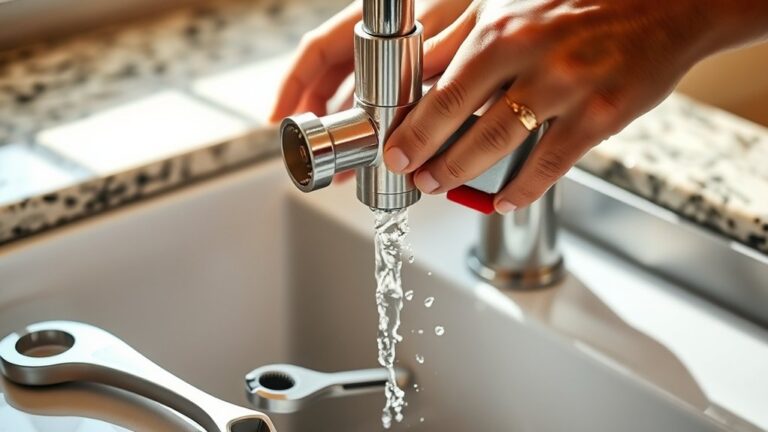
Test Your New Bathtub Faucet for Leaks and Function
Once you’ve securely installed the faucet, you’ll want to turn on the water supply and observe all connections closely for any signs of leaks. Conduct thorough leak detection by checking each joint and the faucet base.
Monitor faucet performance by testing both hot and cold water flow, guaranteeing consistent pressure and smooth handle operation.
| Test Aspect | What to Check |
|---|---|
| Leak Detection | Inspect joints, faucet base |
| Faucet Performance | Check water flow, pressure |
| Handle Operation | Assure smooth turning |
If you notice any drips or irregular flow, address these immediately before finalizing the installation. Verifying proper function now prevents future water damage and guarantees your bathtub faucet operates efficiently and reliably.
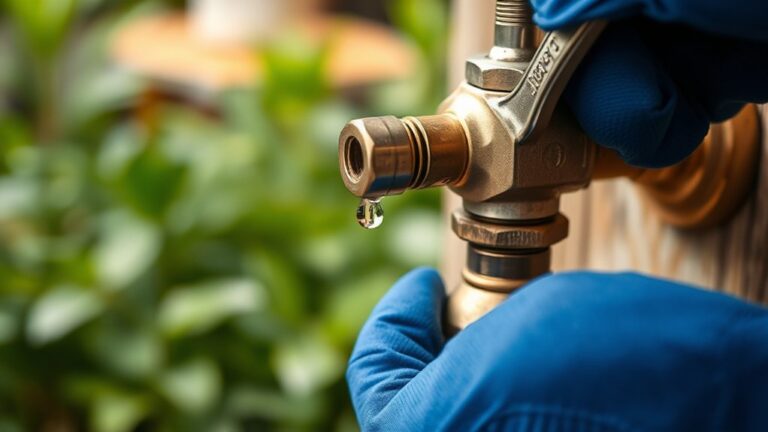
Troubleshooting Common Bathtub Faucet Issues
Several common issues can arise with bathtub faucets, but most are straightforward to diagnose and fix. If you notice faucet leaks, first check the cartridge or valve stem for wear and replace faulty washers or O-rings.
Persistent dripping usually indicates a damaged seal or loose connection. Low water pressure typically results from clogged aerators or supply lines; clean or replace these components to restore flow.
Also, inspect the diverter valve if your faucet includes a shower diverter, as buildup can impair function. When troubleshooting, always shut off the water supply before disassembling parts.
Using proper tools and replacement parts guarantees reliable repairs. By addressing these common problems promptly, you can maintain faucet performance and prevent water waste or damage.
Frequently Asked Questions
What Are the Best Bathtub Faucet Brands for Durability?
You’ll want to choose brands like Moen, Delta, and Kohler for bathtub faucets, as their brand reliability and use of durable faucet materials like brass guarantee long-lasting performance and resistance to corrosion and wear.
How Do I Choose the Right Style for My Bathroom Decor?
You’ll find 78% of homeowners prefer faucets matching their bathroom’s theme. Choose modern designs for sleek, minimal looks or vintage styles to add classic charm.
Match finishes with existing fixtures for seamless decor integration.
Can I Install a Bathtub Faucet Without Professional Plumbing Experience?
Yes, you can install a bathtub faucet with DIY tips, but avoid common mistakes like improper sealing or incorrect pipe connections.
Use precise measurements, quality tools, and follow step-by-step guides to guarantee a secure, leak-free installation.
What Is the Average Cost of a Bathtub Faucet Installation?
You’ll gladly pay $150 to $500 for bathtub faucet installation, depending on cost factors like labor, faucet type, and complexity.
For installation tips, prepare tools, shut water, and follow precise steps to avoid costly mistakes.
How Often Should I Replace My Bathtub Faucet?
You should replace your bathtub faucet every 10-15 years, depending on faucet lifespan and wear.
Follow maintenance tips like cleaning aerators and checking seals regularly to extend functionality and prevent leaks efficiently.