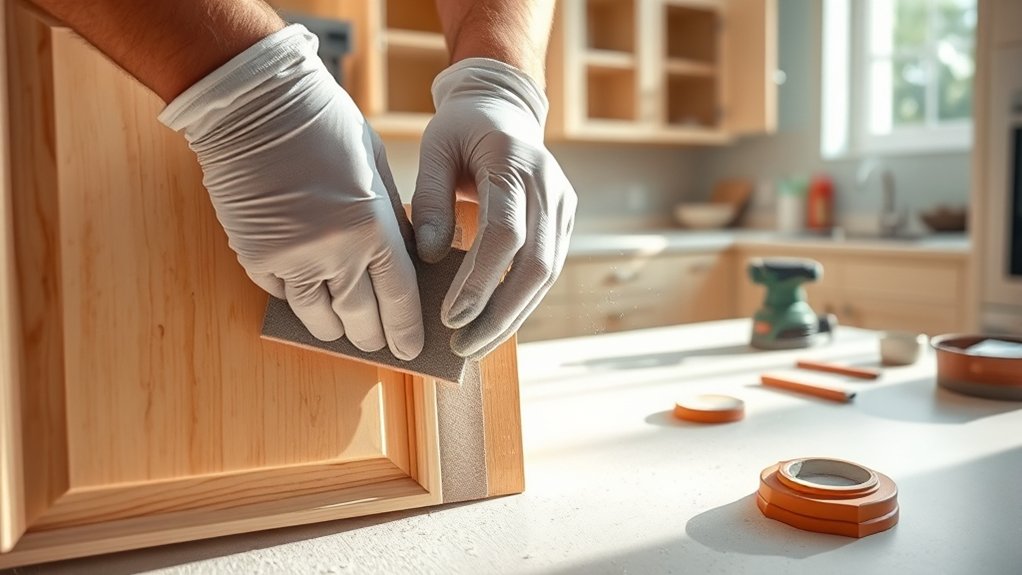
How to Sand Kitchen Cabinets
To sand kitchen cabinets effectively, start by gathering the right tools like an electric orbital sander and various sandpaper grits—from coarse (80-100) to fine (220+).
Clean the cabinets thoroughly and remove all hardware to prevent damage.
Sand with the grain using gentle pressure, progressing through grits to avoid scratches.
Afterward, clean surfaces with a tack cloth before applying your finish.
Following these steps guarantees a smooth, professional result, with more techniques available to perfect your project.
Gather Your Sanding Tools for Kitchen Cabinets
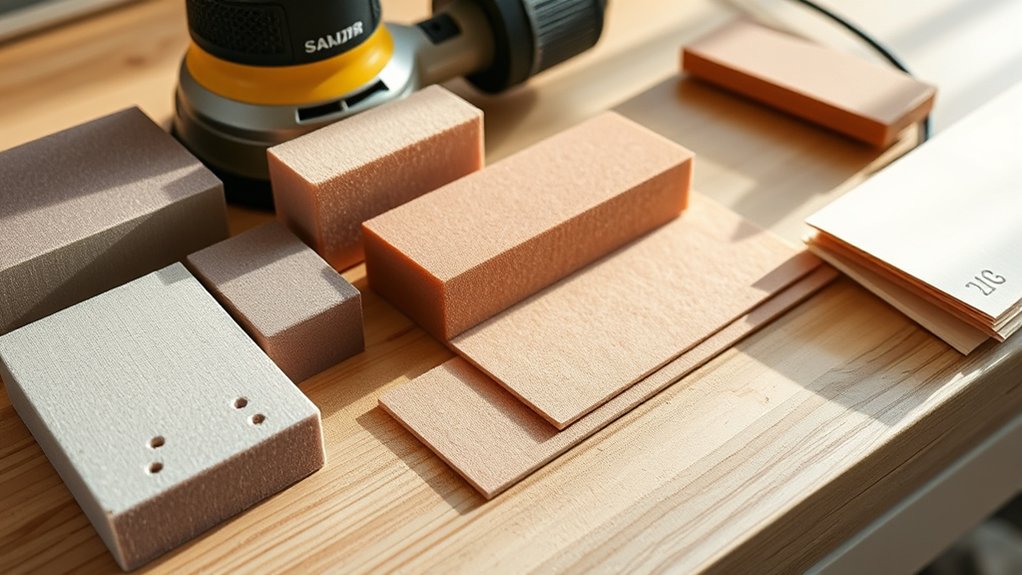
To efficiently sand your kitchen cabinets, start by gathering the essential tools: a sanding block or an electric sander, various grits of sandpaper (coarse, medium, and fine), a vacuum or tack cloth for dust removal, and protective gear like gloves and a dust mask. Your tool selection directly impacts the sanding techniques you’ll apply.
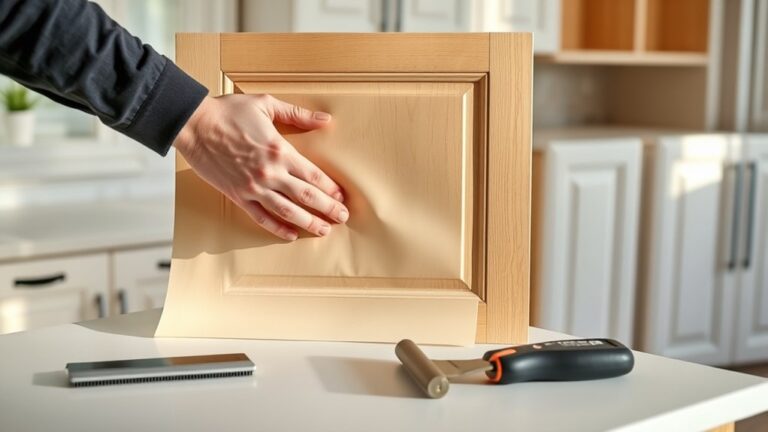
For flat surfaces, an electric orbital sander enhances speed and uniformity, while a sanding block provides better control on edges and intricate details. Coarse grit removes old finish quickly, medium grit smooths imperfections, and fine grit prepares the surface for painting or staining.
Always verify your tools are in good condition to maintain efficiency. Proper tool selection paired with correct sanding techniques guarantees a smooth, professional finish on your kitchen cabinets.
Preparing Your Kitchen Cabinets for Sanding
Start by thoroughly cleaning your kitchen cabinets to remove grease, dirt, and residues that can interfere with sanding. Inspect the cabinet materials closely to identify surfaces such as wood, laminate, or veneer, as each requires specific sanding techniques.
Remove all hardware, including hinges, knobs, and handles, to avoid damage and guarantee uniform sanding. Protect adjacent areas with painter’s tape to prevent accidental abrasion. Finally, open cabinet doors and drawers to access all surfaces evenly.
- Degrease with a solvent-based cleaner
- Wipe down with a lint-free cloth
- Detach cabinet doors carefully
- Mask edges and countertops
- Check for repairs or fill imperfections
These steps prepare your cabinets for effective sanding and ideal refinishing results.
Choosing the Right Sandpaper Grit for Kitchen Cabinets
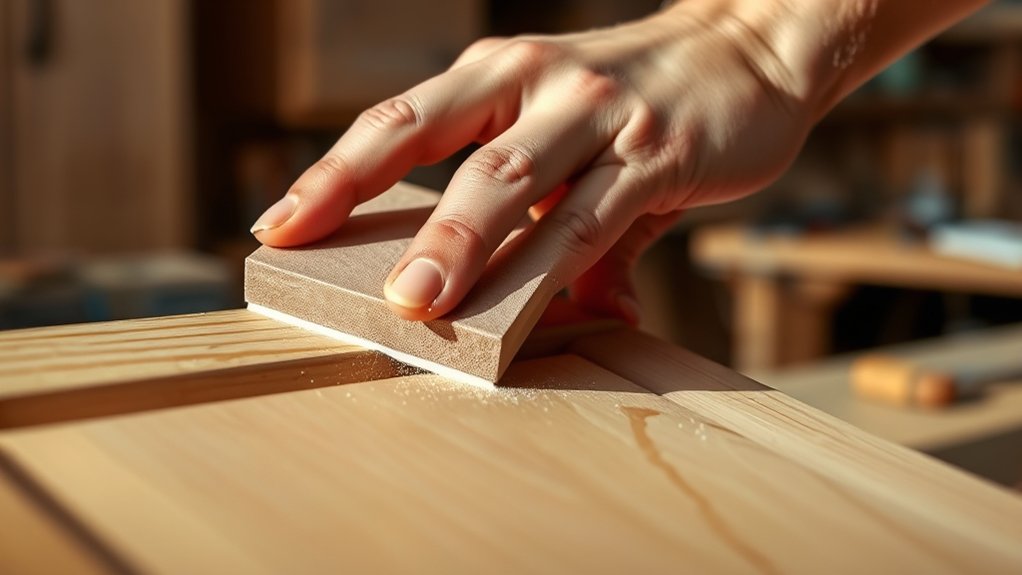
Selecting the correct sandpaper grit is vital for achieving a smooth, professional finish on your kitchen cabinets. Start with a coarse grit, such as 80 or 100, to remove old finishes or imperfections.
Then, follow a systematic grit progression, moving to medium grits like 120 or 150 to refine the surface and eliminate scratches left by the coarser paper. Finish with fine grits, typically 220 or higher, to prepare the wood for painting or staining.
Understanding sandpaper types is essential; aluminum oxide is durable and ideal for wood, while garnet offers a finer finish but wears faster. By carefully choosing sandpaper types and following a proper grit progression, you guarantee optimal surface preparation without damaging the cabinet material.
Sanding Your Kitchen Cabinets Smoothly
With the right sandpaper grit chosen, you can now focus on sanding your kitchen cabinets smoothly to achieve a flawless surface. Effective cabinet surface preparation relies on consistent, controlled sanding techniques.
Choosing the right grit and sanding with control ensures a flawlessly smooth cabinet surface.
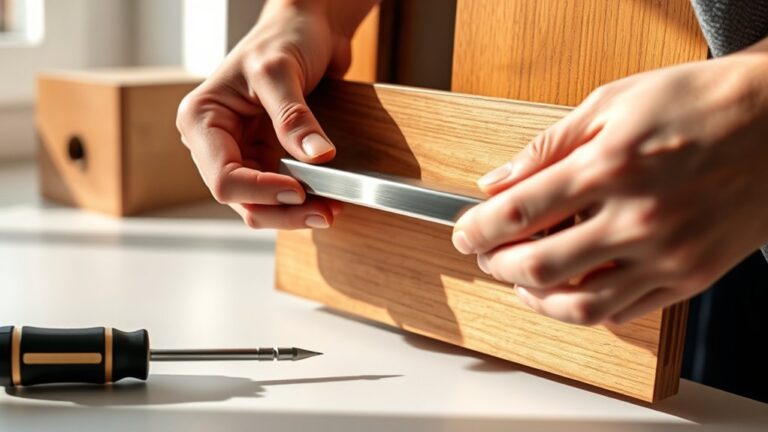
Start by sanding with the grain to avoid scratches. Use gentle pressure to prevent gouging the wood. Shift through finer grits to refine the surface evenly. Maintain a clean sanding pad to avoid uneven abrasion.
Visualize the process:
- Smooth, uniform strokes along the wood grain
- Even removal of old finish without deep scratches
- Gradual refinement from coarse to fine grit
- Clean, dust-free surface ready for the next step
- No visible sanding marks or rough patches
These techniques guarantee your cabinets have a perfectly smooth foundation for finishing.
Cleaning and Finishing Your Cabinets After Sanding
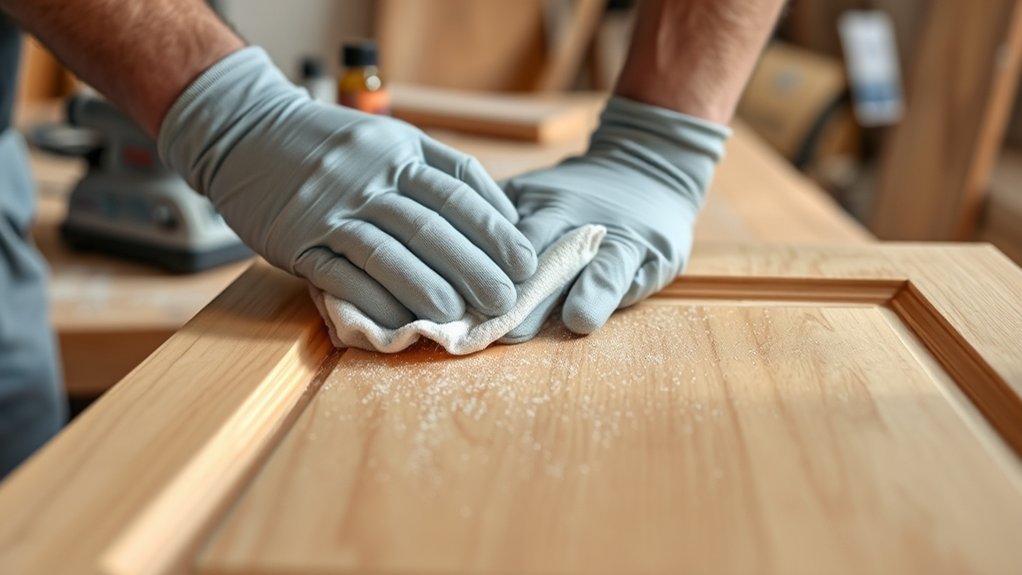
Once you’ve sanded your kitchen cabinets to a smooth finish, you need to thoroughly clean the surfaces to remove all dust and debris before applying any finish. Use a tack cloth or a microfiber cloth dampened with mineral spirits to capture fine particles effectively.
Avoid water-based cleaners that can raise the wood grain. Proper cleaning techniques guarantee ideal adhesion of your finishing coat. For finishing options, consider polyurethane for durability, lacquer for a smooth, glossy look, or oil-based stains to enhance the wood’s natural grain.
Apply finishes in thin, even coats using a high-quality brush or spray system, allowing adequate drying time between layers. This meticulous approach ensures a professional-quality result, extending the lifespan and aesthetic appeal of your kitchen cabinets.
Frequently Asked Questions
Can I Use an Electric Sander on Kitchen Cabinets?
Yes, you can use an electric sander on kitchen cabinets. Choose the right sander type, such as orbital or detail, and apply proper sanding techniques to avoid damaging surfaces. This ensures smooth, even results without gouging or uneven sanding marks.
How Long Does Sanding Kitchen Cabinets Typically Take?
You won’t spend a millennium sanding cabinets. Typically, it takes 2-6 hours depending on sanding techniques and cabinet condition.
Efficient time estimates hinge on grit progression and surface prep, so plan accordingly to avoid amateur hour.
What Safety Gear Should I Wear While Sanding Cabinets?
You should wear dust masks to protect your lungs and eye protection to shield against debris. Hearing safety helps reduce noise exposure, and work gloves safeguard your hands. These essentials guarantee your safety during sanding tasks.
Is It Necessary to Remove Cabinet Doors Before Sanding?
Don’t let cabinet doors anchor your progress; removing them streamlines cabinet preparation. It grants better access for precise sanding techniques, ensuring even surfaces and preventing missed spots.
This step’s essential for a flawless, professional finish.
Can Sanding Damage the Wood of Kitchen Cabinets?
Yes, improper sanding techniques can damage wood types like softwoods or veneers. You should use appropriate grit sandpaper and light pressure to avoid gouges or uneven surfaces. This helps preserve the cabinet’s structural integrity and appearance.