How to Remove Kitchen Cabinets
To remove kitchen cabinets, first turn off water and power to prevent hazards.
Clearing countertops and disconnecting plumbing and electrical fixtures is essential before starting.
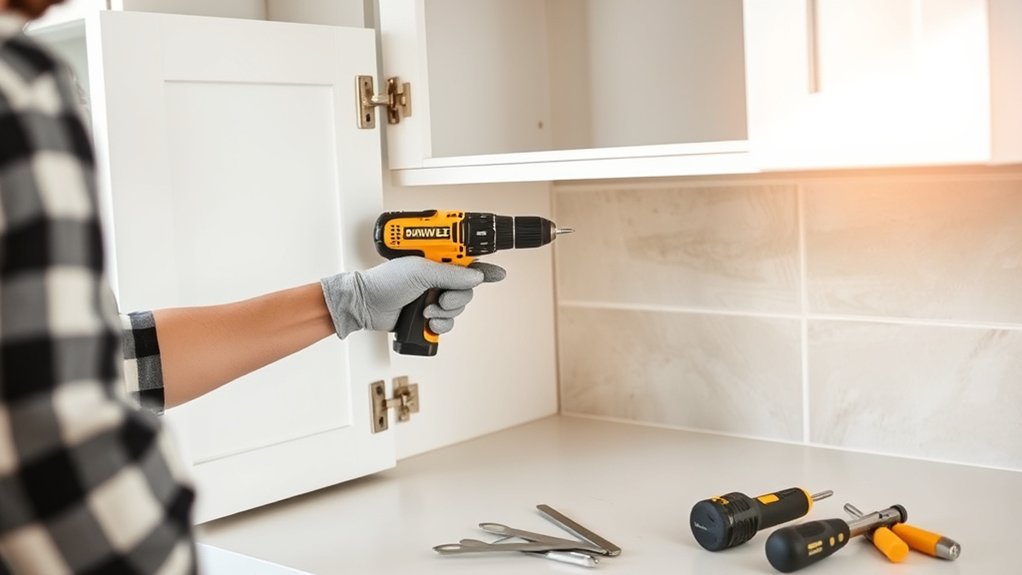
Use a cordless drill to unscrew mounting hardware, beginning with shelves and toe kicks.
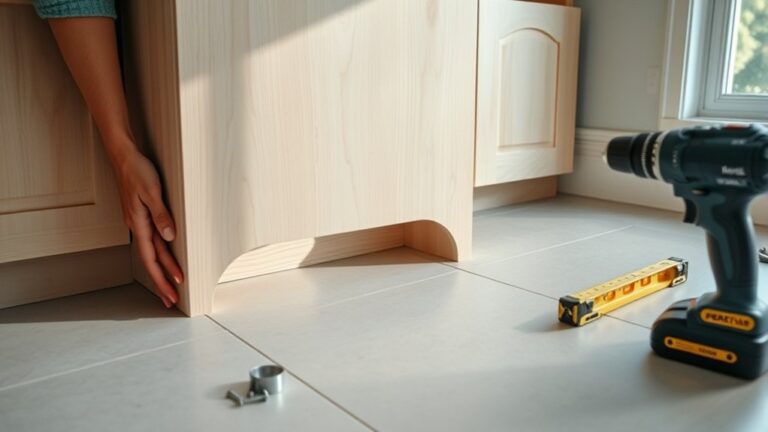
Carefully pry cabinets off walls, supporting their weight with help to avoid damage.
Remove hardware gently to preserve surfaces.
Using the right tools and techniques guarantees safety and efficiency.
Following these steps sets you up for a smooth cabinet replacement process you’ll want to understand fully.
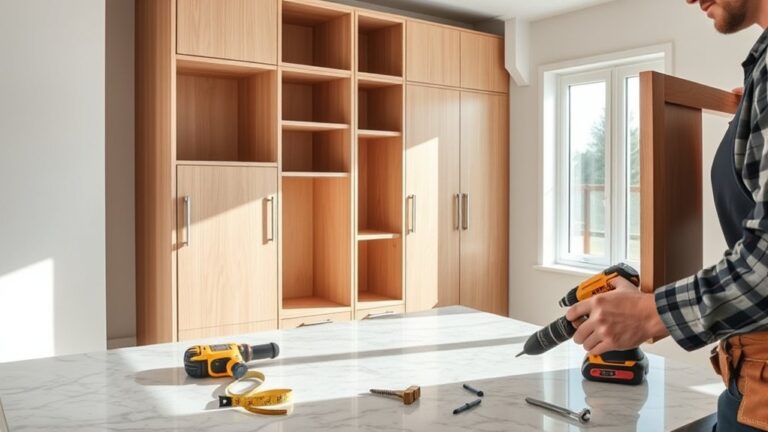
Essential Tools Needed to Remove Kitchen Cabinets
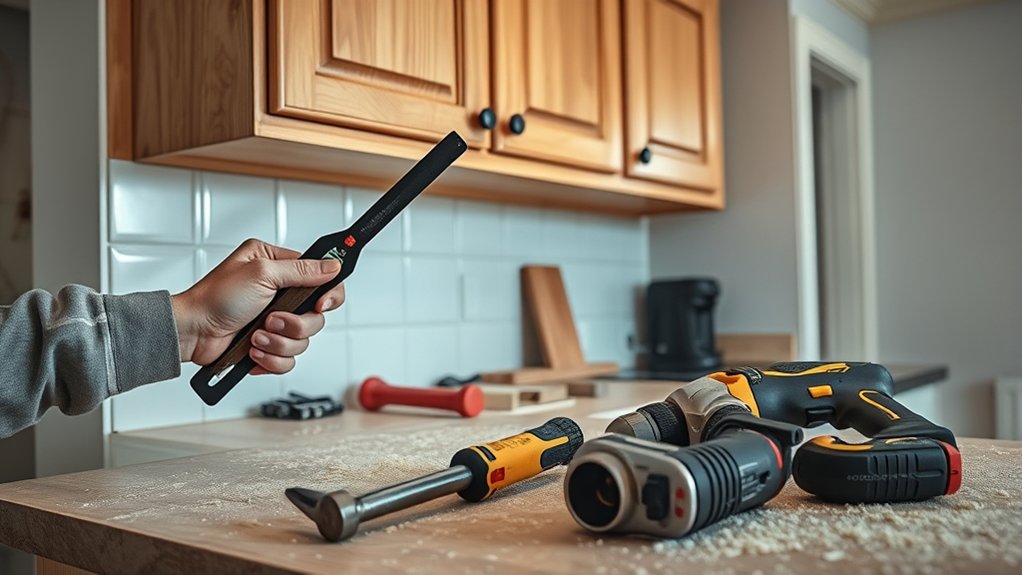
To remove kitchen cabinets efficiently, you’ll need a specific set of essential tools ready before you start. Begin with a cordless drill equipped with various screwdriver bits to handle different fasteners common to cabinet types.
Efficient cabinet removal starts with having a cordless drill and versatile screwdriver bits ready.
A pry bar or flat bar is vital for carefully detaching cabinets without damaging walls or surfaces. You’ll also need a utility knife to cut through caulking or paint seals.
A stud finder helps locate wall studs for safer removal. Additionally, a hammer assists in loosening stubborn nails or trim.
For safety, wear gloves and goggles to protect against splinters and debris. Having these tools prepared enables you to apply proper removal techniques tailored to frame or frameless cabinets, ensuring an efficient and damage-free process.
Preparing Your Kitchen and Disconnecting Plumbing and Electrical
Start by clearing your kitchen workspace to guarantee safe and easy access to the cabinets.
Next, shut off the water supply and electrical power to prevent accidents during removal. These steps are essential before disconnecting any plumbing or wiring.
Clearing Kitchen Workspace
Before removing kitchen cabinets, clear your workspace by emptying all items from countertops, drawers, and cabinets to assure unobstructed access. Use kitchen organization tips, such as sorting items into labeled bins, to maintain workspace efficiency during the project.
Remove small appliances, utensils, and dishware to prevent damage and create a safe environment. Next, disconnect plumbing fixtures carefully, draining any water lines to avoid spills.
Detach electrical connections from under-cabinet lighting or outlets, guaranteeing cords are safely moved aside. Keep tools and removed hardware organized for reinstallation or disposal.
Maintaining a clean, organized workspace improves safety and speeds cabinet removal. Prioritize setting up a temporary storage area for your kitchen items to avoid clutter and maintain workflow efficiency throughout the process. This preparation assures a smooth shift to cabinet removal.
Shutting Off Utilities
Two critical steps in preparing your kitchen for cabinet removal involve shutting off the water supply and disconnecting electrical power. Proper shutting utilities and safety precautions prevent accidents and damage during the process. Follow these steps:
- Locate the main water shutoff valve and turn it off to stop plumbing flow.
- Open kitchen faucets to drain residual water from pipes.
- Switch off power at the circuit breaker controlling kitchen outlets and lighting.
- Use a voltage tester to confirm no power is present in the cabinets.
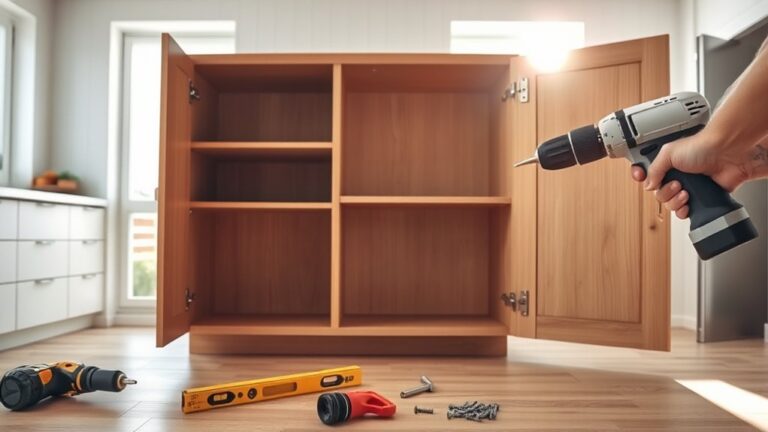
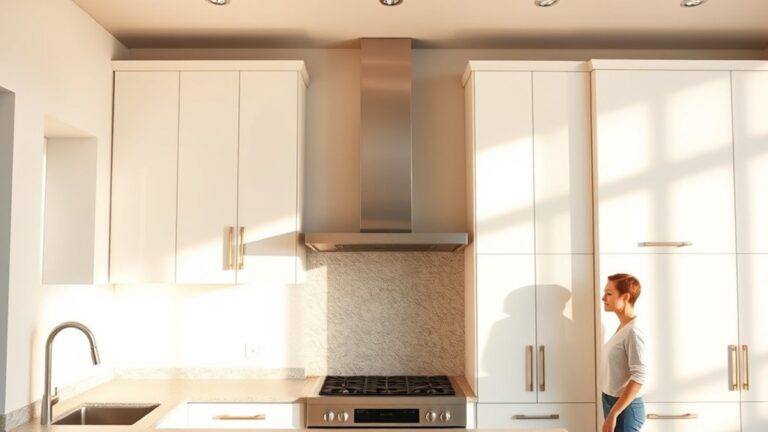
Safe Steps to Remove Upper and Lower Kitchen Cabinets

Carefully disconnect all electrical appliances and plumbing fixtures linked to the cabinets to guarantee safety. Begin with upper cabinets by removing any shelves, then locate and unscrew mounting screws, typically found inside the cabinet near the top and sides.
Note that cabinet styles vary, and some may use French cleats or metal brackets; adapt your approach accordingly. For lower cabinets, remove the toe kicks to access screws securing them to the wall and adjacent cabinets.
Installation techniques often involve shims for leveling; remove these once cabinets are loose. Support cabinets as you unscrew to prevent injury or damage.
Keep a pry bar handy for cabinets adhered with construction adhesive, but use it cautiously to avoid wall damage. By following these precise steps, you’ll guarantee a safe and efficient removal of both upper and lower kitchen cabinets.
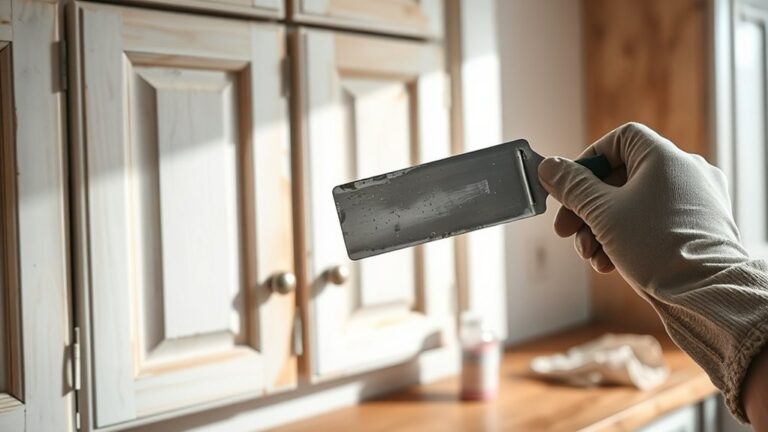
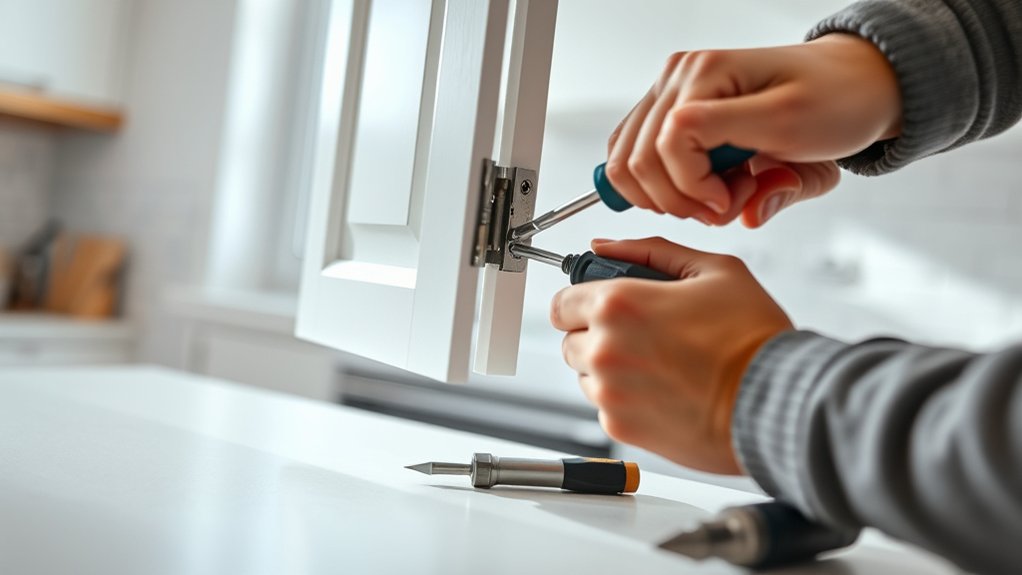
Removing Kitchen Cabinet Hardware Without Damage
Choose the right screwdriver or drill bit to match your cabinet hardware screws precisely. Start by loosening screws gently to avoid stripping or damaging the surface.
Follow a systematic order to remove handles and hinges cleanly without applying excessive force.
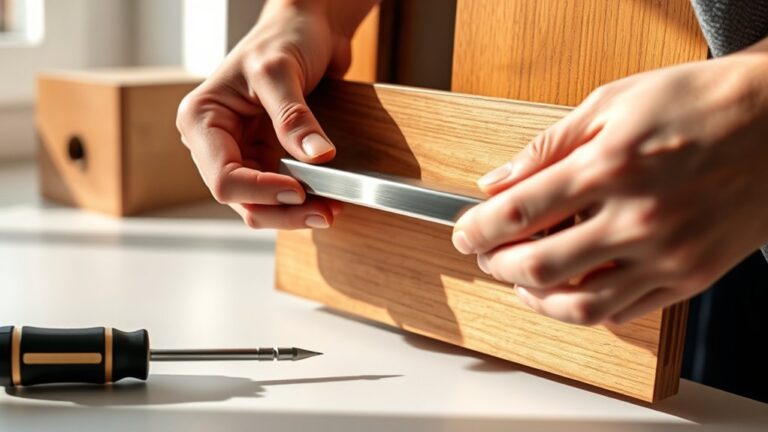
Choosing Proper Tools
Start by assembling the right tools to remove your kitchen cabinet hardware without causing damage. Knowing the correct tool types guarantees efficiency and prevents wear on surfaces.
Proper tool maintenance, like sharpening and cleaning, aids precision and avoids slips that could damage your cabinets.
Here’s what you’ll need:
- Screwdrivers with magnetic tips to hold screws securely.
- A putty knife or thin pry bar to gently lift hardware without scratching.
- Adjustable wrench or pliers for stubborn bolts.
- Soft cloth or painter’s tape to protect the cabinet finish.
Using these well-maintained tools reduces the risk of stripping screws or denting wood. Always inspect tools before starting to guarantee peak performance and avoid delays during removal.
Step-By-Step Removal
Begin by loosening all screws securing the cabinet hardware using a magnetic-tip screwdriver to prevent dropping fasteners. Identify the cabinet types and installation methods before removal to adjust your approach accordingly.
Handle hinges, handles, and drawer pulls carefully to avoid damage. Use gentle prying when necessary, applying steady pressure.
| Step | Action | Tool Needed |
|---|---|---|
| 1 | Loosen screws | Magnetic-tip screwdriver |
| 2 | Remove cabinet hardware | Flathead screwdriver |
| 3 | Detach cabinet from wall | Pry bar |
Following this systematic process guarantees you preserve cabinet integrity and hardware for reuse or resale. Be mindful of varying installation methods such as face-frame or frameless cabinets to adapt your technique effectively.
Avoiding Common Mistakes When Removing Cabinets
Although removing kitchen cabinets might seem straightforward, overlooking key precautions can lead to costly damage or safety hazards. To avoid common pitfalls, you need to apply safety precautions and proper techniques.
- Turn off power and water: Avoid electrocution or leaks by disconnecting electrical outlets and water supply before you start.
- Use the right tools: A proper screwdriver and pry bar prevent damaging walls and cabinet surfaces.
- Remove screws carefully: Stripped screws can cause delays; apply steady pressure and use appropriate bits.
- Support cabinet weight: Prevent injury or damage by having a helper or using supports when detaching heavy cabinets.
Following these steps helps you remove cabinets safely and efficiently without causing unnecessary repairs or hazards.
Cleaning Up and Preparing for New Kitchen Cabinets
Clear away all debris and dust left from the cabinet removal to guarantee a clean workspace. Use a vacuum and damp cloth to remove fine particles from walls, floors, and countertops.
Inspect wall surfaces for damage and repair holes or dents to assure a smooth base for new installation. Measure the space accurately, considering plumbing and electrical fixtures, to align with your kitchen design plans.
Evaluate the condition of the wall studs and reinforce if necessary to support your chosen cabinet styles. Mark precise installation points to streamline the mounting process.
Finally, organize your tools and new cabinets nearby, giving yourself easy access. This preparation phase optimizes efficiency and assures your new kitchen design and cabinet styles fit perfectly and function correctly.
Frequently Asked Questions
How Long Does It Typically Take to Remove Kitchen Cabinets?
Picture peeling back layers of wood and screws; cabinet removal typically takes 2 to 4 hours for a standard kitchen.
Using efficient cabinet removal techniques and time-saving tips, you’ll speed up the process while staying precise.
Can I Sell or Donate My Old Kitchen Cabinets?
You can sell or donate old kitchen cabinets. Use cabinet resale tips like evaluating condition and pricing competitively.
Contact local donation centers to find those accepting cabinets, ensuring you follow their specific guidelines for drop-off or pickup.
What Should I Do if My Cabinets Are Glued, Not Nailed?
If your cabinets are glued, use cabinet removal techniques involving adhesive solvents to weaken the glue. Apply solvents carefully, let them sit, then gently pry the cabinets to avoid damaging walls or cabinet surfaces.
How Do I Handle Mold or Water Damage Behind Cabinets?
You should prioritize mold remediation by wearing protective gear and removing affected materials. Address water damage by drying the area thoroughly, repairing leaks, and using antimicrobial treatments to prevent mold regrowth behind cabinets effectively.
Are There Eco-Friendly Ways to Dispose of Old Cabinets?
You can’t just toss old cabinets in the trash! Explore recycling options to break down materials or donate to donation centers.
These eco-friendly methods reduce landfill waste and give your cabinets a second life efficiently.