How to Install Kitchen Cabinets
To install kitchen cabinets, start by measuring your space accurately, taking note of walls, openings, and plumbing.
Choosing cabinets that fit your layout and style is essential for a cohesive look.
Gather essential tools such as a drill, level, and stud finder.
Locate and mark the studs on your walls to ensure secure installation.
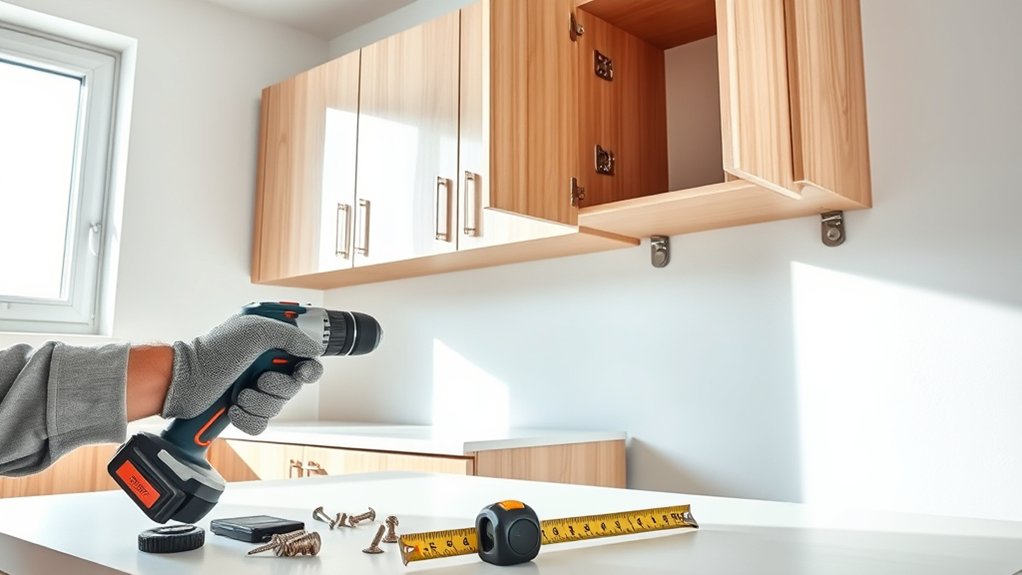
Next, level and secure the upper cabinets before positioning the base cabinets.
Use shims to guarantee proper alignment and clamp adjoining cabinets for stability.
Attach hardware and make any necessary adjustments to ensure smooth operation.
Follow these steps carefully, and you’ll achieve a precise, professional result that sets the foundation for a successful kitchen upgrade.
Measure Your Kitchen Space for Cabinets
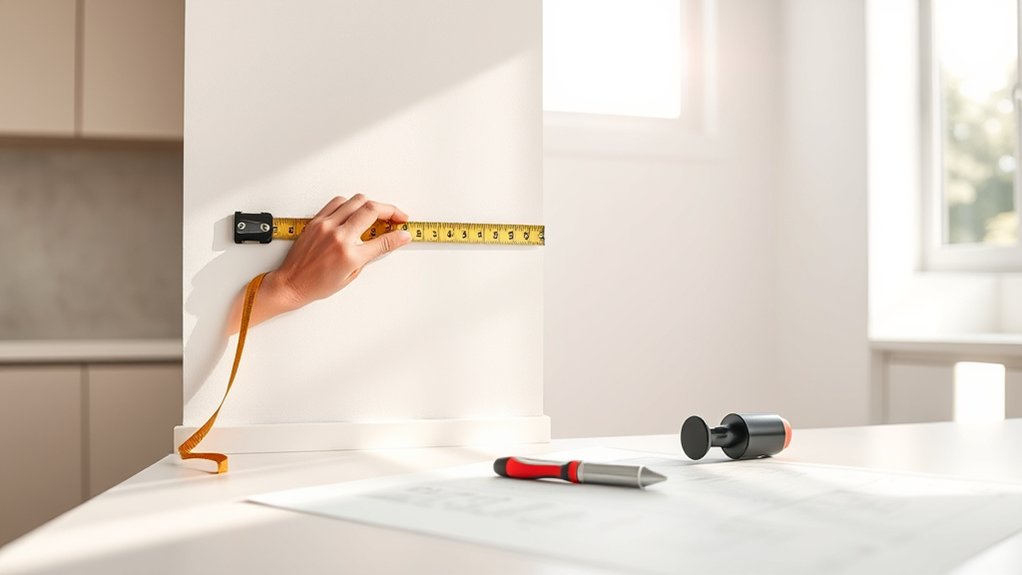
Before you begin installing kitchen cabinets, measure your kitchen space accurately to secure a proper fit. Start by recording the overall dimensions of the room, including wall lengths and ceiling height.
Measure doorways, windows, and any obstructions that affect cabinet placement. Note electrical outlets and plumbing locations.
Precise measurements allow you to select cabinet styles that maximize available space and complement your kitchen’s design. Consider how different cabinet styles impact storage solutions, like deep drawers or overhead cabinets, to optimize organization.
Choosing cabinet styles thoughtfully enhances space efficiency and improves kitchen organization with tailored storage options.
Use a laser measure or tape measure for accuracy, and double-check all figures. Document measurements clearly to avoid errors during installation.
Accurate measuring secures your cabinets fit seamlessly, enhancing both aesthetics and functionality without costly adjustments later.
Choose Cabinets for Your Kitchen Layout
Selecting the right cabinets for your kitchen layout involves balancing style, function, and spatial constraints. Begin by evaluating cabinet styles that complement your kitchen’s design, such as shaker, flat-panel, or raised-panel options. Consider how each style impacts visual flow and usability.
Next, assess color options to guarantee harmony with your countertops, flooring, and wall tones. Light colors can open small spaces, while darker hues add depth to larger kitchens. Prioritize cabinet dimensions to maximize storage without overcrowding walkways or work areas.
Also, factor in specialized cabinets like corner units or pull-out shelves to enhance functionality. By integrating these elements, you’ll create a cohesive, efficient kitchen layout tailored to your needs and preferences.
Gather Tools and Materials for Cabinet Installation
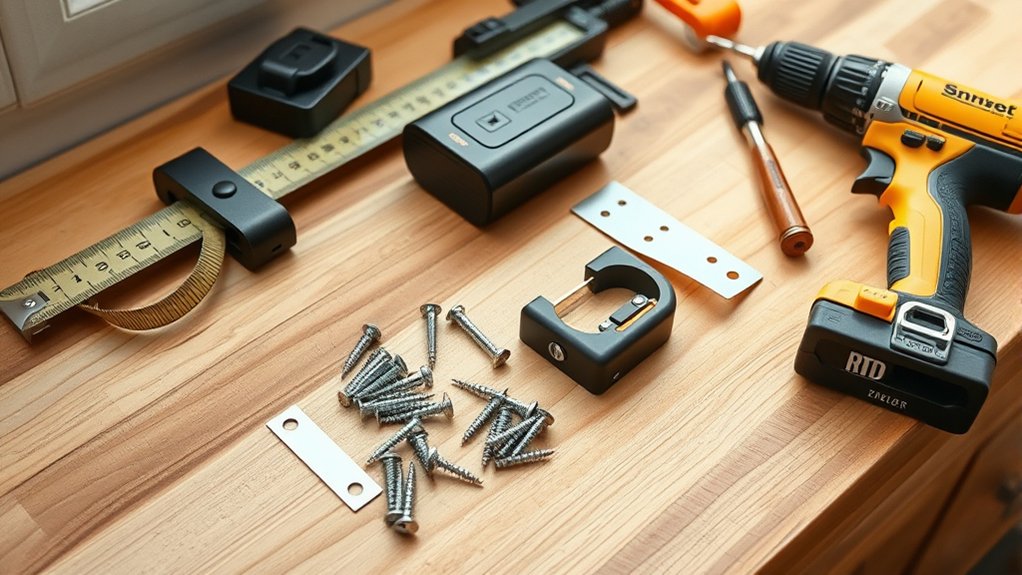
With your cabinet choices finalized to fit your kitchen’s layout and style, it’s time to gather the necessary tools and materials to guarantee a smooth installation process. Essential tool types include a cordless drill, stud finder, level, measuring tape, clamps, screwdrivers, and a stud finder.
Material choices comprise mounting screws, shims, wood glue, and cabinet hardware such as hinges and handles. Select screws compatible with your wall type and cabinet material to assure secure fastening. Have protective gear like gloves and safety glasses on hand.
Organize your tools and materials within easy reach to streamline workflow. Confirm you have all components before starting to avoid interruptions. This preparation minimizes errors and accelerates installation, assuring your cabinets fit perfectly and function reliably.
Prep Your Walls and Find Studs
Start by inspecting your walls for damage or uneven surfaces that could affect cabinet mounting. Use a stud finder to locate studs accurately, then mark their positions clearly with a pencil.
These steps guarantee a secure and level installation.
Assess Wall Condition
Anyone planning to install kitchen cabinets must first assess the condition of the walls. Begin with a thorough wall inspection, checking for cracks, holes, water damage, or mold that could compromise cabinet support. Use a flashlight to spot subtle surface issues and a level to verify wall straightness.
Conduct a damage assessment by tapping the wall gently; hollow sounds may indicate weakened drywall or hidden damage requiring repair. Address any structural problems before proceeding, as compromised walls can lead to cabinet failure.
Confirm the wall surface is clean, dry, and smooth for proper cabinet adhesion. This preparation step is critical to assure secure mounting and long-term stability of your kitchen cabinets. Once the wall condition is confirmed sound, you’re ready to locate studs accurately.
Locate Studs Accurately
After confirming your walls are sound and properly prepared, the next step is to locate the studs accurately. Using a stud finder guarantees you identify the exact framing behind drywall, essential for securely mounting your kitchen cabinets. Follow these steps:
- Calibrate your stud finder per the manufacturer’s instructions to avoid false readings.
- Move the stud finder slowly across the wall, marking stud edges precisely; studs typically space 16 or 24 inches apart.
- Avoid relying solely on wall anchors. They provide less support than screws anchored directly into studs, which is crucial for heavy cabinets.
Accurate stud location prevents cabinet failure and guarantees long-lasting stability. Proper use of a stud finder, combined with avoiding unsupported drywall fasteners, assures a safe and professional installation.
Mark Stud Positions
Marking stud positions accurately is critical to confirm your cabinets align perfectly and mount securely. First, use reliable stud finder options, magnetic, electronic, or multi-sensor, to detect framing behind drywall. Confirm each stud’s location by tapping the wall or measuring 16 to 24 inches on center, standard stud spacing.
Once located, apply stud marking techniques by making small, consistent pencil marks at the top and bottom of the wall where each stud lies. Use a level or straightedge to connect these marks vertically, creating a clear guide for cabinet attachment.
Avoid guessing or relying solely on visual cues; precise markings prevent misaligned or unstable cabinets. By following these steps, you confirm your kitchen cabinets fasten firmly to the framing, supporting long-term durability and safety.
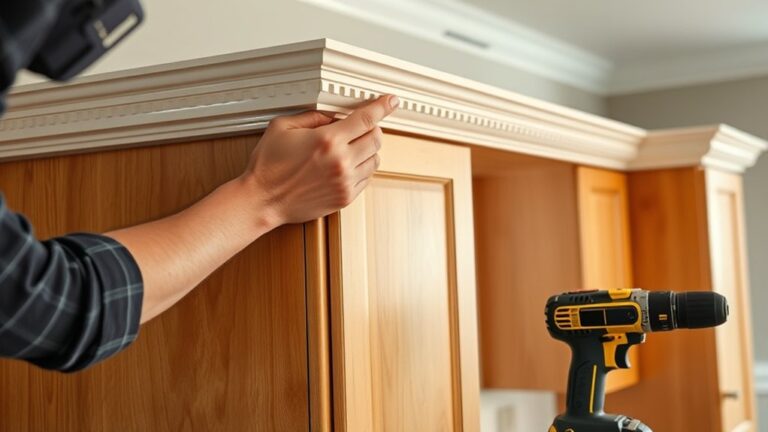
Level and Secure Upper Cabinets First
Before securing your upper cabinets, verify your wall studs are clearly identified and the mounting area is clean. This guarantees a solid foundation for installing brackets and cabinets. Begin by:
- Installing brackets: Attach temporary support brackets at the correct height, using a level to confirm horizontal alignment.
- Confirming level: Use a laser level or spirit level across the bracket line to ensure precision before mounting.
- Securing cabinets: Lift the first upper cabinet onto the brackets, screw it into the studs through the back panel, and check that it remains level.
Repeat the process for all upper cabinets, fastening adjacent units together for stability. Properly leveling and securing upper cabinets first establishes a reliable framework, simplifying subsequent installation steps.
Install and Align Base Cabinets
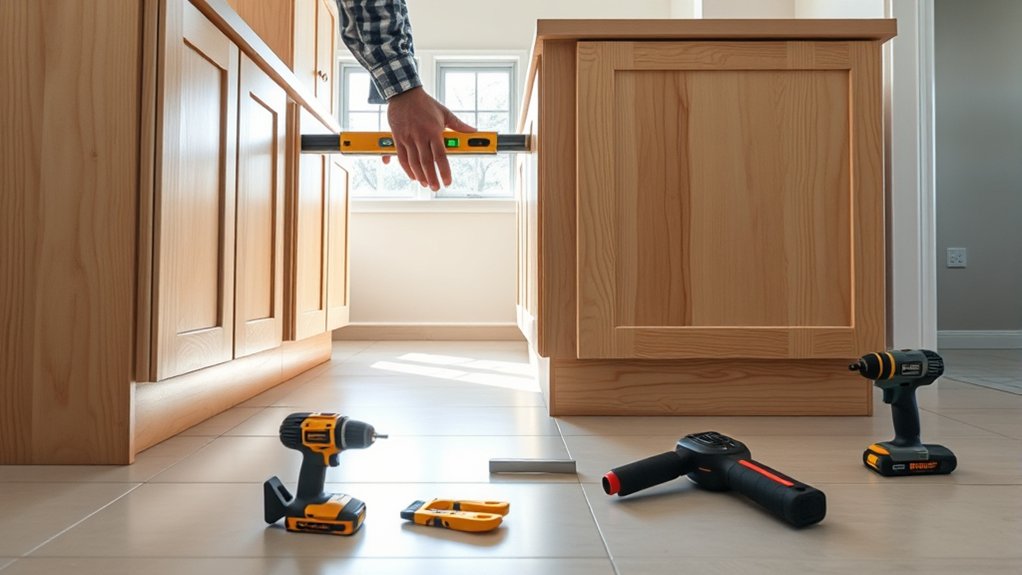
Start by positioning your base cabinets along the marked layout lines, ensuring they rest firmly on the floor and align with your reference points. Check cabinet spacing carefully to maintain consistent gaps for appliances and trim.
Use shims to level cabinets where floors are uneven, verifying that each unit is plumb and square. Secure cabinets to the wall studs using screws, applying installation techniques that prevent shifting during fastening.
Attach cabinets one at a time, confirming alignment with a level and measuring for precise spacing. Avoid forcing cabinets into position, as this can cause misalignment.
Properly aligned base cabinets create a stable foundation for countertops and upper cabinets, ensuring a professional finish and functional kitchen layout.
Join Cabinets for a Seamless Look
You’ll want to align the cabinet edges precisely to guarantee a flush joint. Use clamps to hold the cabinets firmly in place during this process.
Then, secure them together tightly to maintain stability and a seamless appearance.
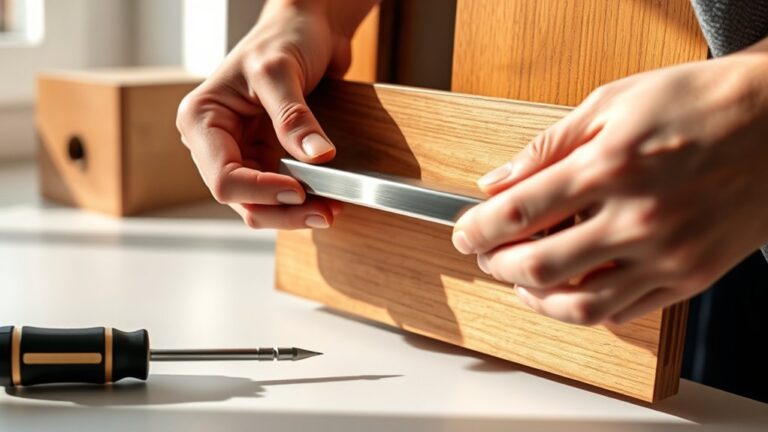
Align Cabinet Edges Precisely
Align cabinet edges carefully to guarantee a seamless, professional finish. Precise measurements are essential when you align cabinets to avoid gaps or misalignment. Use established cabinet alignment techniques to make certain edges meet flush and create a uniform surface.
Follow these steps:
- Measure twice, mark alignment points on adjoining cabinet faces.
- Adjust cabinet positioning incrementally, checking edge levelness with a carpenter’s square.
- Secure cabinets temporarily to verify alignment before final fastening.
These steps prevent gaps and uneven edges, guaranteeing a consistent look. Focusing on exact alignment reduces the need for filler materials and touch-up work. By mastering cabinet alignment techniques and relying on precise measurements, you’ll achieve a seamless installation that looks custom and professionally done.
Use Clamps for Stability
Clamp adjoining cabinets firmly to maintain stability and guarantee edges remain flush during fastening. Use bar clamps or parallel clamps for even pressure along cabinet edges; these clamp types prevent bowing and misalignment.
Position clamps at multiple points vertically and horizontally to distribute force uniformly. Avoid overtightening to prevent damaging the cabinet surfaces.
Stability tips include checking for level alignment before clamping and using padded clamp jaws to protect finishes. For corner joints, consider corner clamps to hold cabinets at a precise 90-degree angle.
Always recheck flushness after applying clamps, adjusting as needed before proceeding. Proper clamping guarantees a seamless, professional cabinet joint, reducing gaps and simplifying subsequent fastening steps without compromising structural integrity or appearance.
Secure Cabinets Together Firmly
After confirming cabinets are held firmly and edges flush with clamps, it’s time to fasten them securely together. Proper cabinet alignment is critical to achieving a seamless look. Use these fastening techniques to join cabinets firmly:
- Drill pilot holes through the face frames where cabinets meet, preventing wood splitting and confirming precision.
- Drive 3-inch screws through the pilot holes, tightening gradually to maintain flush edges and consistent alignment.
- Double-check cabinet alignment by measuring gaps and adjusting screws as needed before fully tightening.
These steps guarantee structural stability and a uniform appearance. Avoid over-tightening, which can distort cabinet frames. Employing these fastening techniques confirms your cabinets join seamlessly, supporting both aesthetics and durability in your kitchen installation.
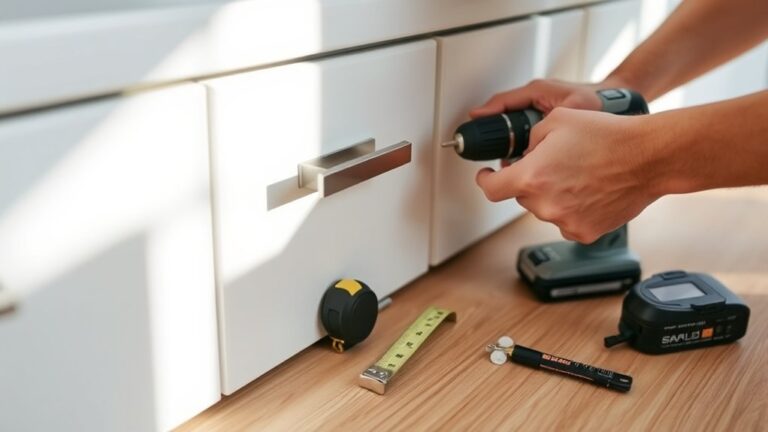
Attach Doors, Drawers, and Hardware
Begin by securing the cabinet doors with the hinges, guaranteeing they fit snugly and swing smoothly. Adjust the hinges carefully to achieve perfect door alignment, preventing gaps or uneven spacing.
Next, proceed with drawer installation, sliding each drawer into its tracks and checking for smooth operation. Use mounting techniques recommended by the manufacturer to secure drawers firmly.
Select hardware that complements your cabinet finishes, focusing on durable handles and knobs. Position handles precisely, maintaining consistent handle placement across all doors and drawers for a uniform look.
Install soft close features if your hardware supports them, enhancing functionality and longevity. Throughout this process, double-check hinge adjustment and mounting tightness to confirm all components operate reliably and align perfectly, delivering professional-quality cabinet installation.
Troubleshoot Cabinet Installation Issues
Although careful installation reduces most problems, you may still encounter issues like misaligned doors, uneven gaps, or drawers that don’t close properly. Use these troubleshooting tips to address common issues efficiently:
Careful installation helps, but common issues like misaligned doors and uneven gaps can still occur.
- Misaligned Doors: Adjust hinges using the built-in screws to realign doors vertically and horizontally. Check for warped doors and replace if necessary.
- Uneven Gaps: Shim cabinet frames at mounting points to guarantee level alignment. Use a level during installation to prevent uneven spacing.
- Drawers Not Closing: Inspect drawer slides for debris or damage. Tighten mounting screws and adjust the drawer front or slides to ensure smooth operation.
Frequently Asked Questions
What Is the Best Wood Type for Kitchen Cabinets?
You should choose hardwood options like maple or oak, known for cabinet durability. Maple offers 1.5 times the hardness of pine. Their dense grain guarantees longevity, resisting dents and scratches, making your kitchen cabinets last longer and look better.
How Do I Maintain and Clean Kitchen Cabinets?
You should use gentle cleaning techniques tailored to your cabinet materials. For wood, use a damp cloth with mild soap; for laminate, a non-abrasive cleaner works best.
Avoid harsh chemicals to prevent damage and preserve finish quality.
Can I Install Cabinets Without Wall Studs?
You can install cabinets without wall studs using heavy-duty wall anchors, but for ideal cabinet support, it’s best to secure them to studs.
Anchors work but may limit weight capacity and long-term stability.
How Long Does Cabinet Installation Usually Take?
Your cabinet installation timeline typically spans 4 to 8 hours for a standard kitchen. Factors affecting duration include cabinet complexity, wall conditions, and installer experience.
Planning for unforeseen adjustments helps keep your schedule accurate.
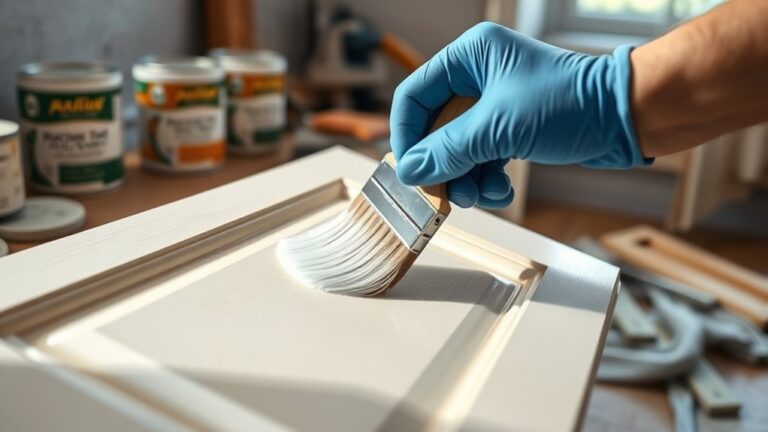
Should I Paint or Stain New Kitchen Cabinets?
You should choose cabinet finish options based on durability and style; paint offers color versatility, while stain highlights wood grain.
For color selection tips, consider room lighting and existing décor to guarantee your cabinets complement the space perfectly.