How to Build Kitchen Cabinets
Start by measuring your kitchen space accurately and planning your layout for efficient workflow when building kitchen cabinets.
Gather durable tools and quality materials like hardwood plywood and solid wood. Cut cabinet parts precisely using clamps and appropriate saws. Then, assemble panels carefully with reinforced joints.
Finish with paint or stain to match your kitchen style. Avoid common mistakes like poor door clearance and low-quality materials to guarantee lasting results.
Keep these steps in mind as you move forward with your project.
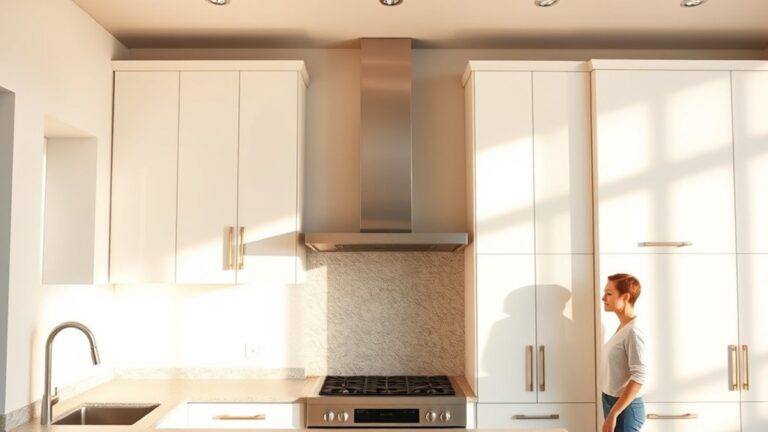
Plan and Measure Your Kitchen Space
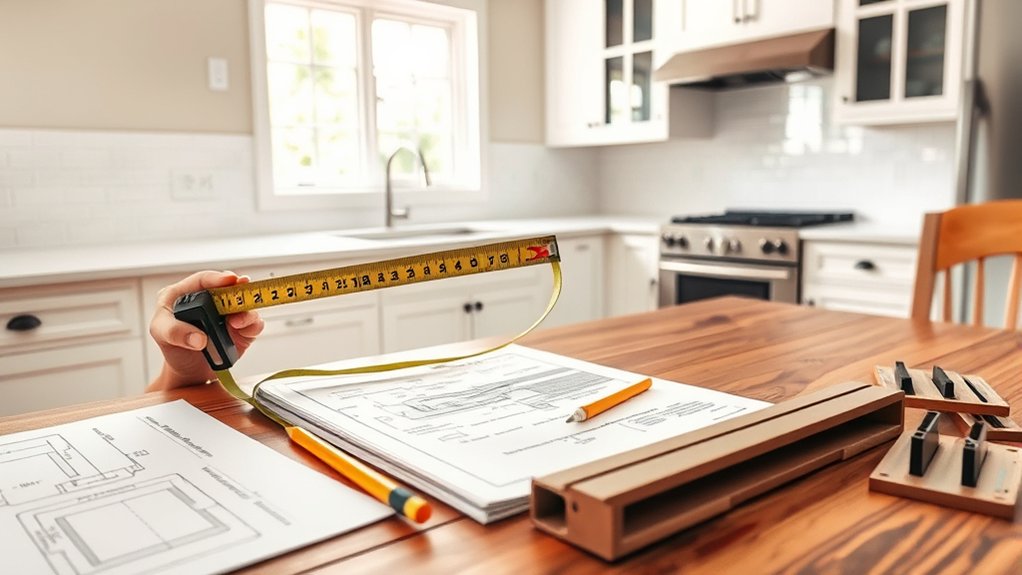
Begin by thoroughly measuring your kitchen space to confirm your cabinets fit perfectly. Use accurate measurement techniques, like a laser measure or tape, noting wall lengths, ceiling height, and existing appliances.
Assess your kitchen layout carefully, identifying traffic flow and work zones to enhance workflow efficiency. Consider design considerations such as door swing clearance and countertop depth.
Evaluate layout, traffic flow, and work zones to improve kitchen efficiency and ensure proper door clearance and countertop depth.
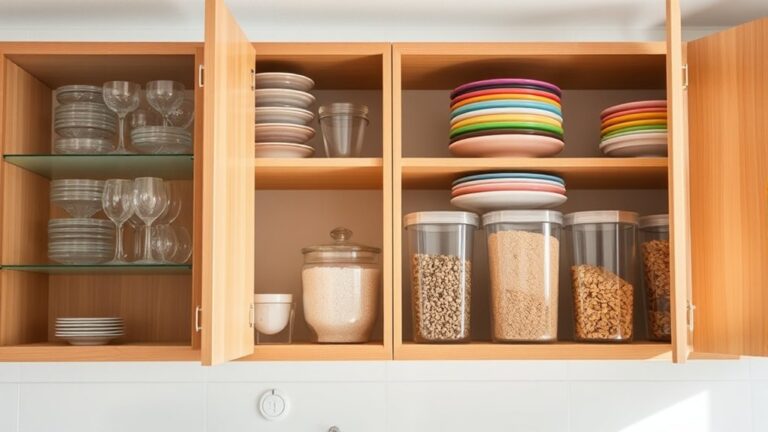
Optimize space by planning for storage solutions that utilize corners and vertical areas. Choose cabinet styles that complement your kitchen’s size and style while incorporating accessibility features like pull-out shelves or soft-close hinges.
Document all measurements and design notes precisely to avoid errors. This detailed planning guarantees your cabinets will maximize functionality and aesthetics while fitting seamlessly into your kitchen space.
Gather Your Tools and Materials
With your kitchen measurements and design plans in hand, you can now focus on assembling the right tools and materials. Start by reviewing your tool selection carefully: essential items include a circular saw, drill, clamps, measuring tape, square, and screwdriver set. Choose tools that offer accuracy and durability to guarantee clean cuts and secure assembly.
Next, consider material types. Opt for hardwood plywood for cabinet boxes to balance strength and cost. Solid wood suits face frames and doors, providing a sturdy and attractive finish. Don’t forget hardware like hinges, drawer slides, and screws; select quality pieces compatible with your design.
Gathering everything upfront minimizes delays and keeps your project organized, setting you up for smooth, efficient cabinet construction.
Cut Kitchen Cabinet Parts With Precision

Anyone tackling cabinet construction knows that cutting parts accurately is essential for a seamless fit and professional finish. Start by double-checking your measurements to guarantee measuring accuracy before marking your cuts. Use a reliable tape measure and a sharp pencil to mark clear, precise lines.
Employ proper cutting techniques by choosing the right saw for each material. Typically, a table saw or circular saw is used for straight cuts and a jigsaw for curves or notches. Secure your workpiece firmly with clamps to prevent movement during cutting.
Always cut slightly outside the marked line to allow for fine adjustments. Maintain a steady pace and consistent pressure to avoid splintering or uneven edges. These steps guarantee your cabinet parts fit perfectly during assembly.
Assemble Kitchen Cabinet Boxes and Secure Joints
Start by aligning the cabinet panels carefully to guarantee all edges meet flush. Next, reinforce the corner joints with screws or dowels to create a sturdy, stable frame.
Taking these steps will keep your cabinet boxes square and secure for long-lasting durability.
Align Panels Precisely
Focus on aligning the panels accurately before securing any joints to confirm your cabinet box is square and stable. Start by dry-fitting the panels, checking edges and corners to ensure they meet flush.
Use panel alignment techniques such as applying a small amount of adhesive and positioning each panel carefully. Position clamps strategically along edges to hold panels firmly in place without shifting.
Tighten clamps gradually, checking alignment frequently with a carpenter’s square and a level. Adjust as needed to maintain perfect 90-degree angles.
Proper panel alignment prevents gaps and misfits, ensuring a strong, professional cabinet box. Take your time with this step; it’s easier to correct alignment now than after joints are fastened.
Using clamps effectively is key to maintaining consistent pressure and precise panel positioning throughout assembly.
Reinforce Corner Joints
Strengthen your cabinet boxes by reinforcing the corner joints thoroughly before proceeding to final assembly. Start by selecting appropriate corner joint techniques such as dowel joints, pocket screws, or biscuit joints to guarantee a strong, lasting connection.
Apply wood glue to the joint surfaces, then use clamps to hold panels securely while the glue sets. For added durability, incorporate joint reinforcement materials like corner braces or metal L-brackets, especially in high-stress areas.
When installing these reinforcements, pre-drill pilot holes to prevent wood splitting and ensure tight fastening. Check for square alignment after securing each joint to maintain cabinet precision. Taking these steps guarantees that your kitchen cabinet boxes remain sturdy and stable throughout daily use and over time.
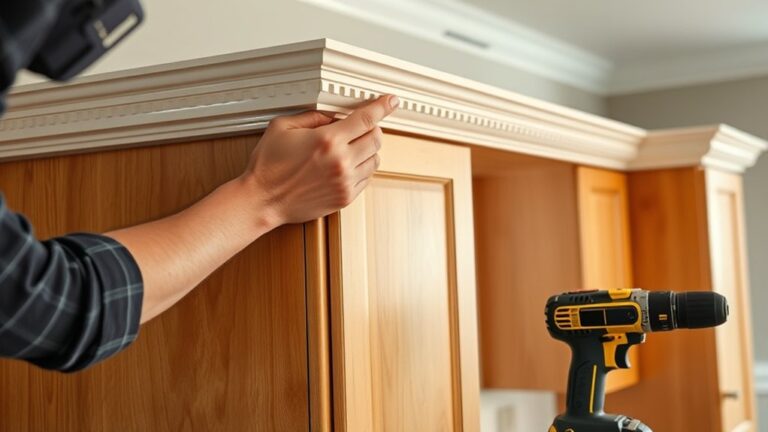
Install Doors, Drawers, and Cabinet Hardware
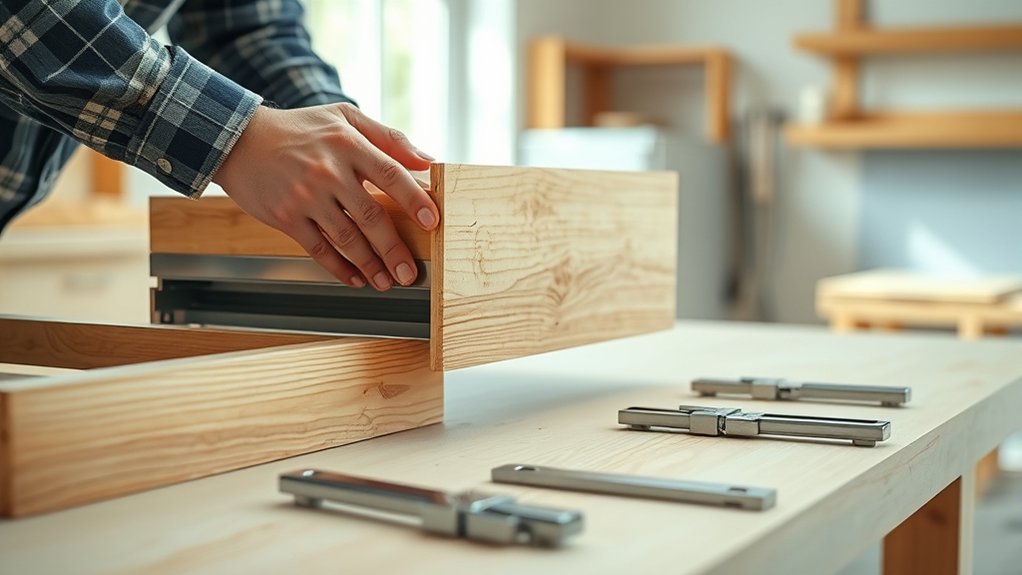
Attach the doors and drawers carefully to guarantee smooth operation and proper alignment. Start by selecting the appropriate door styles that complement your cabinet layout.
Install drawer slides precisely, making sure they’re level and secure for effortless movement. Mount cabinet hinges with attention to spacing; use alignment techniques like a spacer block to maintain consistent gaps.
Ensure drawer slides are level and hinges aligned with spacer blocks for smooth, consistent cabinet operation.
Choose hardware finishes that match your kitchen’s aesthetic, and pre-drill holes to avoid splitting the wood. Use installation tips such as tightening screws incrementally to adjust door positioning without damaging the material.
Check each drawer and door for smoothness and proper fit, making minor adjustments as needed. These finishing touches confirm your kitchen cabinets function flawlessly and look professionally assembled.
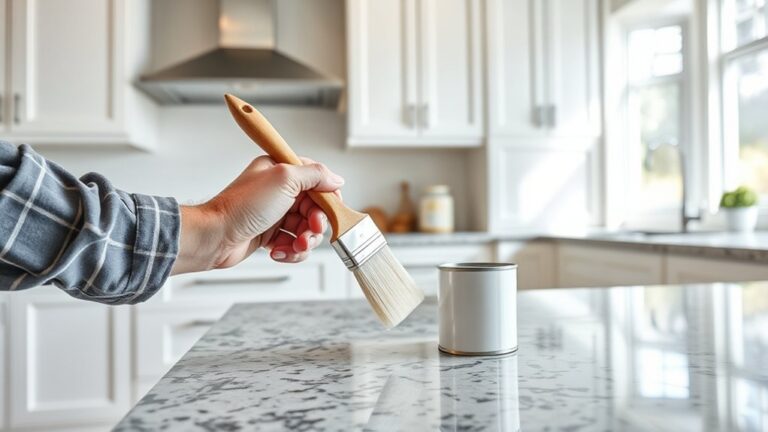
Finish Your Kitchen Cabinets With Paint or Stain
You’ll start by deciding whether paint or stain best suits your kitchen’s style and wood type.
Next, prepare the cabinet surfaces by sanding and cleaning them thoroughly to guarantee a smooth finish.
Finally, apply your chosen finish with consistent strokes, allowing proper drying time between coats for a durable result.
Choosing Between Paint And Stain
How do you decide whether to paint or stain your kitchen cabinets? Start by considering color selection: paint offers endless shades, while stain highlights natural wood tones.
For durability comparison, paint tends to resist moisture and scratches better, but stain penetrates wood, enhancing grain and aging gracefully.
Application techniques differ. Paint requires multiple coats and sanding between, whereas stain needs careful wiping and sealing.
Maintenance tips include repainting over chips versus reapplying a clear coat on stained surfaces.
Cost considerations matter: paint is generally more affordable upfront, but staining can save time if you want a natural look.
Finally, reflect on aesthetic choices. Choose paint for a modern, solid finish or stain for warmth and texture that showcases wood’s character.
Preparing Cabinet Surfaces
Start by thoroughly cleaning your cabinet surfaces to remove grease, dust, and grime, guaranteeing proper adhesion of paint or stain. Use a degreaser and a lint-free cloth for this step.
Next, focus on surface preparation by inspecting for dents or holes; fill these with wood filler and let dry completely. Once smooth, employ sanding techniques starting with 120-grit sandpaper to remove old finishes and smooth rough areas.
Follow with 220-grit sandpaper for a fine, even surface. Always sand in the direction of the wood grain to avoid scratches. After sanding, wipe away dust with a tack cloth or vacuum with a brush attachment.
Proper surface preparation guarantees your paint or stain will adhere evenly and last longer, giving your cabinets a professional, durable finish.
Applying Finish Techniques
Choose the right finish method based on your cabinet material and desired look. Paint offers vibrant color and covers imperfections, while stain highlights natural wood grain. Start with thorough surface preparation to guarantee adhesion and smoothness.
Decide between gloss finishes for a shiny, durable coat or matte finishes for subtle texture options. Use spray application for an even, professional look or brush techniques for detailed control. Consider durability factors like moisture resistance and wear when selecting your finish.
Finally, focus on color selection to complement your kitchen’s style.
| Finish Type | Best For |
|---|---|
| Paint | Vibrant color, covers flaws |
| Stain | Enhances natural wood grain |
| Application | Spray for smoothness, brush for detail |
Avoid Common Kitchen Cabinet Building Mistakes
Mistakes in kitchen cabinet building can lead to wasted materials, time, and frustration. To avoid common pitfalls, start by carefully reviewing your design to identify potential design pitfalls, like inadequate storage space or poor door clearances.
Next, focus on material selection. Choose durable, moisture-resistant wood or plywood suited to kitchen environments. Avoid using low-quality materials that can warp or degrade quickly.
Select durable, moisture-resistant wood or plywood to ensure your kitchen cabinets withstand wear and humidity.
Measure twice, cut once to guarantee accuracy and prevent costly errors. When assembling, pay close attention to alignment and secure joints firmly to maintain cabinet integrity.
Skipping these steps often results in uneven doors or unstable frames. By anticipating these challenges and planning meticulously, you’ll create sturdy, functional cabinets that last and look professional.
Frequently Asked Questions
What Type of Wood Is Best for Kitchen Cabinet Durability?
Think of hardwood vs. plywood like a knight’s armor. Hardwood offers unmatched durability for kitchen cabinets.
You’ll want cabinet wood finishes that protect and enhance, ensuring your cabinets endure daily wear while looking sharp and lasting longer.
How Do I Design Cabinets for Wheelchair Accessibility?
You’ll design cabinets considering wheelchair dimensions by ensuring at least 30-36 inches of clear floor space. Use accessible layouts with lower counters, pull-out shelves, and easy-to-reach handles to maximize usability and comfort.
Can I Install Soft-Close Hinges on Existing Cabinets?
You can install soft-close mechanisms on your existing cabinets with ease. Just remove old hinges, align new soft-close hinges properly during hinge installation, and secure screws tightly.
It’s a practical upgrade that improves cabinet function instantly.
What Are Eco-Friendly Materials for Kitchen Cabinet Construction?
You should choose sustainable plywood or bamboo alternatives for eco-friendly kitchen cabinets. These materials offer durability, renewability, and low environmental impact, helping you create sturdy, stylish cabinets while minimizing your carbon footprint effectively and practically.
How Do I Maintain and Clean Finished Kitchen Cabinets?
Use gentle cleaning products like mild soap and water, avoiding harsh chemicals. Wipe cabinets regularly with a soft cloth.
For maintenance, tighten hinges, check for damage, and apply furniture polish to keep finishes vibrant and protected.