How to Add Crown Molding to Kitchen Cabinets
To add crown molding to your kitchen cabinets, first choose a style and material that fits your design and moisture needs.
Crown molding can significantly enhance the look of your kitchen by adding an elegant finishing touch.
Measure each cabinet section carefully, marking angles and lengths on your molding pieces.
Use a miter saw to cut precise corners, then attach the molding with finishing nails, ensuring it’s level and secure.
Finish by sanding, priming, painting, and sealing the molding for durability and a polished look.
Keep going to master each step and transform your kitchen fully.
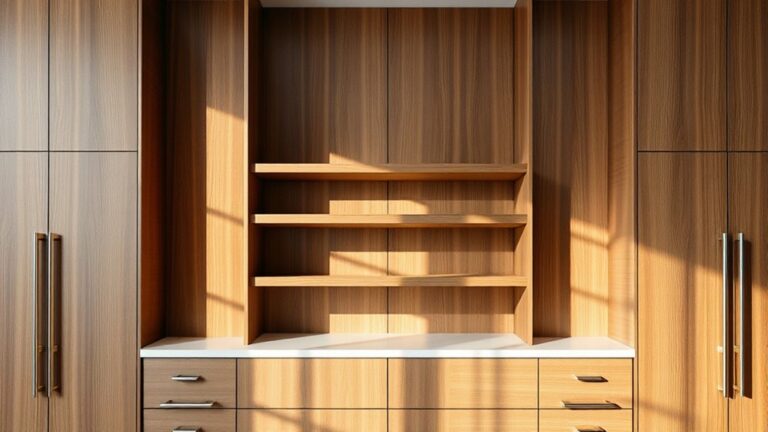
Why Choose Crown Molding for Your Kitchen Cabinets?
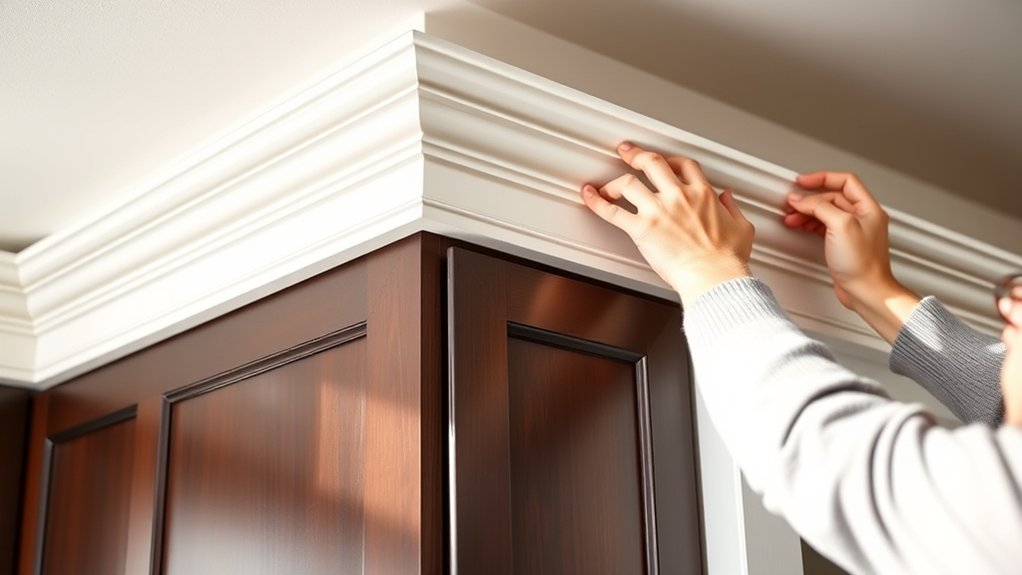
Although often overlooked, adding crown molding to your kitchen cabinets can dramatically elevate the overall look of your space. You’ll notice an immediate boost in aesthetic appeal, as the molding adds a polished, finished edge that draws the eye upward, making your kitchen feel more spacious and refined.
Beyond looks, crown molding offers design versatility; whether your style is traditional or modern, it adapts seamlessly to complement your cabinetry. It also provides architectural enhancement by integrating your cabinets with the ceiling, creating a cohesive, custom-built appearance.
Plus, this simple upgrade can increase your home’s resale value by appealing to potential buyers who appreciate attention to detail and quality finishes. Choosing crown molding is a practical way to enhance both function and style in your kitchen.
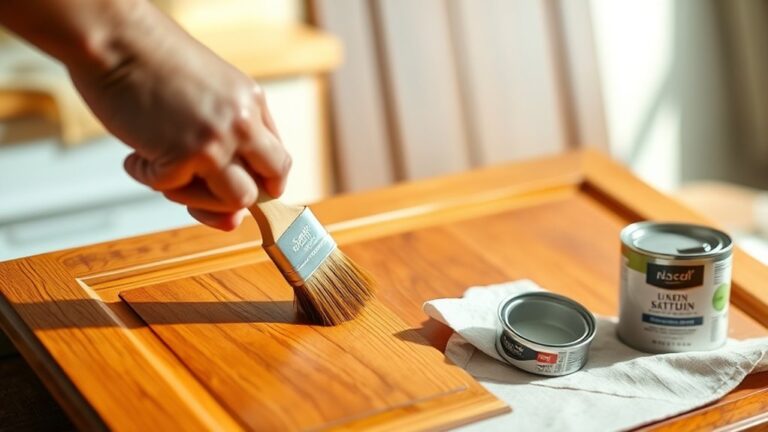
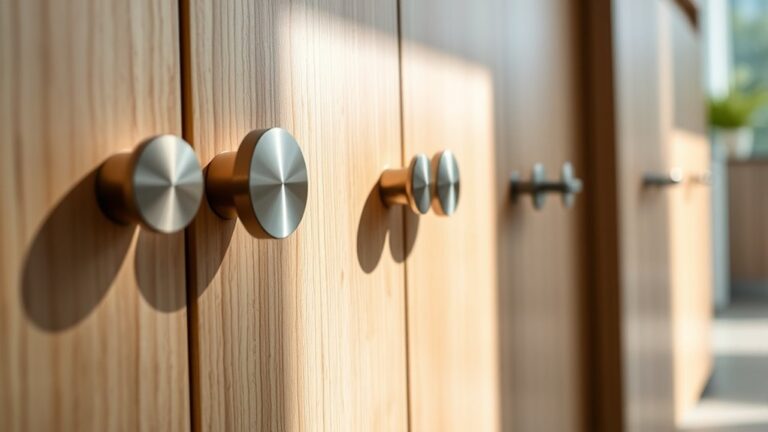
Choose the Right Crown Molding Style and Material
When selecting crown molding for your cabinets, you’ll want to reflect on both style and material to guarantee a perfect match with your kitchen’s design and durability needs. Evaluate molding styles that complement your cabinet’s architecture, whether traditional, modern, or transitional. Your material options will affect both appearance and longevity.
Here are key points to evaluate:
- Wood molding styles offer classic looks but may require sealing or painting.
- MDF is budget-friendly and easy to paint but less moisture-resistant.
- Polyurethane moldings resist moisture and are lightweight.
- PVC works well in humid areas and is durable.
- Metal or composite options add a contemporary touch but may be pricier.
Choose a style and material that balance aesthetics, maintenance, and kitchen conditions for the best long-term results.
Measure and Mark Cabinets for Crown Molding Cuts
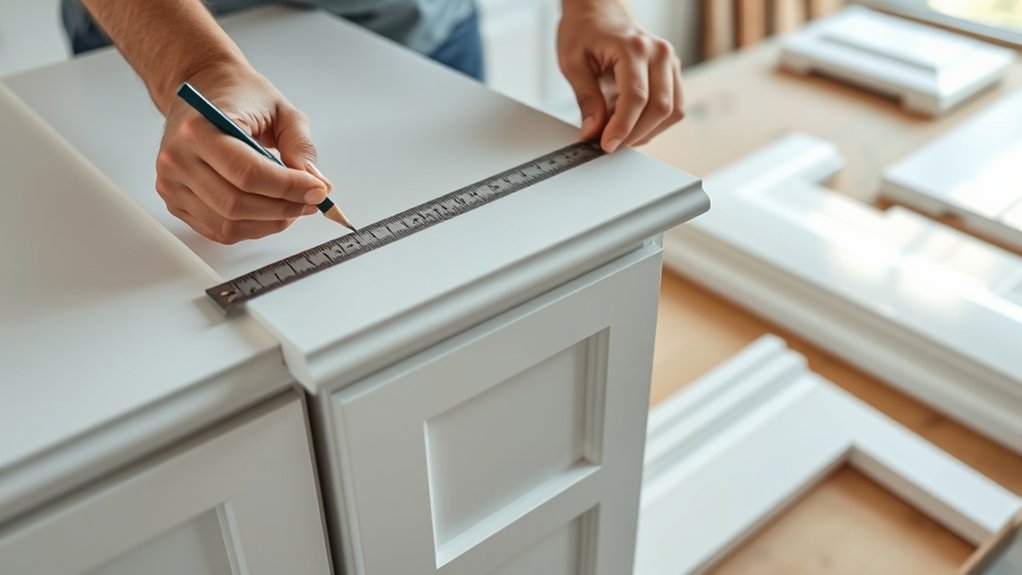
Start by measuring the exact width and height of each cabinet section where you plan to install the crown molding. Use precise measuring techniques like a tape measure held taut and level to avoid inaccuracies.
Take note of any irregularities or uneven edges, as these will affect your cuts. Once you’ve gathered all measurements, transfer them carefully onto your molding pieces. Use a pencil with fine points for clear marking and avoid heavy lines that can be hard to erase.
Mark both the length and the exact angle of each cut, especially for corners. Marking tips include double-checking each measurement before cutting and labeling each piece to match its cabinet section. Accurate measuring and marking make the installation smoother and guarantee a professional finish.
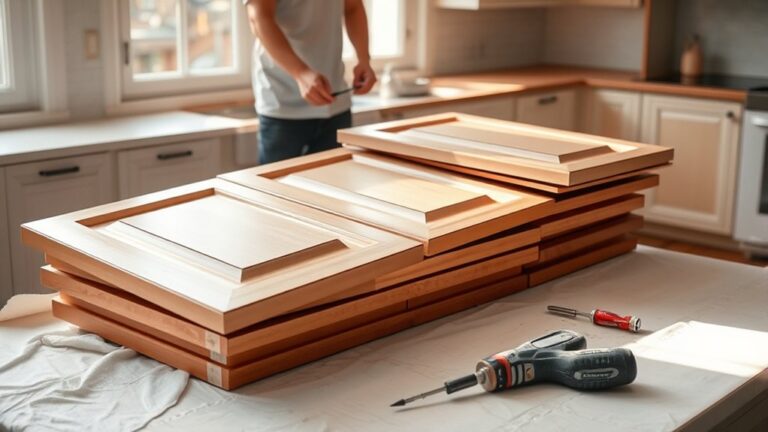
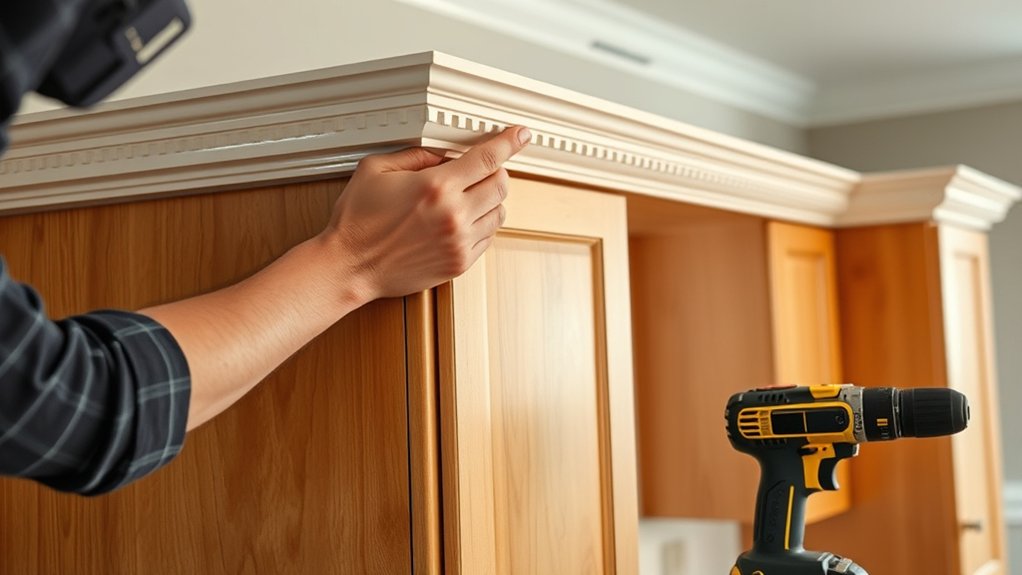
Cut and Attach Crown Molding Securely
Begin by carefully cutting your crown molding pieces according to the measurements and angles you marked earlier. For secure attachment, choose the right tool selection. Typically, a miter saw is used for precise cuts and a nail gun or hammer with finishing nails for fastening. Use proper installation techniques to guarantee stability and a seamless look.
Keep these tips in mind:
- Double-check angles before cutting.
- Use clamps to hold molding firmly during installation.
- Pre-drill holes if nailing near edges to prevent splitting.
- Apply wood glue along joints for extra adhesion.
- Use a level to maintain alignment on cabinet tops.
Following these steps will help you cut and attach crown molding securely, creating a professional finish that enhances your kitchen cabinets.
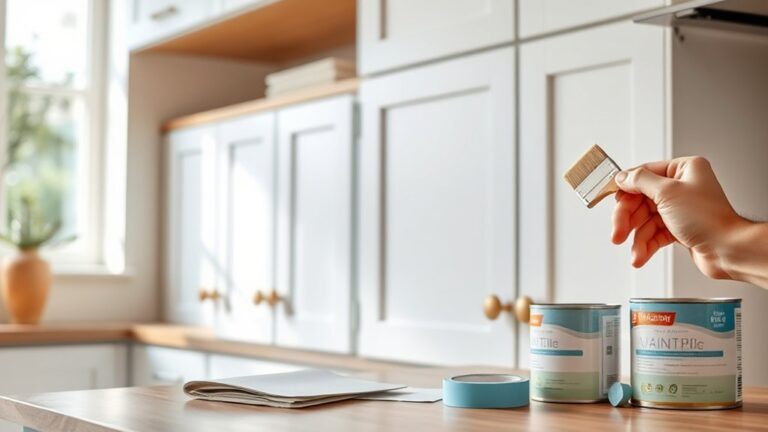
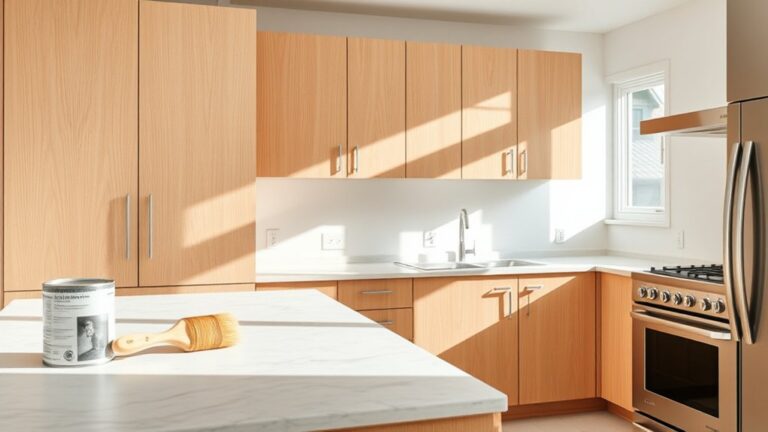
Prep, Paint, and Seal Crown Molding for a Clean Finish
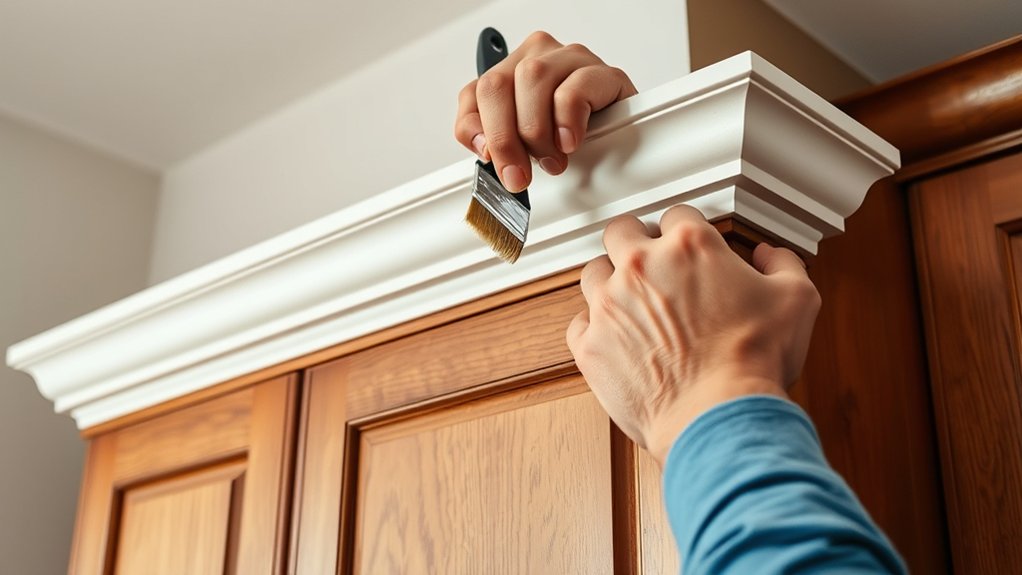
After securing the crown molding firmly in place, focus on prepping the surface to guarantee a flawless finish. Start by lightly sanding the molding to smooth out any rough spots or imperfections. Use a tack cloth to remove dust, making certain the paint adheres properly.
For best results, apply a coat of primer using a high-quality brush, which helps seal the wood and provides an even base for paint. When painting, use short, controlled strokes to avoid drips and maintain smooth coverage.
Once the paint dries, apply a clear sealant or polyurethane to protect the molding from moisture and wear. These prep techniques and finishing tips make certain your crown molding looks clean and professional, enhancing your kitchen cabinets with a polished, durable finish.
Frequently Asked Questions
Can Crown Molding Be Added to Cabinets Without Professional Tools?
You don’t need fancy tools for DIY crown molding; with a miter box, a saw, and some patience, you can manage.
Follow installation tips carefully to guarantee precise cuts and secure, professional-looking results without hiring pros.
How Do I Remove Old Crown Molding Without Damaging Cabinets?
For crown molding removal, gently score the caulk line first, then use a putty knife to protect your cabinets while prying the molding away slowly.
Work carefully to avoid damaging the cabinet surface during removal.
What Are the Best Adhesives for Attaching Crown Molding?
Did you know 85% of DIY crown molding failures come from poor adhesion? Use construction adhesive or wood glue for strong bonds.
For installation tips, apply adhesive evenly, clamp securely, and avoid excess to guarantee seamless, lasting results.
Can Crown Molding Help Increase Kitchen Cabinet Value?
Yes, adding crown molding boosts your kitchen cabinets’ aesthetic appeal, making them look more finished and upscale. This enhancement can raise your home’s resale value by attracting buyers who appreciate detailed, high-quality craftsmanship.
How Do I Clean and Maintain Crown Molding After Installation?
You’ll want to avoid turning crown molding into a dust magnet disaster! Use gentle cleaning techniques like a microfiber cloth and mild soap.
For maintenance tips, regularly check for chips and touch up paint to keep it flawless.