Can You Repaint Kitchen Cabinets
Yes, you can repaint kitchen cabinets if they’re structurally sound, which saves money compared to full replacement.
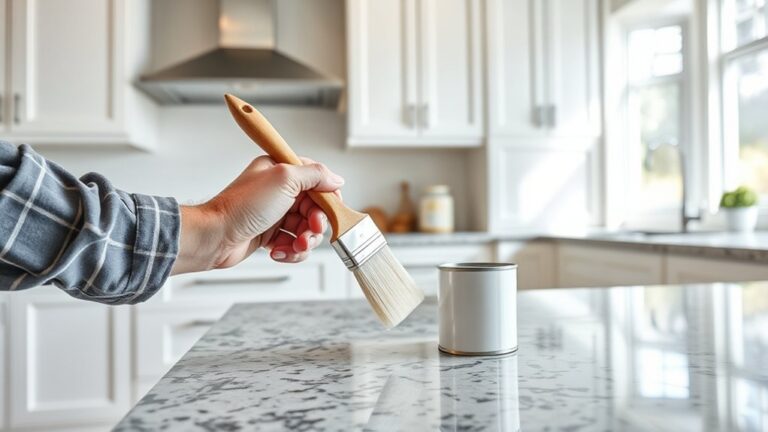
Start by thoroughly cleaning and sanding the surfaces. Then apply a suitable primer. Use oil-based or acrylic paint with a semi-gloss or satin finish for durability and easy cleaning.
Removing doors and hardware guarantees even coverage. Proper preparation minimizes peeling and chipping. Understanding these key steps will help you achieve a lasting, professional-looking update.
Should You Repaint Your Kitchen Cabinets?
Why consider repainting your kitchen cabinets? You might want to update your kitchen’s look without a full renovation. Repainting offers a cost-effective alternative to replacement, with cost considerations including paint type, surface preparation, and labor if you hire a professional.
You’ll save money compared to installing new cabinets. When deciding, evaluate your cabinets’ condition. Surface damage or warping might require replacement instead.
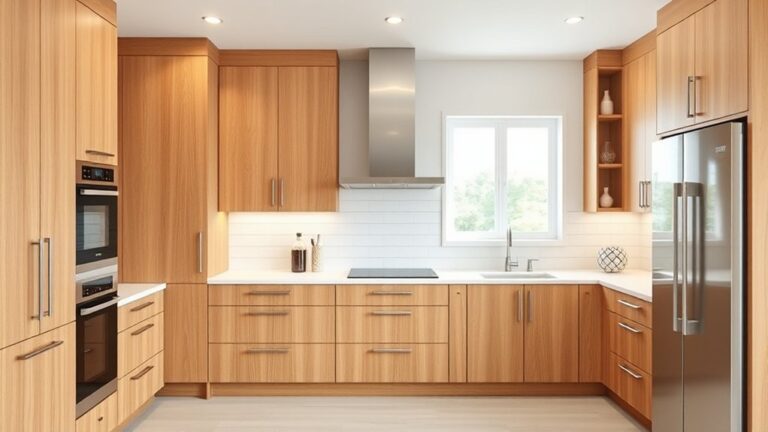
Color selection plays a vital role: choosing the right hue can modernize your space, complement existing elements, and enhance lighting. Opt for colors that resist yellowing and wear.
To conclude, repainting is practical if your cabinets are structurally sound, budget-conscious, and you want a tailored color update to refresh your kitchen’s appearance efficiently.
Best Paint Types for Kitchen Cabinets
When selecting paint for your kitchen cabinets, you’ll want a product that offers durability, smooth finish, and resistance to moisture and stains. Oil based paints are excellent for their hard, durable surface and superior adhesion, though they take longer to dry.
Choose paint that ensures durability, a smooth finish, and strong resistance to moisture and stains for kitchen cabinets.
Acrylic finishes provide a water-based alternative, drying faster and offering easier cleanup while maintaining strong durability. Spray painting is often preferred for a uniform, smooth coat without brush marks.
Your color selection should complement your kitchen’s design, and you might take into account semi-gloss or satin sheens for easy cleaning. Key points to reflect on include:
- Oil based paints for durability and adhesion
- Acrylic finishes for faster drying and ease of use
- Spray painting for a flawless finish
- Moisture and stain resistance
- Thoughtful color selection to enhance aesthetics
How to Prepare Kitchen Cabinets for Painting
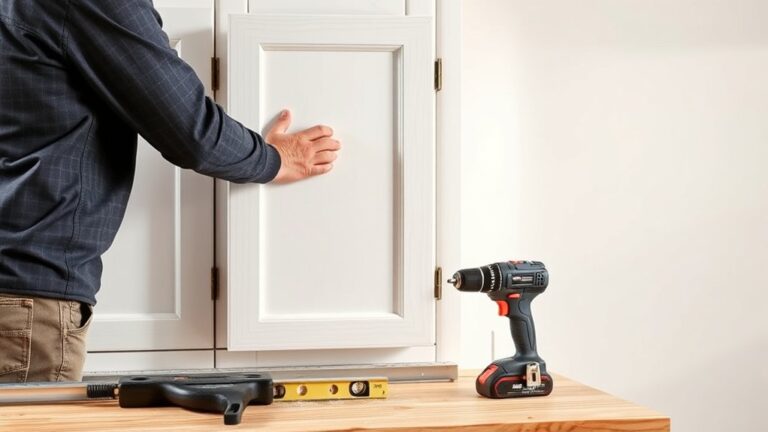
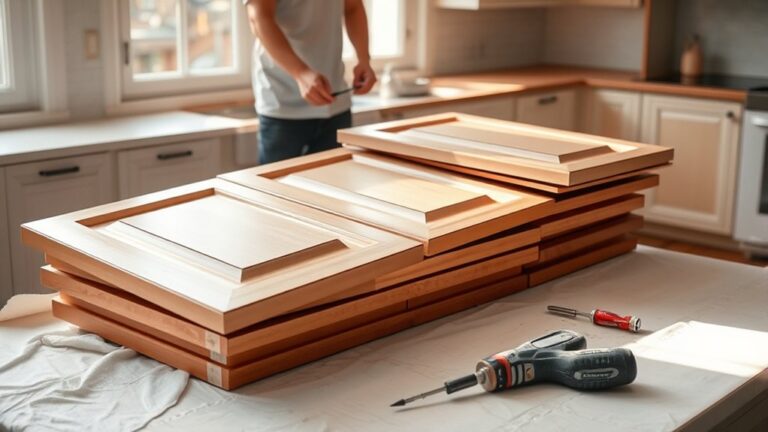
Start by removing all cabinet doors, drawers, and hardware to guarantee an even paint application and prevent damage. Next, employ effective cleaning techniques to eliminate grease, dirt, and residues. Use a degreasing cleaner or a trisodium phosphate (TSP) solution for thorough surface preparation. After cleaning, allow the cabinets to dry completely.
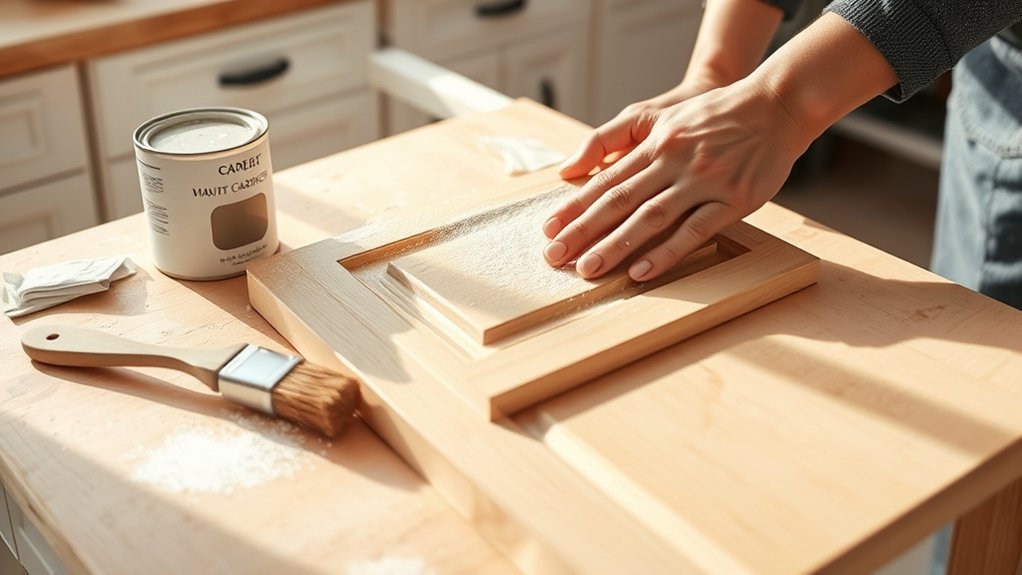
Then, apply proper sanding methods: start with medium-grit sandpaper (around 120-grit) to scuff the surface, securing paint adhesion. Follow with fine-grit sandpaper (220-grit) to smooth imperfections and create an even texture. Use a sanding block or orbital sander for uniform pressure.
Finally, remove all sanding dust with a tack cloth or vacuum before painting. Proper preparation using these cleaning techniques and sanding methods guarantees a durable, professional-looking finish on your kitchen cabinets.
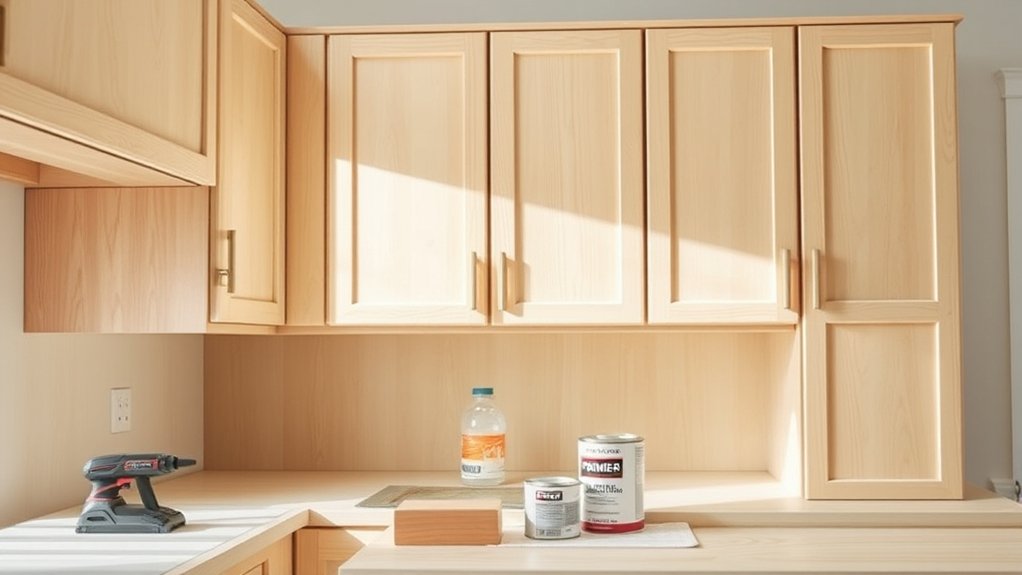
Tools and Materials Needed for Kitchen Cabinets
A successful kitchen cabinet repainting project depends heavily on having the right tools and materials at hand. Selecting supplies tailored to your cabinet styles and current color trends guarantees a professional finish. You’ll need equipment that helps you prep, paint, and protect surfaces effectively.
Here’s a concise list to get started:
- High-quality primer suited for wood or laminate
- Semi-gloss or satin paint aligned with popular color trends
- Fine-grit sandpaper or sanding block for smooth surfaces
- Durable painter’s tape for clean edges on various cabinet styles
- Quality brushes and foam rollers for even application
Having these essentials ready allows you to achieve a durable, stylish finish that complements your kitchen’s design and evolving aesthetics.
How to Repaint Kitchen Cabinets Step-by-Step
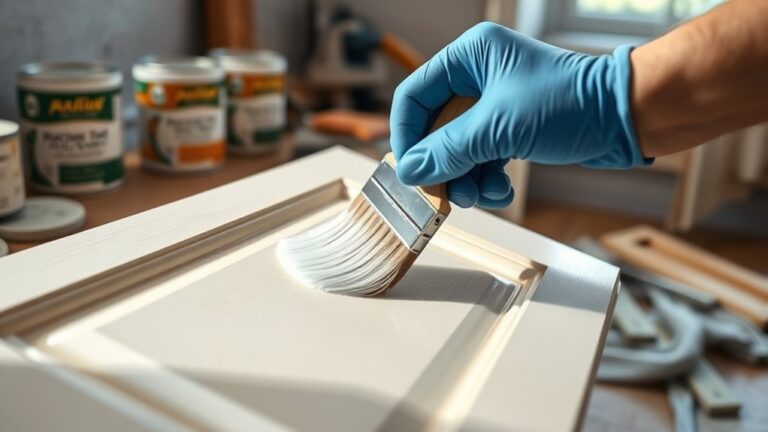
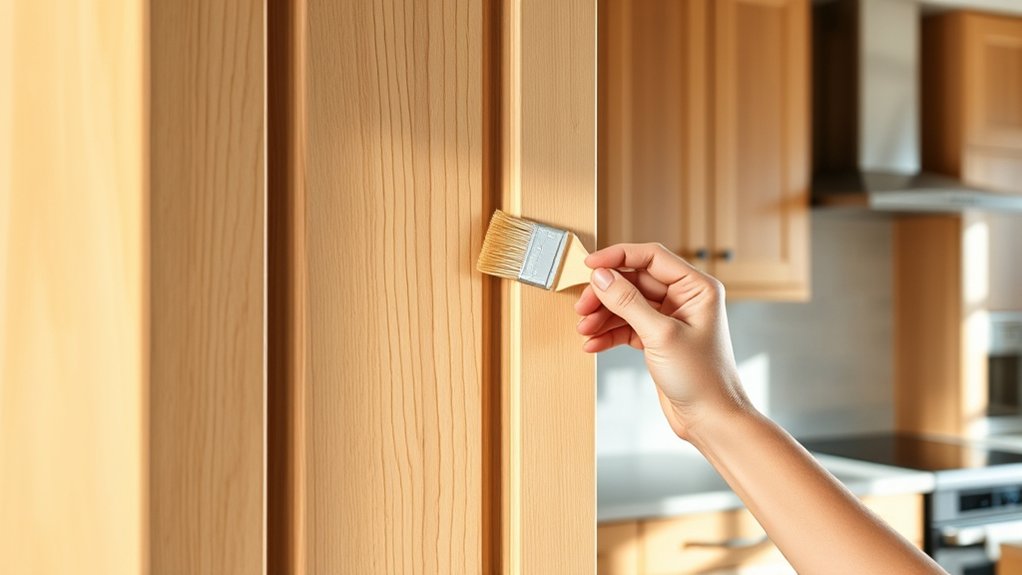
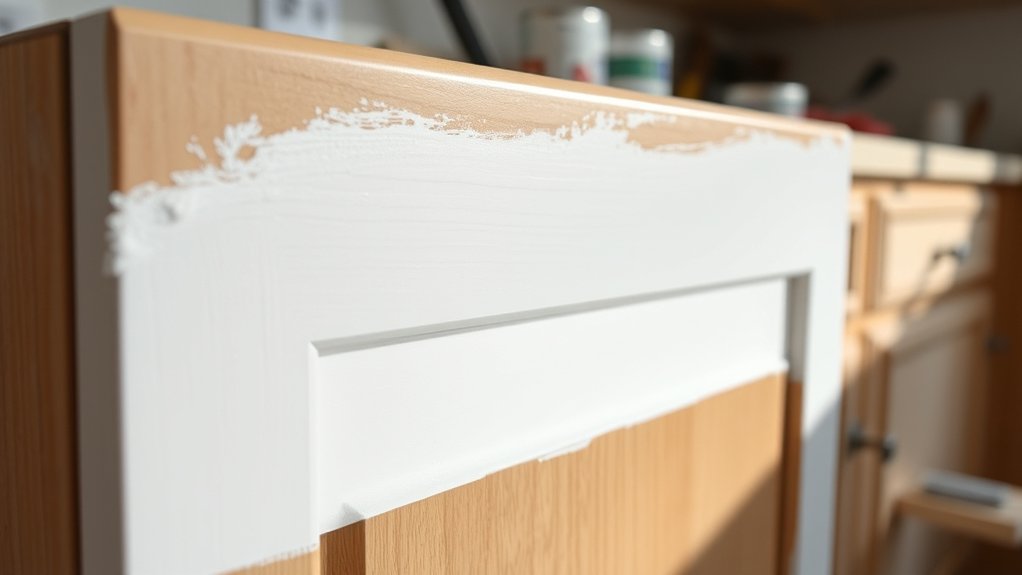
Begin by removing all cabinet doors, drawers, and hardware to guarantee thorough access to every surface. Next, clean and sand each piece to verify proper paint adhesion. Choose your color selection carefully, considering how it complements your kitchen’s overall design.
After sanding, apply a high-quality primer to seal the surface and enhance durability. Once the primer dries, select finish options that match your desired look and functionality, such as matte, satin, or gloss, each offering different levels of sheen and wear resistance.
Apply a quality primer before choosing a finish like matte, satin, or gloss for durability and style.
Use a brush for detailed areas and a roller for flat surfaces to apply the paint evenly. Allow ample drying time between coats, typically two to three layers, to build a smooth, durable finish.
Finally, reattach hardware and reinstall doors and drawers for a refreshed kitchen appearance.
Common Kitchen Cabinet Painting Challenges
You’ll often face challenges with surface preparation, like removing grease and sanding properly to guarantee paint adhesion. If you skip these steps, the finish might peel or chip prematurely.
Understanding how to address paint durability concerns will help your cabinets look professional and last longer.
Surface Preparation Issues
Proper surface preparation is critical when repainting kitchen cabinets, as it directly affects the paint’s adhesion and durability. You must start with thorough surface cleaning to remove grease, dirt, and old finishes. Without this, your paint won’t stick properly.
Next, focus on primer selection; using a high-quality primer tailored to your cabinet material guarantees a smooth, lasting base coat. Pay attention to sanding: it creates the necessary texture for the primer to bond.
Also, inspect for damage like cracks or holes and fill them before priming. Finally, confirm surfaces are completely dry before applying any paint to avoid trapping moisture.
- Remove grease and contaminants with degreaser
- Sand surfaces for adhesion
- Choose primer compatible with cabinet material
- Repair surface imperfections
- Allow proper drying time after cleaning and priming
Paint Durability Concerns
Although repainting kitchen cabinets can refresh your space, maintaining paint durability presents common challenges you need to address. The primary concern is guaranteeing ideal paint adhesion; without proper surface preparation, paint can peel or chip prematurely.
You must thoroughly clean, sand, and prime the cabinet surfaces to promote strong bonding between the paint and substrate. Additionally, kitchens demand coatings with high scratch resistance due to frequent contact and cleaning.
Selecting durable, kitchen-grade paints or applying a protective clear coat enhances resistance to abrasions and daily wear. Be aware that improper curing times or low-quality materials can compromise both adhesion and scratch resistance, leading to rapid deterioration.
Addressing these factors guarantees your cabinets stay visually appealing and protected for years.
Maintaining Your Repainted Kitchen Cabinets
Since repainting your kitchen cabinets is an investment in both time and effort, maintaining their finish guarantees long-lasting durability and appearance. Proper cabinet cleaning and the application of protective finishes are essential to preserve the paint’s integrity. Use gentle, non-abrasive cleaning solutions to avoid damaging the surface.
Regular maintenance prevents dirt buildup and moisture damage, which can degrade the protective layer.
To maintain your repainted cabinets effectively:
- Clean cabinets weekly with a mild detergent and soft cloth
- Avoid harsh chemicals and abrasive scrubbers
- Inspect for chips or scratches and touch up promptly
- Apply a clear protective finish annually to seal the paint
- Control kitchen humidity to prevent paint peeling
Following these steps assures your cabinets stay pristine and durable over time.
Frequently Asked Questions
How Long Does Repainting Kitchen Cabinets Typically Take?
Repainting kitchen cabinets typically takes 3 to 5 days, depending on color selection and drying times. You’ll spend significant time on preparation steps like cleaning, sanding, and priming to guarantee a smooth, durable finish.
Can I Repaint Cabinets With Existing Wallpaper or Decals?
You’ll want to gently part ways with wallpaper adhesion and decal removal before painting. Leaving them on risks poor paint bonding and uneven surfaces.
Proper prep guarantees your paint job lasts and looks professionally flawless.
Is It Safe to Paint Cabinets Without Removing Old Paint?
You shouldn’t paint cabinets without removing old paint because poor surface preparation reduces paint adhesion. Properly sanding and cleaning the surface guarantees the new paint bonds well, preventing peeling and assuring a durable, professional finish.
How Does Humidity Affect Painted Kitchen Cabinets?
If you don’t control moisture, paint adhesion suffers, like Sarah’s kitchen, where high humidity caused peeling within months. You must guarantee proper ventilation and use moisture-resistant primers to maintain lasting, durable paint on your cabinets.
Can I Use Spray Paint for Kitchen Cabinets?
You can use spray paint for kitchen cabinets, but choose spray paint types designed for cabinetry.
Opt for durable cabinet paint finishes like semi-gloss or satin to guarantee a smooth, long-lasting surface resistant to wear and moisture.