Can You Chalk Paint Kitchen Cabinets
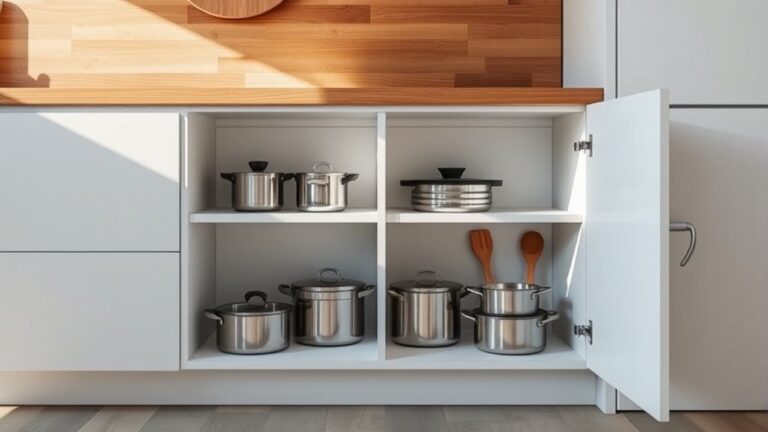
You can confidently chalk paint your kitchen cabinets to achieve a durable, elegant matte finish with minimal prep—no extensive sanding needed. Chalk paint is a great option to refresh your cabinets and add character to your kitchen.
Choose colors and finishes that match your kitchen’s style, and thoroughly clean and lightly sand surfaces before painting.
Apply thin coats of chalk paint, sanding between layers for a smooth finish. This process helps the paint adhere better and creates a professional look.
Once you’re satisfied with the coverage, seal your cabinets with wax or a protective topcoat for lasting durability.
If you want to explore the best products, techniques, and maintenance tips, you’re in the right place to enhance your cabinets beautifully.
Chalk painting is an accessible DIY project that can transform your kitchen without breaking the bank or requiring extensive tools.
Can You Use Chalk Paint on Kitchen Cabinets?

When considering a kitchen makeover, you might wonder if chalk paint is a suitable choice for your cabinets. Chalk paint offers excellent adhesion, making it ideal for kitchen surfaces without extensive sanding. Its matte finish and subtle texture create a timeless, elegant look that enhances various kitchen styles.
You’ll appreciate the wide color variations available, allowing you to personalize your cabinets with soft pastels or bold, dramatic hues. The paint application is straightforward. Chalk paint dries quickly and requires minimal coats, reducing your project time.
Plus, it accepts wax or sealants beautifully, protecting your cabinets from everyday wear. By choosing chalk paint, you’re investing in a durable, aesthetic upgrade that combines functionality with creative freedom in your kitchen.
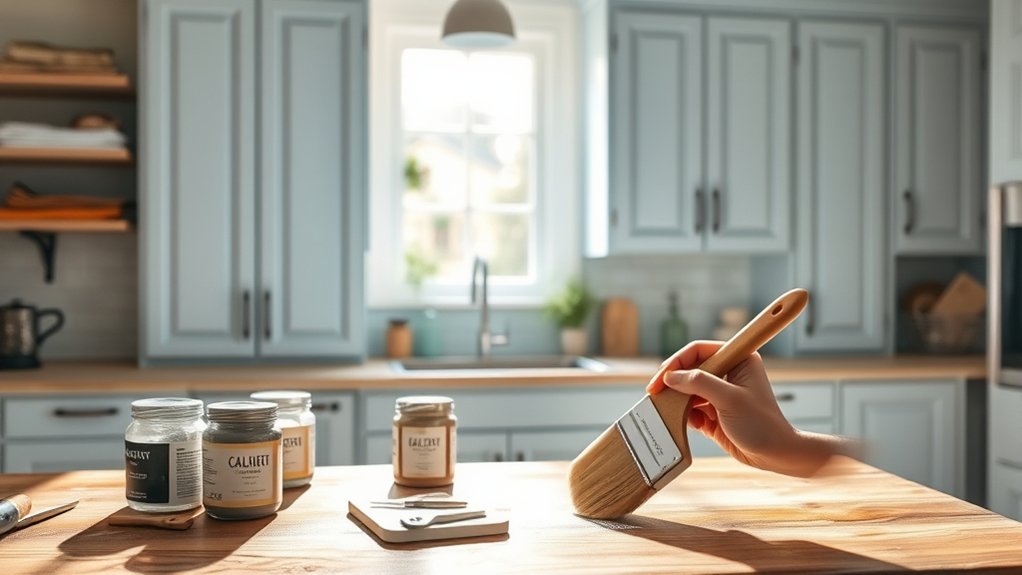
Choosing the Right Chalk Paint: Finish, Brand, & Color
How do you select the perfect chalk paint for your kitchen cabinets? Start with color selection. Choose hues that complement your kitchen’s style and lighting.
Consider finish options carefully. Matte finishes offer a classic look but may show wear, while satin or semi-gloss finishes enhance durability and ease of cleaning.
Choosing satin or semi-gloss finishes boosts durability and makes cleaning kitchen cabinets easier than matte options.
Trust reputable brand recommendations known for quality pigments and smooth application techniques. This ensures consistent texture choices and lasting results. Factor in durability factors like resistance to moisture and frequent handling, critical in kitchens.
Although chalk paint often adheres well without primer, assess whether a primer is necessary for your cabinet material to improve adhesion and longevity. Finally, follow maintenance tips such as gentle cleaning and occasional sealing to preserve your cabinets’ aesthetic and functional appeal.
How to Prepare Kitchen Cabinets for Chalk Painting
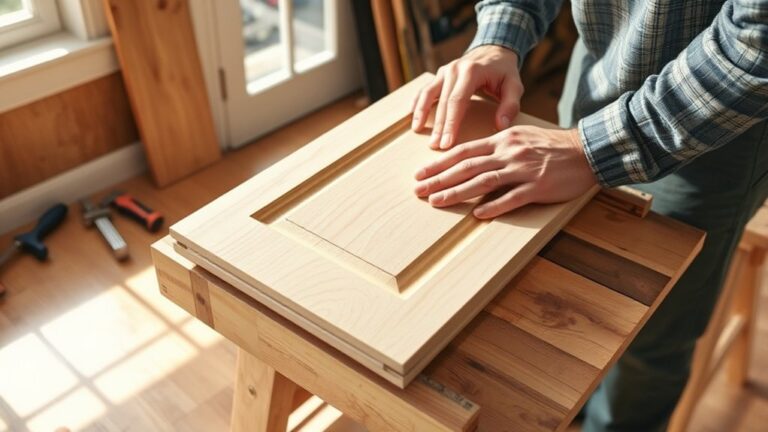
Before you start painting, make certain to thoroughly clean and degrease your cabinets to guarantee the paint adheres properly. Next, sand the surfaces evenly to create a smooth, uniform base without damaging the wood.
Finally, carefully remove all hardware to give yourself full access and avoid any paint smudges.
Cleaning And Degreasing Cabinets
Start by thoroughly cleaning and degreasing your kitchen cabinets to confirm the chalk paint adheres properly and delivers a smooth, lasting finish. Different cabinet types, whether wood, laminate, or MDF, require careful attention to remove built-up grease and dirt. This step guarantees the paint types you choose bond effectively without peeling or flaking.
To prepare your cabinets:
- Use a degreaser or trisodium phosphate (TSP) solution for stubborn grime
- Wipe down all surfaces with a microfiber cloth to lift residues
- Pay close attention to handles, edges, and corners where grease accumulates
- Rinse with clean water and let dry completely before painting
This meticulous cleaning step is critical for a flawless chalk paint application and a durable kitchen cabinet makeover.
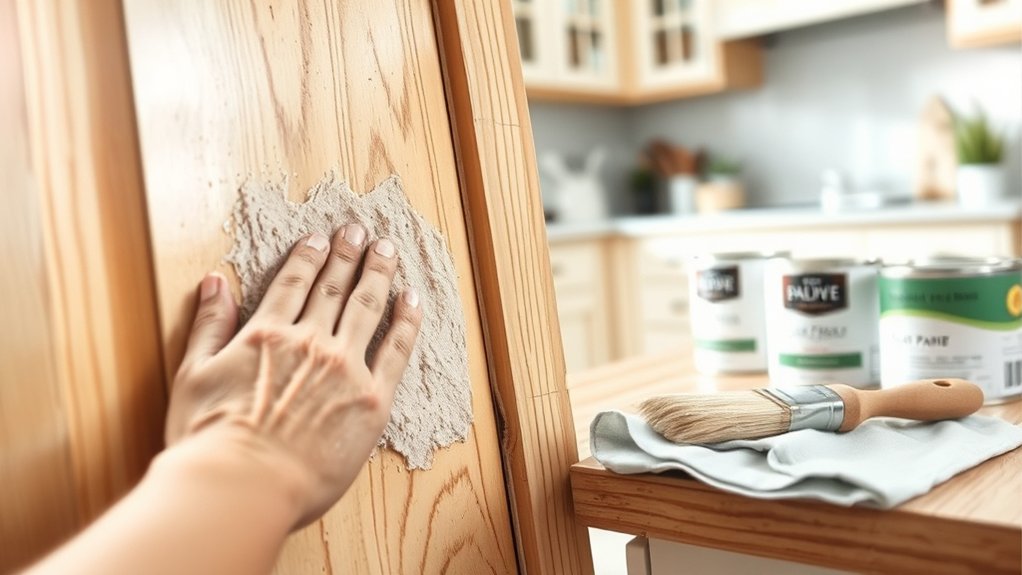
Sanding Surfaces Evenly
Although cleaning removes surface grime, sanding your kitchen cabinets guarantees a smooth, even texture that allows chalk paint to adhere flawlessly. To achieve superior results, use fine-grit sandpaper and employ consistent sanding techniques, moving in the direction of the wood grain.
Focus on creating even surfaces by applying uniform pressure, avoiding over-sanding which can damage delicate edges. Consider using a sanding block or an electric sander for better control and efficiency.
Pay close attention to corners and recessed areas, ensuring they are sanded as evenly as flat surfaces. This meticulous preparation helps the chalk paint grip properly, resulting in a durable, professional-looking finish.
Taking the time to sand your cabinets evenly is essential for a seamless chalk paint transformation.
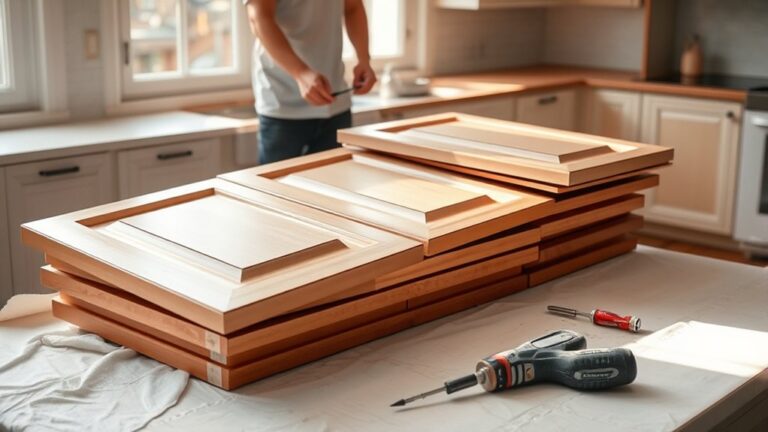
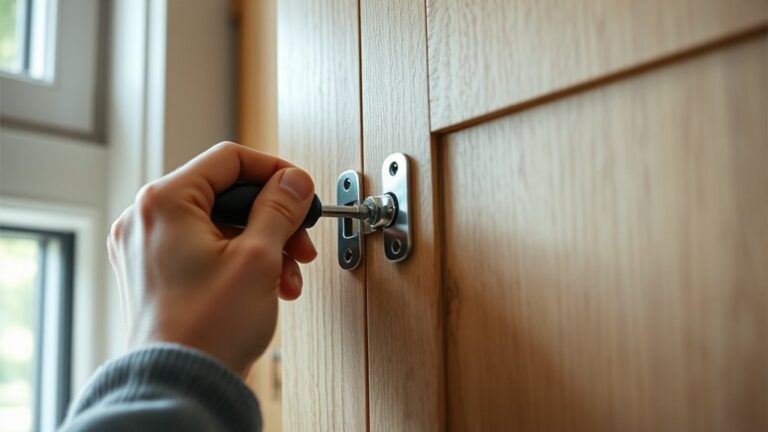
Removing Hardware Properly
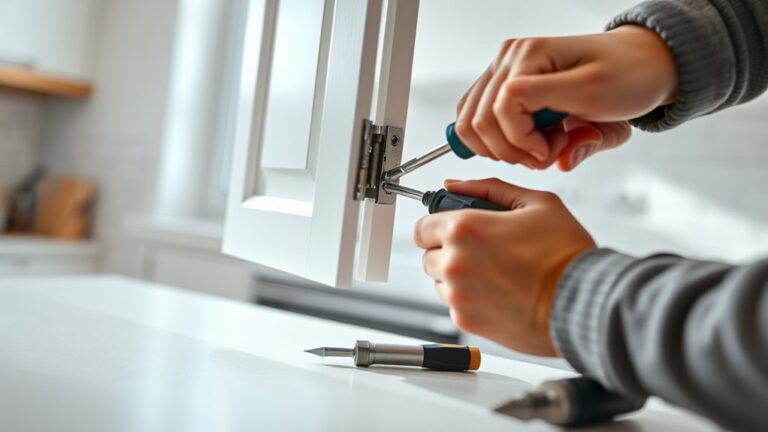
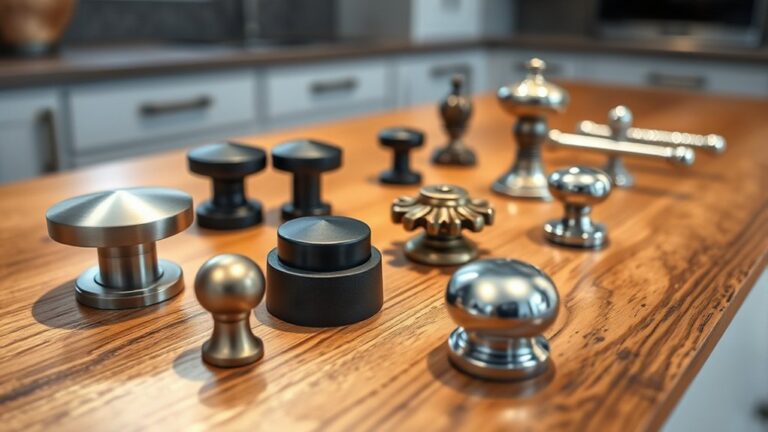
Once your cabinets are sanded to a smooth, even finish, the next step is to remove all hardware carefully. Proper removal preserves your cabinets and guarantees a flawless chalk paint application. Different hardware types, such as knobs, pulls, and hinges, require specific removal techniques to avoid damage.
Here’s how to prepare:
- Use a screwdriver matching the screw type (Phillips, flathead) for gentle hardware removal.
- Keep screws, hinges, and decorative pieces organized in labeled containers.
- Apply steady pressure to avoid stripping screws or scratching surfaces.
- For stubborn hardware, use penetrating oil sparingly to loosen screws without harming the wood.
Following these steps, you’ll protect your cabinets and create a clean canvas ready for chalk paint.
Painting Kitchen Cabinets With Chalk Paint: Step-By-Step
Transforming your kitchen cabinets with chalk paint involves a series of precise steps that guarantee a smooth, durable finish. Start by cleaning and lightly sanding the surfaces.
Choose your preferred color combinations to complement your kitchen’s style. Apply a thin base coat using smooth application techniques, such as brushing or rolling, to avoid streaks.
Once dry, sand lightly between coats for ideal adhesion. Apply a second coat and allow it to cure completely.
Finally, seal with a wax or clear topcoat to protect the paint and enhance durability.
| Step | Key Tip |
|---|---|
| Clean & Sand | Ensure surfaces are dust-free |
| Choose Colors | Match with kitchen decor |
| Base Coat | Use thin, even strokes |
| Sand Between Coats | Light sanding for smoothness |
| Seal & Protect | Use wax or clear topcoat |
Mistakes to Avoid When Painting Cabinets With Chalk Paint
When you paint kitchen cabinets with chalk paint, avoiding common mistakes can save you time and frustration while ensuring a flawless finish. Pay close attention to color selection. It’s easy to misjudge how hues will appear under different lighting. Also, perfect your paint application; uneven strokes or thick layers can cause drips and an unprofessional look.
Keep these pitfalls in mind:
- Skipping thorough cleaning and light sanding before painting
- Choosing a color without testing it in your kitchen’s natural light
- Applying chalk paint too thickly, leading to visible brush marks
- Neglecting to seal the paint, which protects your finish and enhances durability
Will Chalk Paint Hold Up on Your Kitchen Cabinets?
You’ll find that chalk paint offers a beautiful matte finish, but its durability on kitchen cabinets depends on the protective topcoat you apply. Without a proper sealant, chalk paint can chip or wear quickly in high-traffic areas.
Let’s explore how to guarantee your cabinets stay flawless through daily use.
Durability of Chalk Paint
Although chalk paint is celebrated for its matte, vintage look and ease of application, its durability on kitchen cabinets often raises questions. When considering chalk paint longevity, you should understand that it’s naturally porous and softer than traditional paints.
This means wear and tear can show faster if you don’t follow proper maintenance tips. To guarantee your cabinets remain stunning, keep in mind:
- Avoid excessive scrubbing or harsh cleaners
- Wipe spills immediately to prevent staining
- Use gentle cleaning solutions and soft cloths
- Reapply touch-ups periodically in high-traffic areas
Protective Finishes Needed
Since chalk paint alone lacks the resilience required for frequent kitchen use, applying a protective finish is essential to guarantee your cabinets maintain their beauty and withstand daily wear. Protective coatings act as a barrier, preventing scratches, stains, and moisture damage.
Choosing the right finish depends on your preferred look and maintenance strategies.
| Finish Type | Benefits | Maintenance Tips |
|---|---|---|
| Wax | Enhances texture, subtle sheen | Reapply every 6 months |
| Polyurethane | Durable, water-resistant | Clean with mild soap |
| Acrylic Sealer | Clear, fast-drying | Avoid abrasive cleaners |
Sealing and Protecting Chalk-Painted Kitchen Cabinets
While chalk paint offers a beautiful matte finish, sealing and protecting your kitchen cabinets is essential to confirm durability against daily wear and moisture. To preserve the finish and enhance longevity, focus on effective sealing techniques combined with quality protective coatings.
Consider these key steps:
- Apply a clear wax for a subtle sheen and added moisture resistance.
- Use a water-based polyurethane for a durable, non-yellowing finish.
- Opt for a matte or satin varnish to maintain the chalk paint’s aesthetic.
- Verify each protective layer is thin and even to avoid buildup and peeling.
When and How to Touch Up Chalk-Painted Kitchen Cabinets
Keep an eye on your chalk-painted kitchen cabinets for any chips, scratches, or dull spots that may develop over time. When you notice imperfections, timely touch up techniques can restore their charm without a full repaint.
First, clean the area thoroughly to remove grease and dust. Next, use a small brush to apply chalk paint that precisely matches your cabinet’s original color. Achieving accurate color matching is key for seamless repairs. Lightly feather the edges to blend with the surrounding surface.
Once dry, reapply a protective topcoat to maintain durability. By addressing wear promptly with these careful touch up techniques, you’ll keep your kitchen cabinets looking fresh and beautifully maintained for years to come.
Comparing Chalk Paint to Other Cabinet Paints
Although chalk paint offers a unique matte finish and effortless distressing options, comparing it to other cabinet paints like latex or oil-based varieties reveals important differences in durability, application, and maintenance. Understanding chalk paint benefits alongside cabinet paint alternatives helps you choose the best finish for your kitchen cabinets.
Chalk paint requires minimal prep and adheres well without sanding, unlike many alternatives.
Latex paint provides a smoother, more durable finish but demands thorough surface preparation.
Oil-based paints offer excellent durability and a glossy look but have longer drying times and strong odors.
Chalk paint’s matte finish is ideal for vintage or rustic styles but may need sealing to protect against wear.
Tips for Achieving a Smooth Chalk Paint Finish
To achieve a smooth chalk paint finish on your kitchen cabinets, start by thoroughly preparing the surface to guarantee proper adhesion.
Next, apply the paint with even, gentle strokes and allow each coat to dry fully before adding the next.
Finally, seal your work with a quality topcoat to protect the finish and enhance durability.
Surface Preparation Techniques
Preparing your kitchen cabinets properly is crucial for achieving a flawlessly smooth chalk paint finish. Different surface types and cabinet materials require tailored preparation to guarantee paint adhesion and durability.
Start by thoroughly cleaning your cabinets to remove grease and grime. Next, lightly sand the surface with fine-grit sandpaper to smooth imperfections and create a texture that helps the paint bond. If your cabinets are laminate or glossy, use a deglosser to enhance paint adherence.
Finally, wipe down the cabinets with a damp cloth to remove dust from sanding, guaranteeing a pristine base for painting.
- Clean surfaces with a mild detergent
- Sand using 220-grit sandpaper
- Apply deglosser on non-porous cabinets
- Remove sanding dust with a tack cloth
This method respects your cabinet materials and surface types for the best results.
Applying and Sealing Methods
When you apply chalk paint with careful, even strokes, you create a smooth, flawless surface that enhances your kitchen cabinets’ charm. Start by using a high-quality brush or a foam roller designed for chalk paint to avoid streaks.
Thin your paint slightly if needed to improve flow, especially on intricate cabinet styles. Allow each coat to dry fully before applying the next, usually two to three coats for ideal coverage.
Once dry, gently sand with fine-grit sandpaper to eliminate brush marks and create a soft, velvety finish. Seal your cabinets with a clear wax or a water-based polyurethane to protect the paint without altering its matte look.
This final step guarantees durability and preserves the elegance of your chalk-painted cabinet styles.
Frequently Asked Questions
Can Chalk Paint Be Used on Other Kitchen Surfaces Besides Cabinets?
Yes, you can use chalk paint on countertops and other kitchen surfaces. It’s perfect for furniture refinishing, offering a smooth, matte finish that enhances aesthetics while allowing you to customize and refresh your kitchen’s look effortlessly.
How Long Does Chalk Paint Typically Take to Dry on Cabinets?
Chalk paint typically takes about 30 minutes to an hour to dry to the touch on cabinets, but you should allow 24 hours for a fully cured paint finish to guarantee durability and a smooth, elegant look.
Is Chalk Paint Safe for Kitchen Cabinets in Homes With Pets?
You can safely use chalk paint on kitchen cabinets in homes with pets, as it offers excellent pet safety and chalk paint durability. Just seal it properly to protect surfaces from scratches and guarantee your pets stay safe around painted areas.
Can Chalk Paint Be Removed Easily From Cabinets if Needed?
You can remove chalk paint from cabinets, but removal methods vary based on paint adhesion. Light sanding or gentle stripping works well since chalk paint adheres less aggressively, letting you restore surfaces without harsh chemicals or damage.
What Tools Are Best for Applying Chalk Paint to Cabinets?
You’ll want angled sash brushes and foam brushes for smooth coverage. Use light, even strokes with a cross-hatch technique to avoid streaks.
Proper brush types and application techniques guarantee a flawless, professional finish on your cabinets.