7 Steps to Clean Your Propane Barbecue Grill
To clean your propane barbecue grill effectively, start by preheating it to loosen grease.
Then, turn off and disconnect the gas to ensure safety. Removing and soaking the grates in warm soapy water helps to soften stuck-on residue.
Next, scrub the grates thoroughly to remove any remaining grime.
Scrape the interior of the grill to clear out debris that can affect performance. Use a wire brush to clean the burners and gas ports carefully.
Wash the grease tray and replace it if it’s damaged or excessively dirty.
Rinse and dry all parts completely before reassembling the grill securely.
Finish by seasoning the grates with oil to prevent rust and maintain their condition.
Following these steps will improve your grill’s performance and extend its lifespan.
Keep reading to discover helpful tips for ongoing grill care and maintenance.
Key Takeaways
- Preheat grill on high for 15 minutes, then turn off and disconnect gas before cleaning.
- Remove and soak cooking grates in warm, soapy water, then scrub with a brush and dry thoroughly.
- Clean burners by removing them, brushing gas ports with a dry wire brush, and washing with soapy water.
- Scrape and vacuum interior debris, wash interior surfaces with soapy water, and rinse well.
- Reassemble grill, ensure all parts are dry and secure, check for leaks, and apply oil to grates for rust prevention.
Prepare Your Grill for Cleaning
Before you plunge into cleaning your propane grill, you’ll want to start by preheating it on high for about 15 minutes. This step helps loosen grease buildup and any stuck-on food, making the cleaning process much easier. After turning off the grill and disconnecting the gas supply, remove all items stored on or around the grill to guarantee you can access every component.
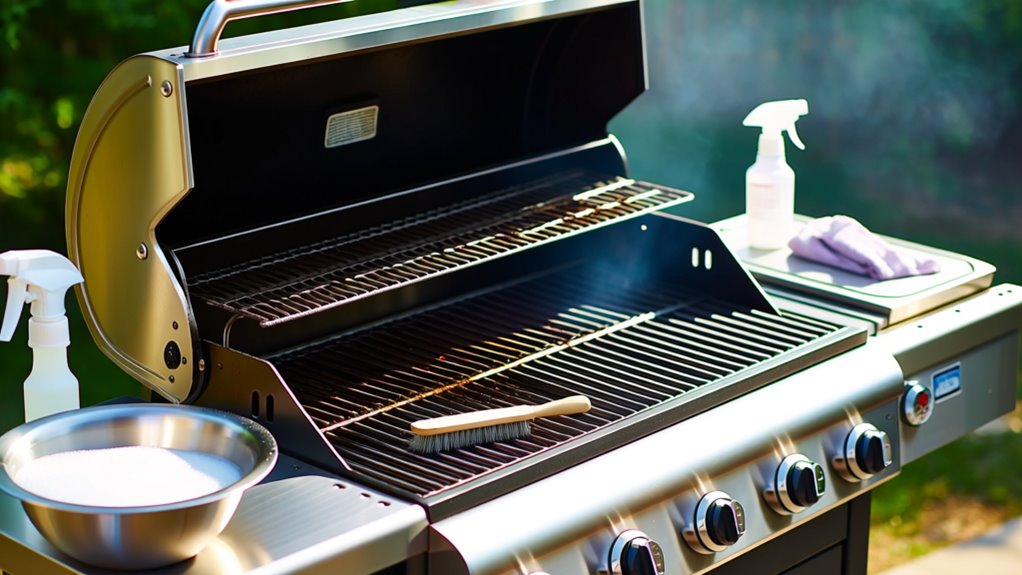
To prepare your grill for cleaning, gather your supplies: a grill brush, warm soapy water, and a damp cloth. Make sure the grill has cooled down sufficiently before you start scrubbing to avoid burns. Using warm soapy water will help you tackle grease buildup effectively on exterior surfaces and non-removable parts.
Setting aside a few hours on a warm day guarantees you can complete the cleaning thoroughly without rushing, which will keep your grill in great shape and ready for your next barbecue session.
Remove and Soak the Cooking Grates
Start by carefully removing the cooking grates from your grill to access them fully. Soak the grates in warm, soapy water for 15 to 30 minutes to loosen stuck-on grease and debris.
After soaking, scrub thoroughly with a grill brush, then rinse and dry them completely before putting them back.
Detach Grates Safely
To detach the cooking grates safely, turn off your grill and disconnect the propane supply to prevent any accidents. Once the grill is cool, carefully lift the grates out without forcing them, ensuring you don’t damage any parts. If your grill has stainless steel grates, handle them gently to avoid scratches.
After removal, inspect the grates for stubborn residue. Before soaking, give them a quick rinse with clean water to remove loose debris. This step prepares the grates for a thorough clean and helps maintain the integrity of the stainless steel surface.
Taking these precautions will make your cleaning process more efficient and protect your grill components, ensuring your barbecue stays in top condition for many cookouts to come.
Soak in Soapy Water
Once you’ve safely removed the grates, the next step is to soak them in warm, soapy water. This helps loosen stubborn grease and food particles, making the cleaning process easier. Place the grates in a plastic bin filled with soapy water and let them soak for 15-30 minutes.
This soak breaks down caked-on residue and prepares the grates for scrubbing.
Keep these tips in mind:
- Use warm, soapy water to effectively cut through grease.
- Soak grates long enough to soften tough buildup.
- After soaking, your cleaned grates will be easier to scrub.
- Always dry the grates completely before putting them back to prevent rust.
Soaking is essential for a thorough clean and helps maintain your grill’s performance.
Scrub and Rinse
Grab a grill brush or some stainless-steel wool and scrub the soaked grates thoroughly, focusing on removing any stubborn grease and carbonized residue. After soaking the cooking grates in warm, soapy water for at least 30 minutes, this scrubbing step is key to breaking down buildup that soaking alone can’t remove. Use the grill brush to reach every nook and cranny, ensuring all debris is lifted.
Once you’ve scrubbed the grates well, rinse them thoroughly with clean water to wash away soap and loosened particles. This prevents any soapy taste from transferring to your food. Finally, let the grates dry completely before putting them back in your grill.
This simple scrub and rinse routine keeps your cooking surface clean and rust-free for many grilling sessions ahead.
Scrape and Clean the Interior Surfaces
Now that the grates are soaking, it’s time to remove any loose debris from inside the grill. Use a plastic scraper to gently clear away grease and ash from the sides and bottom.
After scraping, scrub the interior surfaces to get rid of stubborn residue before wiping everything down.
Remove Loose Debris
Start by using a plastic scraper to remove loose debris from your cooking grates, flavorizer bars, and grill interior, working over the grease tray to catch any mess. This step aids you clean thoroughly and prepare for a deeper clean. Focus on scraping off caked-on grease and food particles, especially in corners and along the grill’s bottom.
To remove any remaining residue and ash, follow these tips:
- Use a wire grill brush to loosen stubborn buildup on interior surfaces.
- Regularly empty the grease tray to avoid overflow and potential flare-ups.
- Vacuum the grill’s interior with a shop vac for a thorough clean.
Pay special attention to flavorizer bars and the grease tray area.
This approach guarantees you deep clean your grill effectively every time.
Scrub Interior Surfaces
Scrape away any caked-on grease and food particles from the grill’s interior surfaces, including the lid and sides, using a plastic scraper. Then, scrub these interior surfaces with a wet wire brush dipped in warm soapy water, reaching corners and crevices for deep cleaning. Rinse thoroughly to remove soap residue and debris.
For stubborn spots, apply a grill-safe degreaser as per instructions. Finally, dry all surfaces completely to prevent rust.
| Step | Purpose |
|---|---|
| Scrape and scrub | Remove grease and grime |
| Target corners | Eliminate hidden debris |
| Rinse thoroughly | Remove soap and loosen debris |
| Dry completely | Prevent moisture buildup |
This process guarantees a clean, safe grill for your next barbecue.
Clean the Burners and Gas Ports
A well-maintained burner is key to your grill’s performance, so you’ll want to remove it from the gas supply line before cleaning. To clean the burners effectively, start by using a dry wire brush to clear out any blockages from the gas ports. This guarantees proper gas flow and even heating.
Next, clean the burner valve with soapy water, then rinse thoroughly to remove any residue that could affect performance. Be sure to dry the burners completely to prevent rust and keep them functioning well.
Cleaning burner valves with soapy water and drying thoroughly prevents residue buildup and rust for optimal grill performance
Keep these tips in mind when you clean the burners and gas ports:
- Remove burners safely from the gas supply line for better access
- Brush gas ports with a dry wire brush to clear blockages
- Wash burner valves with soapy water and rinse well
- Dry burners fully to avoid rust and maintain efficiency
Regular cleaning helps your grill run smoothly without grease tray or drip buildup interfering.
Wash and Replace the Grease Tray
Check your grease tray regularly and clean it after each use to prevent buildup that can cause flare-ups. A dirty grill often results from neglected grease trays, which collect excess grease and food particles. To clean it, first remove the tray from your grill.
Use a scraper to eliminate any hardened grease, making the washing process easier. Then, wash the tray thoroughly with warm soapy water to remove all residue. If your grease tray is disposable, don’t hesitate to replace it with a new one to maintain efficient grease management and reduce mess.
While cleaning, inspect the tray for any cracks or damage—damaged trays should be replaced promptly to guarantee safe grilling. Keeping your grease tray clean not only prevents flare-ups but also extends the life of your grill, making your next barbecue safer and more enjoyable.
Rinse, Dry, and Reassemble Grill Components
Once you’ve cleaned the grease tray and other grill components, the next step is to rinse everything thoroughly with clean water to remove any soap or leftover debris. This guarantees no residue remains that could affect the taste or safety of your food.
Before you reassemble, make sure to dry all parts completely. Moisture left on burners or valves can cause rust and corrosion, so use a towel to dry the interior, especially the burner tubes and valves.
When you’re ready to put your grill back together, remember to reassemble in the reverse order of disassembly. Check that each component is securely attached and properly aligned to keep your grill functioning safely.
- Rinse grill grates, burners, and grease tray with clean water
- Dry all parts thoroughly, focusing on burners and valves
- Use a towel to absorb moisture inside the grill
- Reassemble the grill carefully, guaranteeing secure and proper fit
Following these steps helps maintain your grill’s longevity and performance.
Season the Grates and Maintain Your Grill
Because your grill grates are clean and dry, it’s important to season them with a light coat of vegetable oil to prevent rust and keep food from sticking. Before each grilling season, and every few weeks during heavy use, apply oil to your cooking grates to maintain their condition and enhance flavor. When the grates are still warm, use a grill brush to remove any debris—that makes it easier to clean your gas grill next time and prevents buildup.
Don’t forget to check and empty the drip tray regularly to avoid grease overflow, which can cause flare-ups and affect taste. Finally, protect your grill by covering it when not in use to shield it from weather and dust. These simple steps will keep your propane barbecue ready for every grilling season, ensuring your cooking grates stay in top shape and your meals come out delicious every time.
Frequently Asked Questions
What Is the Best Way to Clean a Propane Grill?
The best way to clean your propane grill is to start by heating it on high to loosen debris, then turn off the gas for safety. Remove and soak the grates in warm soapy water, scrub with a grill brush, and rinse.
Clean the burners with a wire brush, wash, and dry them thoroughly. Finally, wipe down the interior and exterior with soapy water, and polish stainless steel surfaces.
Regular cleaning keeps your grill in top shape.
Why Do Mexicans Use Onions to Clean Grills?
Think of onions as nature’s scrubbing brush for your grill. Mexicans use onions because their natural acids and steam help break down grease and burnt bits, making cleanup easier. When heated, onion juices lift stubborn residue, acting like tiny broomsticks sweeping your grates clean.
Plus, it’s an eco-friendly trick that avoids harsh chemicals and even adds a subtle, delicious aroma to your food. You get cleaning and flavor in one go!
Can I Hose Down My Propane Grill?
You shouldn’t hose down your propane grill because water can get into the burners and gas lines, causing damage or safety risks.
Instead, use a damp cloth or sponge for the exterior and a grill brush for the grates. If you need to clean inside, a wet rag or grill cleaner is safer.
Always make sure your grill is cool and the gas is off before cleaning to avoid accidents.
What Does Rubbing a Potato on a Grill Do?
Imagine your grill is like a chalkboard covered in stubborn scribbles. Rubbing a potato on it works like a gentle eraser. When you rub a hot grill with a potato, the natural starches and enzymes break down grease and grime.
The potato’s moisture creates steam, loosening residue. It’s an eco-friendly, kitchen hack that helps clean your grill before you finish with a brush for the best results.
Conclusion
Now that you know the 7 steps to clean your propane grill, you’re set for better-tasting meals and longer grill life.
Did you know that regularly cleaning your grill can reduce flare-ups by up to 80%? Keeping your grill in top shape not only boosts safety but also makes every cookout more enjoyable.
So, take a little time to clean and season those grates—you’ll thank yourself at your next barbecue! Proper propane grill maintenance is key to enjoying delicious, safe outdoor cooking.