How Long to Sear Steak on Grill for Perfect Results
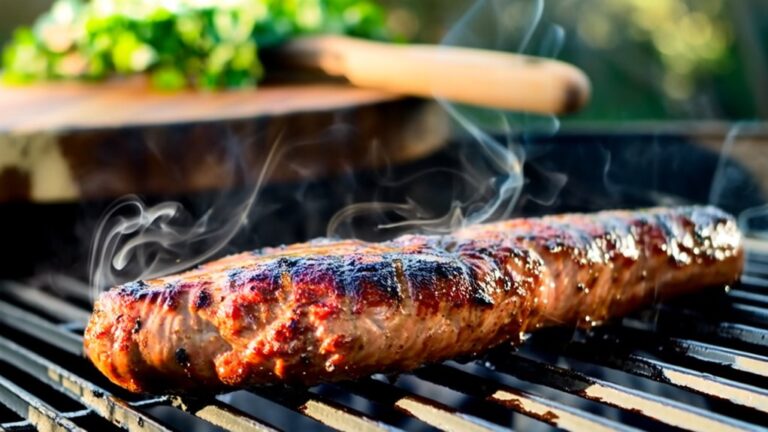
To sear a steak perfectly on your grill, it’s essential to preheat your grill to high heat, around 450-500°F. This high temperature helps develop a flavorful crust and those sought-after grill marks.
Cooking the steak for about 3 minutes per side without moving it is key to achieving this.
Use the 3-3-3 rule for a 1-inch cut: first, sear each side for 3 minutes. Then, transfer the steak to indirect heat and cook for 3 minutes per side. This method ensures your steak is cooked evenly and remains juicy.
Don’t forget to check the internal temperature to reach your preferred doneness.
Let the steak rest before serving to allow the juices to redistribute.
Keep reading for more tips on seasoning, choosing cuts, and timing that make all the difference.
Key Takeaways
- Sear steak on high heat for 2-3 minutes per side without moving to develop a flavorful crust and grill marks.
- Use the 3-3-3 rule: sear 3 minutes each side, then 3 minutes indirect heat for a 1-inch thick steak.
- For steaks thinner than ¾ inch, reduce searing time to 2 minutes per side to prevent overcooking.
- Preheat grill to 450°F-500°F for ideal searing temperature and avoid sticking.
- Use a meat thermometer to check doneness and rest steak 5-10 minutes after searing for juicy results.
Selecting the Best Cuts for Grilling
Choosing the right cut is key to grilling a steak that’s juicy and flavorful. When selecting cuts of steak, you’ll want to prioritize those with good marbling, like the Rib Eye. Its rich fat distribution enhances tenderness and flavor, making it a top choice for grilling.
Other excellent options include NY Strip, T-Bone, Porterhouse, and Tri-Tip. Be cautious with end cuts of strip steak, though—they often contain gristle and won’t give you the best grilling experience.
The thickness of your steak plays an essential role too. Following the 3-3-3 Rule works best with 1-inch thick cuts, allowing you to achieve a perfect sear while cooking evenly inside. For thicker cuts such as filet mignon, letting the steak sit at room temperature before grilling and seasoning well is essential for enhanced flavor and tenderness.
Preparing and Trimming Your Steak
Before you fire up the grill, it’s important to prepare your steak properly to guarantee even cooking and a great sear. Start by letting your steak sit at room temperature for 10-15 minutes; this helps it cook evenly. While the meat is cold, trim excess fat from the edges with a sharp knife—leave a thin layer for flavor but reduce large fat portions to minimize flare-ups.
Next, preheat your grill and lightly oil the grill grates to prevent sticking and promote a perfect sear. When choosing steak cuts, opt for premium ones like Rib Eye or NY Strip for the best tenderness and flavor. Finally, season the steak liberally on both sides with kosher salt and cracked black pepper to build a flavorful crust.
Avoid heavy marinades or sauces on quality cuts to let the natural taste shine through. Proper preparation guarantees your steak cooks beautifully and tastes amazing.
Essential Seasoning Tips for Flavorful Steaks
Although it might be tempting to pile on complex spices or marinades, keeping your seasoning simple with kosher salt and freshly cracked black pepper is key to bringing out your steak’s natural flavors. For premium cuts like Rib Eye or NY Strip, avoid heavy marinades that can overpower the meat. Instead, apply steak seasoning liberally on both sides to develop a flavorful crust during grilling.
Season your steak at least 40 minutes before cooking, or refrigerate it uncovered for up to 48 hours to deepen the flavor. Before placing it on the grill, pat the steak dry to remove surface moisture, ensuring better sear marks. After grilling, consider finishing with a pinch of kosher salt or a pat of herbed butter for an extra layer of richness.
This straightforward approach highlights the meat’s quality while enhancing its taste without masking it. Stick to these essential seasoning tips for consistently flavorful steaks.
Preheating Your Grill to Optimal Temperatures
When you want a perfect sear on your steak, preheating your grill to the right temperature is crucial. You should preheat your grill to high heat—around 450°F to 500°F—to reach ideal temperatures for searing. This guarantees a flavorful crust through caramelization and prevents the steak from sticking.
For charcoal grills, wait until coals glow red and develop a light ash layer before cooking. Don’t forget to clean and lightly oil the grates to promote even cooking and maximize heat retention. To test heat, hold your hand above the grate; if you can only keep it there for 1-2 seconds, your grill’s ready for searing.
| Grill Type | Preheat Method | Ideal Temperature | Visual Cue | Hand Test |
|---|---|---|---|---|
| Gas | Turn burners to high | 450°F – 500°F | Grates glowing hot | 1-2 seconds |
| Charcoal | Wait for red coals, ash layer | 450°F – 500°F | Coals glowing red, ashy | 1-2 seconds |
The Ideal Searing Time and Temperature Range
To achieve the perfect sear on your steak, aim for a grill temperature between 450°F and 550°F and sear each side for about 2 to 3 minutes without moving it. This temperature range guarantees a flavorful crust forms quickly on a hot grill without drying out the meat. For thicker cuts, around 1 to 1.5 inches, plan a total searing time of 6 to 8 minutes, flipping the steak to a new spot after each side to maintain consistent heat.
Using a meat thermometer is essential: check that the internal temperature reaches 130°F to 135°F for a perfect medium-rare finish. Remember, searing steak at too low a temperature won’t develop that savory crust, while too high risks burning. By controlling your grill’s temperature and timing your sear carefully, you’ll get a beautifully caramelized exterior and a juicy, medium-rare center every time.
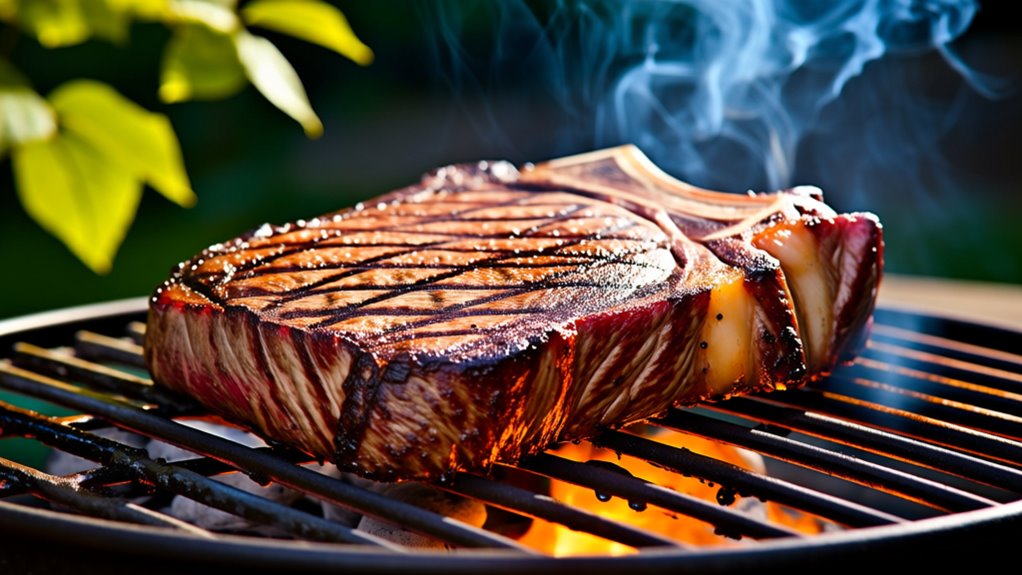
Techniques for Achieving Perfect Grill Marks
To get those perfect grill marks, you need to focus on timing, rotation, and pattern. Start by searing your steak on high heat for 2-3 minutes without moving it, then rotate it 45 degrees to create diamond shapes.
With the right searing time and proper flipping technique, you’ll lock in flavor and those appetizing grill lines.
Grill Mark Patterns
Anyone wanting perfect grill marks on their steak needs to start by searing it on high heat without moving it for 2-3 minutes. This searing process allows a crust to form, which is vital for clear grill marks. After this initial sear, rotate your steak 45 degrees to create those classic diamond patterns, then continue grilling for another 2-3 minutes.
Using clean, oiled grill grates is important to prevent sticking and to guarantee even heat distribution for consistent marks. Once you’ve achieved the desired marks on one side, flip the steak and repeat the process for the other side. Remember, patience is key—resist the urge to move the steak too soon, or you’ll disrupt the crust and ruin those perfect grill marks you’re aiming for.
Proper Steak Rotation
Although searing your steak without moving it is crucial, mastering proper rotation is what really gives you those perfect grill marks. Start by searing the steak at a grill temperature of 450°F to 500°F for 2-3 minutes on one side, allowing the Maillard reaction to create a flavorful crust.
Then, rotate the steak 45 degrees and sear for another 2-3 minutes to form the signature diamond grill marks. When flipping, use tongs to keep the juices inside. For thicker steaks, after searing, move them to the indirect heat side to cook evenly without burning the exterior.
Proper rotation guarantees both beautiful grill marks and an evenly cooked steak, maximizing flavor from the searing process to the final bite.
Optimal Searing Time
When you want perfect grill marks, searing your steak for 2 to 3 minutes on each side without moving it is vital. Make sure your grill is hot enough—around 450°F to 500°F—to properly sear steak and develop that flavorful crust. Halfway through searing each side, rotate the steak 45 degrees to create those signature crosshatch grill marks.
Remember, the ideal searing time depends on the cut of steak and your desired doneness, like medium rare. After searing, move the steak to indirect heat to finish cooking without burning the exterior. This step is essential for finishing the steak evenly while keeping it juicy.
Finally, let your steak rest for about 5 minutes to allow juices to redistribute, ensuring a tender and flavorful result every time.
Using the 3-3-3 Rule to Master Searing
You’ll want to start by searing your steak for 3 minutes on each side before moving it to indirect heat for another 3 minutes per side. This 3-3-3 Rule helps create a perfect crust while cooking the inside evenly, especially for steaks around 1 inch thick. Keep in mind, you might need to adjust the timing if your steak is thicker or thinner. Using an instant-read thermometer can help you monitor doneness accurately for the best results.
Timing for Each Side
Mastering the timing for each side of your steak is essential, and the 3-3-3 rule makes it simple to get right. Start by placing your steak on the hot grill and sear the first side for 3 minutes without moving it. This develops a perfect crust.
Then, flip the steak and sear the other side for another 3 minutes to build flavor and texture. After both sides are well-seared, move the steak to indirect heat and cook each side for an additional 3 minutes to finish cooking through. For a 1-inch thick steak, this method typically yields a medium-rare finish.
Benefits of 3-3-3
Although grilling steak can seem intimidating, the 3-3-3 rule simplifies the process by providing clear, manageable steps that help you achieve a perfect sear and even cooking. By searing each side for 3 minutes, then cooking over indirect heat for 3 minutes per side, you guarantee ideal heat penetration without overcooking. This method helps you reach the ideal internal temperature for a perfect medium-rare steak, around 135°F.
The 3-3-3 rule also encourages you to minimize movement during the initial sear, which is key to developing a rich, caramelized crust that locks in flavor. Using this straightforward approach, you can confidently grill steaks like ribeye or NY strip, balancing flavor and doneness every time.
Adjusting for Thickness
The 3-3-3 rule gives you a solid foundation for searing a standard 1-inch thick steak, but steaks come in all shapes and sizes. When adjusting for thickness, you’ll want to modify your steak cooking time accordingly. For steaks thicker than 1.5 inches, increase the indirect heat time to guarantee the interior cooks properly without burning the outside.
If your steak is thinner, like ¾ inch, reduce searing to about 2 minutes per side to avoid overcooking. Always use a meat thermometer to track internal temperatures, aiming for 125°F for rare up to 145°F for medium. Remember, internal temperatures rise 5-10°F during resting, so factor that into your cooking time for perfect results.
Monitoring Steak Doneness With a Meat Thermometer
Using a meat thermometer is one of the simplest ways to guarantee your steak reaches the perfect level of doneness without guessing. By checking the internal temperature, you can precisely target your preferred steak doneness, whether it’s medium-rare or more well-done. This tool also helps prevent overcooking since steaks continue to cook slightly after being removed from the grill.
For the most accurate reading, insert the thermometer into the thickest part of the steak, avoiding bone and fat.
Here’s a quick guide to internal temperatures for steak doneness:
| Steak Doneness | Internal Temperature (°F) |
|---|---|
| Rare | 120-125 |
| Medium-Rare | 130-135 |
| Medium | 140-145 |
| Medium-Well | 150-155 |
Using a meat thermometer guarantees you cook your steak perfectly every time, making overcooking a thing of the past.
Resting Your Steak for Juicy Results
Once you’ve taken your steak off the grill, letting it rest is key to keeping it juicy. You’ll want to wait at least 5 minutes, or up to 10 for thicker cuts, so the juices can redistribute evenly.
Covering it with foil during this time helps retain warmth and flavor before you slice in.
Importance of Resting
Although it might be tempting to cut into your steak right off the grill, resting it for at least 5 to 10 minutes is essential to keep it juicy and flavorful.
Here’s why resting matters:
- During resting, internal temperatures rise by 5 to 10°F, helping your steak reach the desired doneness without overcooking.
- Resting lets the juices redistribute evenly; skipping the resting phase causes the juices to run out, leaving your steak dry.
- Covering the steak loosely with foil retains heat, ensuring it stays warm and succulent.
Optimal Resting Duration
To get the most flavor and tenderness from your steak, you’ll want to pay close attention to how long it rests after coming off the grill. The ideal resting duration is typically 5 to 10 minutes, allowing the juices to redistribute evenly throughout the meat. During this resting time, the internal temperature can rise by 5-10°F, ensuring your steak finishes cooking perfectly.
For thicker cuts, you might want to extend the resting time slightly to lock in maximum juiciness. Be sure to cover your steak loosely with foil while it rests; this helps retain warmth without making the exterior soggy. Avoid cutting into your steak immediately after grilling, as this causes valuable juices to escape, resulting in a drier texture.
Proper resting is key to juicy results.
Common Mistakes to Avoid When Searing Steak
If you want a perfectly seared steak, you’ll need to avoid some common mistakes that can ruin the texture and flavor. When grilling steaks, pay attention to these key points:
- Don’t cook cold steak straight from the fridge. Let it sit at room temperature for 10-15 minutes to prevent uneven cooking and guarantee a consistent sear.
- Avoid flipping the steak too often or using a fork. Use tongs to flip the steak gently, and let it sit undisturbed for 2-3 minutes to develop a good crust without losing juices.
- Never skip the resting phase. After grilling, let your steak rest for at least 5 minutes so juices redistribute, keeping the meat tender and juicy.
Also, always use a meat thermometer instead of guessing cooking times to avoid overcooking.
These simple steps will help you avoid pitfalls and achieve steak perfection every time.
Frequently Asked Questions
How Long Should You Sear a Steak on the Grill?
You should sear your steak on the grill for about 2-3 minutes per side to get that perfect crust without overcooking the inside. Make sure your grill is super hot, around 450°F to 500°F, before you start. Don’t move the steak while it’s searing; let it sit to form a nice crust.
For thicker cuts, you might want to sear longer and finish cooking indirectly.
What Is the 3 3 2 2 Rule for Steak?
The 3-3-2-2 rule for steak means you sear your steak for 3 minutes on one side, then flip it for another 3 minutes. After that, you move it to indirect heat and cook it 2 minutes per side. It’s like a fast sprint followed by a steady jog—this combo locks in a crust while gently finishing the inside.
You’ll get a perfectly cooked, juicy steak every time!
How to Get Perfect Sear Marks on Steak?
To get perfect sear marks on your steak, preheat your grill until it’s really hot, around 450°F to 500°F. Place the steak on the grates and don’t move it for 2-3 minutes. For diamond-shaped marks, rotate it 45 degrees halfway through that time.
Flip the steak and repeat on the other side. Lightly oil the grates beforehand, and avoid flipping too often to keep those crisp, beautiful grill marks.
Should You Sear Steak With Lid Open or Closed?
Wondering if you should sear steak with the grill lid open or closed? You should sear with the lid closed. Why? Closing the lid traps heat, creating an oven-like environment that cooks your steak evenly and helps develop a perfect crust without drying out the inside.
Leaving it open risks flare-ups and uneven cooking. So, keep that lid shut, especially for thicker cuts, to get the best, juiciest results every time.
Conclusion
If you don’t nail the searing time, your steak might turn into a sad, chewy disaster that even a starving caveman wouldn’t touch. But get it right, and you’re basically a grill god, creating juicy, mouthwatering perfection that could make angels jealous.
Remember, mastering searing isn’t just cooking—it’s an art form that transforms your steak from ordinary to legendary. So grab those tongs, trust your thermometer, and own the grill like a pro!
For perfect results, knowing how long to sear steak on grill is essential. Timing, temperature, and technique all play a role in achieving that ideal crust and juicy interior. Master these, and your steak will always be a showstopper.