How to Replace a Faucet Cartridge Single Handle
To replace your single-handle faucet cartridge, first identify the cartridge type and gather necessary tools like an adjustable wrench and cartridge puller.
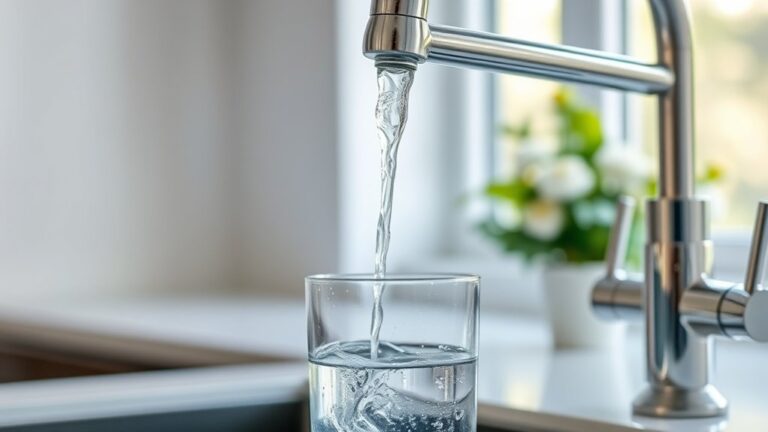
Turning off the water supply is essential before starting the process.
Next, remove the handle and retaining clips carefully. Use lubricant if needed to help pull out the old cartridge smoothly.
Align and insert the new cartridge properly, then secure it without overtightening.
Don’t forget to lubricate the O-rings to ensure a good seal.
Finally, restore the water supply and test for leaks and smooth operation.
Keep following for detailed steps and troubleshooting tips to guarantee a flawless fix.
Identify Your Faucet Cartridge and Gather Tools
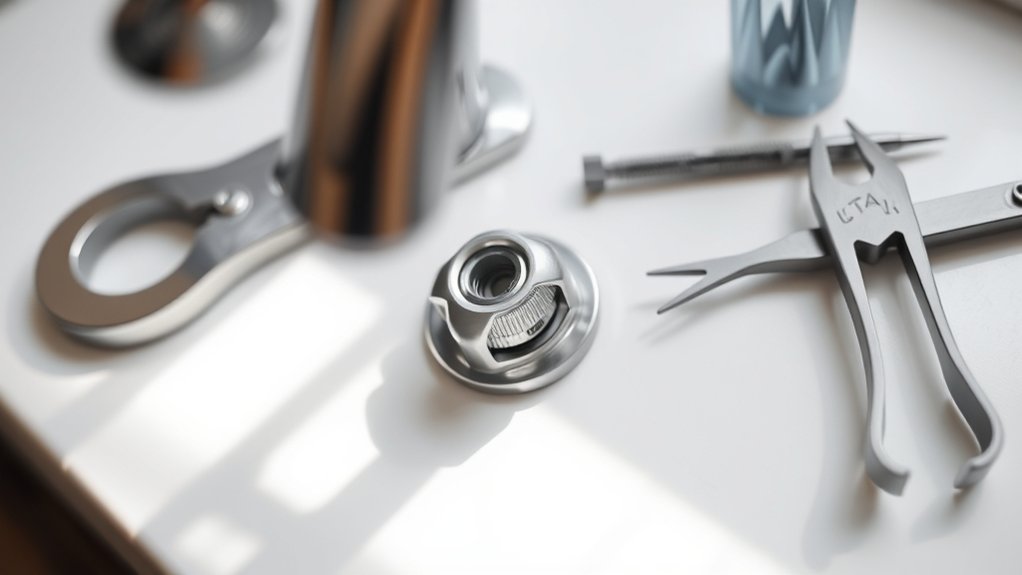
Before you begin replacing your faucet cartridge, you need to identify the exact type of cartridge installed in your faucet. Faucet cartridge types vary, including ceramic disk, ball, and compression cartridges. Each type has distinct shapes and mechanisms, so visually inspect the cartridge or consult your faucet’s manual for identification.
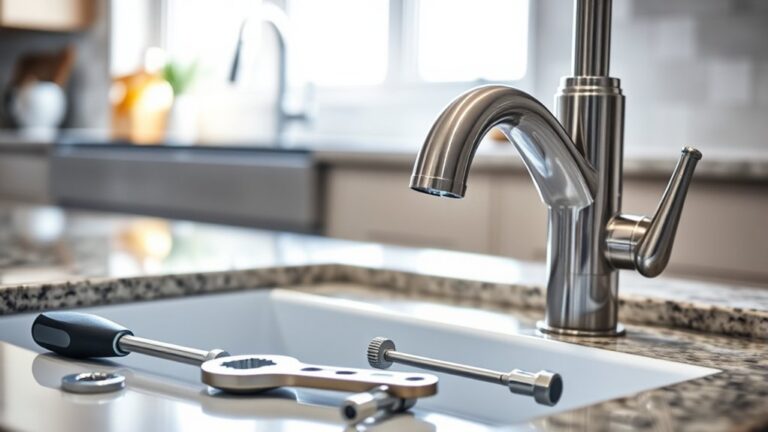
Understanding the cartridge type guarantees you purchase the correct replacement. Next, gather the necessary tools: typically, you’ll need an adjustable wrench, a flathead and Phillips screwdriver, pliers, and possibly a cartridge puller, depending on the cartridge type.
Having the right tool requirements met before starting prevents delays and potential damage. Confirm tool compatibility with your faucet model to maintain efficiency throughout the replacement process.
Remove Your Old Faucet Cartridge
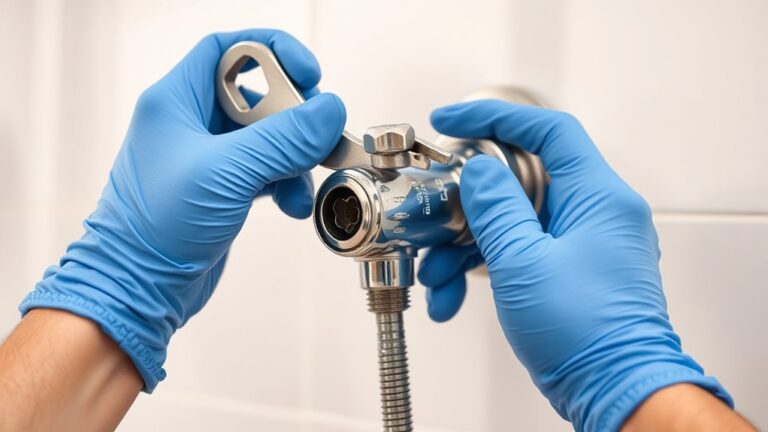
Start by turning off the water supply valves located under the sink to prevent any leaks during the cartridge removal. Next, remove the handle and any retaining clips or nuts securing the cartridge.
Depending on your cartridge type, you might need pliers or a cartridge puller. Common issues include corrosion or mineral buildup, which can make removal tricky. Use replacement tips like applying lubricant or gentle heat to ease the process.
Follow maintenance advice by inspecting the cartridge seat and cleaning debris before removal.
| Step | Tool Needed | Key Tip |
|---|---|---|
| Turn off water | None | Prevent leaks |
| Remove handle | Screwdriver | Avoid stripping screws |
| Extract cartridge | Pliers/Cartridge puller | Apply lubricant if stuck |
| Inspect & clean seat | Cloth, brush | Prevent future leaks |
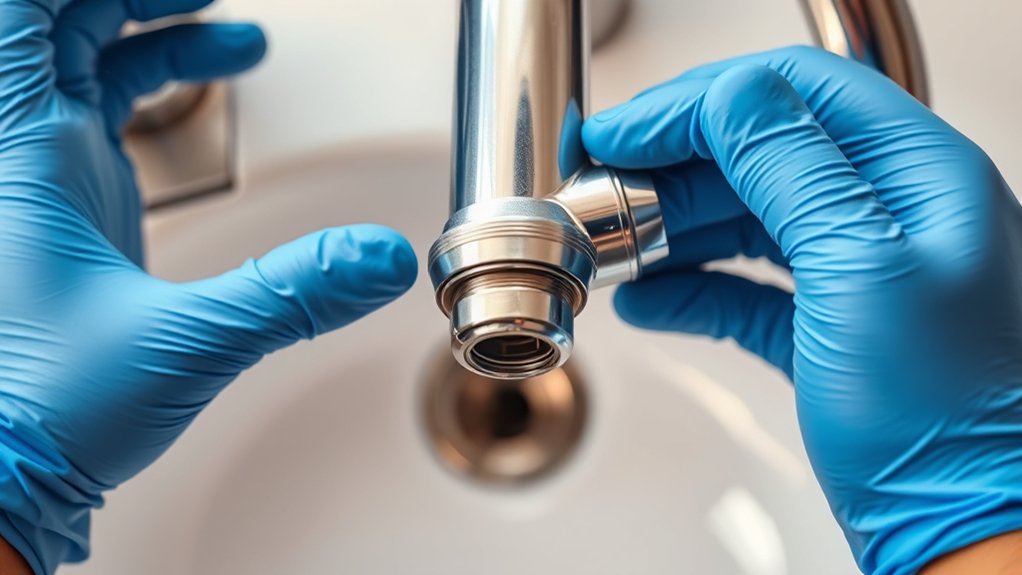
Install Your New Faucet Cartridge
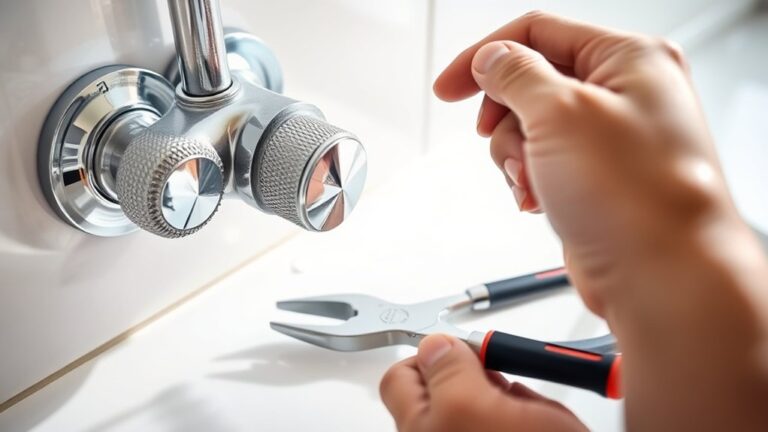
Align the new cartridge carefully with the faucet body, ensuring the notches and tabs match the corresponding slots. Different cartridge types may have unique alignment features, so check your model’s specifications before installation.
Insert the cartridge straight into the valve housing without forcing it, as misalignment can cause leaks or malfunction. Once seated, secure the cartridge by tightening the retaining nut or clip, depending on your faucet design.
Use a wrench to apply firm but controlled torque, avoiding overtightening. Follow manufacturer installation tips, such as lubricating the cartridge O-rings with plumber’s grease for smoother operation and longer life.
Finally, reinstall any removed components like the handle or escutcheon, making sure all parts fit snugly to maintain proper function and prevent leaks.
Test and Troubleshoot Your New Faucet Cartridge
After reinstalling all components and securing the cartridge, turn the water supply back on and operate the faucet to check for proper function. Observe the water flow for consistent pressure and temperature control.
If the handle feels stiff or water doesn’t flow smoothly, verify cartridge alignment and seating. Pay close attention for any leaks around the base or connections.
Troubleshooting leaks often involves tightening fittings or replacing worn seals. If you experience persistent dripping or irregular operation, consider cartridge compatibility issues; an incorrect model may cause malfunction or damage.
In such cases, consult manufacturer specifications to confirm the cartridge matches your faucet model. Correctly installed and compatible cartridges should operate smoothly without leaks, ensuring your faucet functions reliably.
Frequently Asked Questions
How Do I Know if My Faucet Cartridge Needs Replacing?
You’ll know your cartridge needs replacing if you notice cartridge symptoms like leaks, inconsistent water temperature, or difficulty turning the handle. Use troubleshooting tips such as checking for drips and handle stiffness to confirm the issue precisely.
Can I Use a Universal Cartridge for Any Faucet Brand?
Only about 30% of cartridges offer universal compatibility. You can’t use a universal cartridge for all faucet brands because designs vary.
Always check specifications to verify the cartridge matches your faucet’s model for proper function and fit.
What Safety Precautions Should I Take Before Starting?
Before starting, turn off your water supply and release pressure by opening the faucet. Use proper faucet tools and wear gloves for plumbing safety.
Confirm your workspace is dry to prevent slips or electrical hazards.
How Long Does a Faucet Cartridge Typically Last?
A stitch in time saves nine: faucet cartridge lifespan factors like water quality and usage affect durability, but typically it lasts 5-10 years.
Watch for signs of wear such as leaks or difficulty turning the handle.
Are There Eco-Friendly Faucet Cartridges Available?
Yes, you’ll find eco-friendly faucet cartridges made from sustainable materials that enhance cartridge efficiency. These options reduce water waste and energy use, helping you maintain an environmentally responsible plumbing system without sacrificing performance or durability.