How to Remove Faucet Knobs
To remove faucet knobs, first identify the type of knob and locate any visible set screws, often found under decorative caps.
Gather the necessary tools such as screwdrivers, an Allen wrench, and pliers. Before starting, be sure to turn off the water supply to avoid any spills.
Gently pry off the caps using a flathead screwdriver or a plastic tool to prevent damage. If the knobs are stuck, apply penetrating oil or try softening mineral deposits with heat and vinegar.
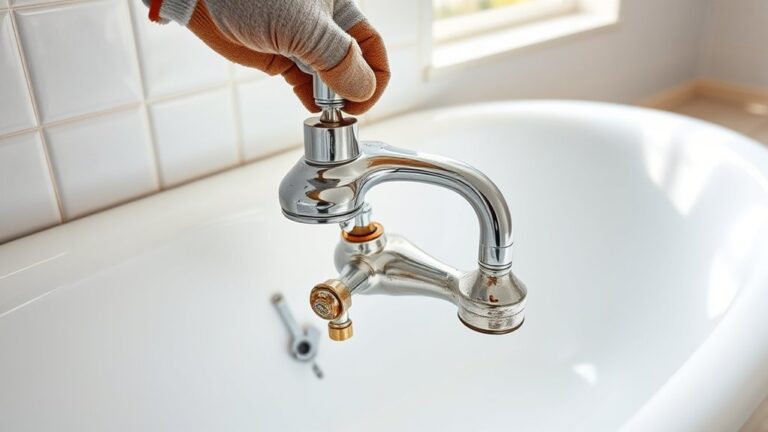
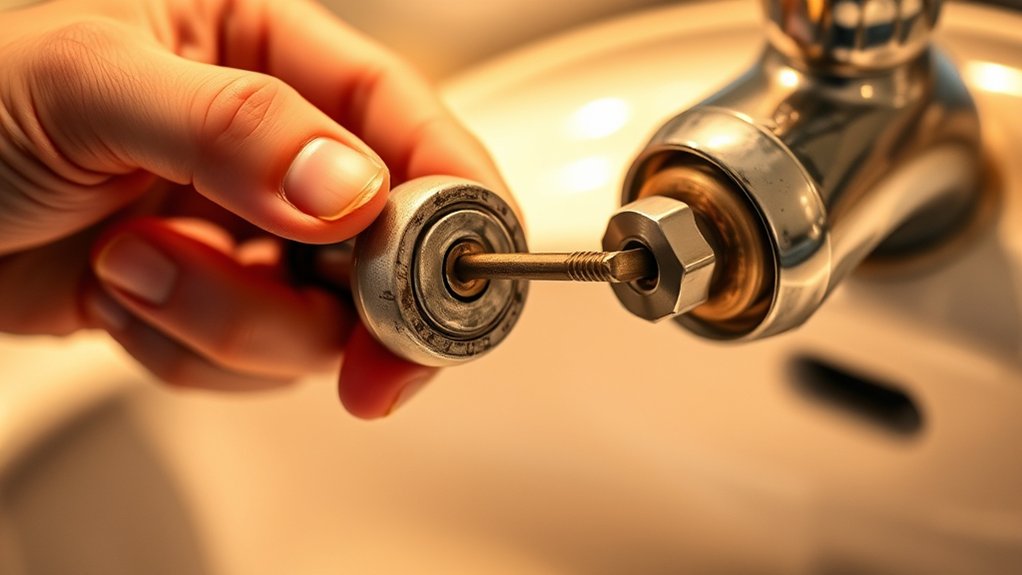
Once the knobs are loosened, carefully pull them off.
For more difficult cases, learn how to troubleshoot and disassemble the faucet for deeper access. This will help ensure you can remove even the most stubborn faucet knobs safely and effectively.
Identify Your Faucet Knob Type
How do you know which type of faucet knob you have? Start by examining the faucet styles commonly found in your home: compression, cartridge, ball, or ceramic disc. Each style has distinct knob designs and mechanisms.
Next, identify the knob materials, as this affects removal techniques. Knobs typically come in metal, plastic, or ceramic. Metal knobs often have visible screws or caps, while plastic or ceramic knobs might hide screws underneath decorative covers.
Check for any visible set screws, usually located on the side or under the cap. Understanding these details helps you determine how the knob attaches to the faucet stem. Accurately identifying your faucet knob type guarantees you apply the correct removal method without damaging components.
Gather the Right Tools for Faucet Knob Removal
A well-prepared toolkit makes faucet knob removal efficient and damage-free. First, gather essential tool types: a flathead screwdriver, Phillips screwdriver, Allen wrench set, adjustable wrench, and pliers. These cover most fastening mechanisms, whether screws or hex bolts.
You may also need a utility knife for caulk or sealant removal. Before starting, follow safety precautions: turn off the water supply to prevent leaks, wear gloves to protect your hands, and use eye protection against debris. Verify tools are in good condition; worn screwdrivers can strip screws, complicating removal.
Organize your tools nearby to avoid interruptions. By assembling the correct tool types and adhering to safety precautions, you’ll streamline the removal process and reduce the risk of damaging the faucet or surrounding fixtures.
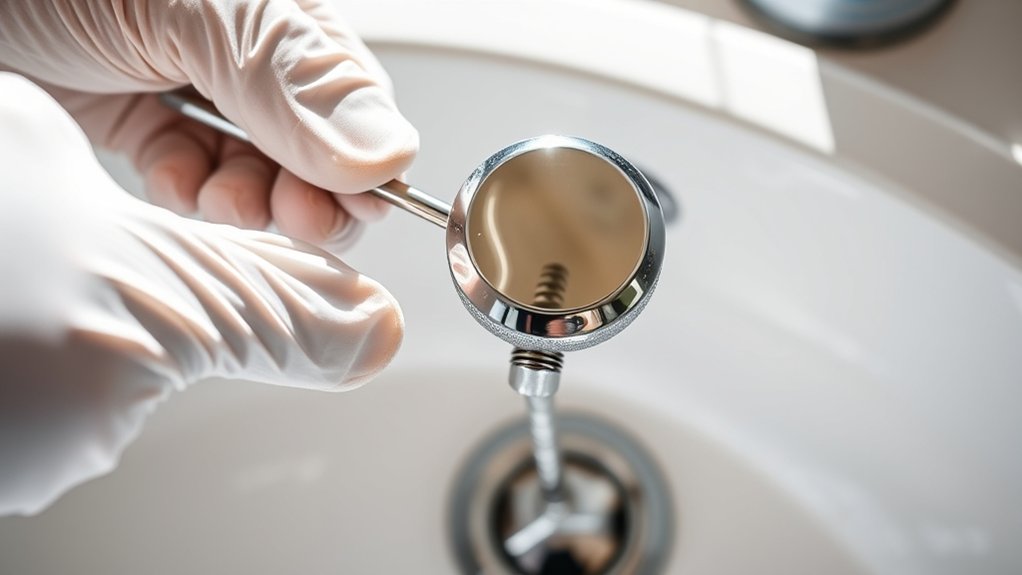
Remove Decorative Faucet Knob Caps Without Damage
Before you remove decorative faucet knob caps, gently pry them off to prevent scratching or cracking. Different decorative knob types, such as plastic, metal, or ceramic, require careful handling based on knob cap materials.
Use a flathead screwdriver or a plastic pry tool, inserting it under the cap edge. Apply slow, steady pressure, working around the perimeter if needed to loosen adhesion.
For fragile materials like ceramic or painted plastic, avoid metal tools that could chip or scratch. If adhesive residue remains, soften it with a cloth dampened in warm water or a mild solvent suitable for the finish.
Removing caps without damage preserves their appearance and functionality, ensuring you can access internal components without compromising the knob’s integrity or aesthetics.
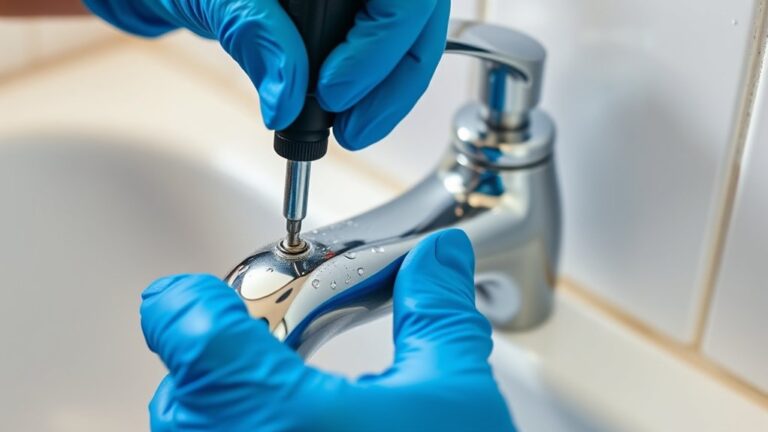
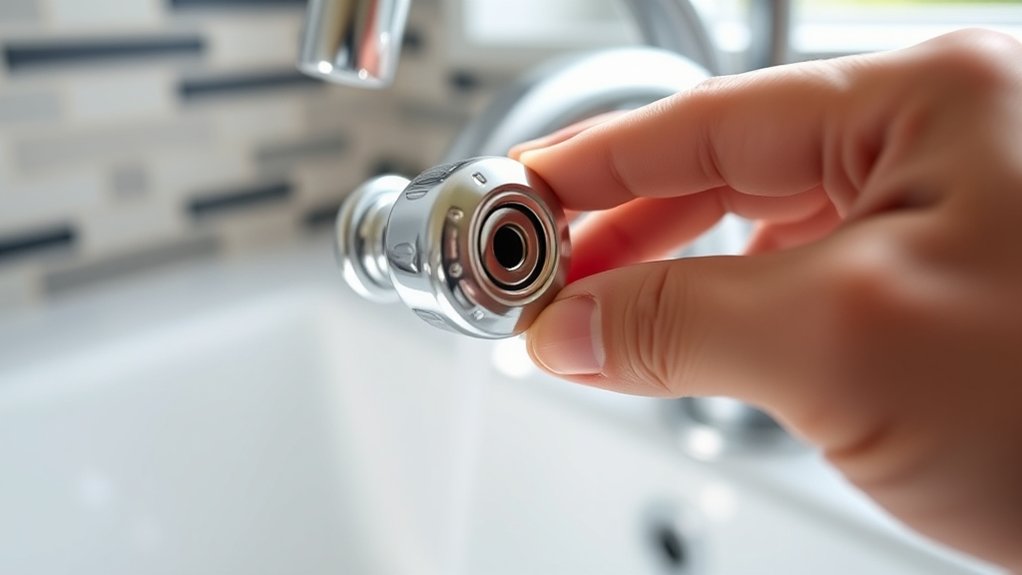
Locate and Remove the Faucet Knob Set Screw
Once the decorative faucet knob caps are safely removed, focus on locating the set screw that secures the knob to the faucet stem. Set screws commonly use hex (Allen), flathead, or Phillips head types.
You’ll typically find the set screw on the underside or side of the knob, sometimes hidden beneath a small indentation or groove. Use a flashlight if necessary to spot it clearly.
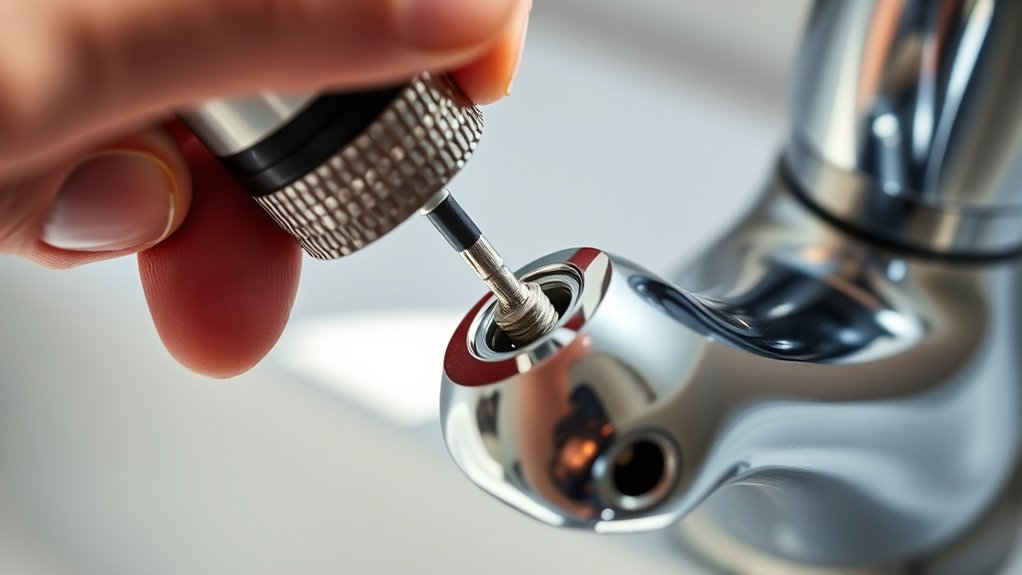
Select the appropriate screwdriver or Allen wrench matching the set screw type to avoid stripping. Insert the tool firmly and turn counterclockwise to loosen.
Keep steady pressure as you remove the set screw completely. This step releases the knob from the faucet stem, allowing safe removal without damage. Identifying the set screw type and location accurately guarantees smooth progress in your faucet knob removal process.
Loosen Stuck or Rusted Faucet Knobs
If your faucet knob is stuck or rusted, first identify the rusted areas that may be causing the problem. Apply penetrating oil to these spots and allow it to sit for several minutes to loosen corrosion.
Then, use the proper tools to carefully turn and remove the knob without causing damage.
Identify Rusted Areas
Although faucet knobs often appear intact, you’ll want to closely inspect them for rust or corrosion that can cause them to stick. Start by examining the base and inner surfaces of the knob, areas most prone to moisture exposure and rust buildup.
Look for discoloration, flaking metal, or rough texture, which indicate corrosion. Pay special attention to any metal screws or fasteners, as these often seize due to rust.
Proper identification of rusted areas is essential before proceeding with rust removal to avoid damaging the faucet. Document any visible corrosion spots to guide your knob maintenance process, ensuring you apply targeted treatments.
Accurate assessment prevents unnecessary force during removal and preserves the faucet’s integrity for repair or replacement.
Apply Penetrating Oil
Spray penetrating oil directly onto the rusted or stuck areas of the faucet knob, focusing on the base and any visible fasteners. Make certain thorough oil application penetrates rust and loosens corrosion.
Allow the oil to soak in for at least 10 to 15 minutes; this dwell time is essential for effective rust prevention and easing knob removal. If necessary, apply additional oil to maintain lubrication and prevent further rust buildup.
Avoid rushing this step, as adequate penetration reduces the risk of damaging the faucet components during removal. After soaking, you can proceed with loosening the knob more efficiently.
Proper oil application not only facilitates removal but also helps protect metal surfaces from future corrosion, extending the faucet’s operational lifespan.
Use Proper Tools
Gather the appropriate tools before attempting to loosen stuck or rusted faucet knobs. Start with a flathead screwdriver to remove any decorative caps and access the screw securing the knob.
Use an adjustable wrench or pliers to grip and turn the knob carefully, avoiding damage. If the knob remains stuck, try a rubber strap wrench to increase grip without scratching surfaces.
Applying gentle, consistent pressure prevents stripping or breaking components. Keep penetrating oil on hand as part of effective faucet maintenance tips for loosening corrosion.
Evaluate knob replacement options if damage occurs during removal, ensuring compatibility with your faucet model. Using the right tools minimizes repair time and preserves fixture integrity, streamlining your faucet maintenance and replacement process.
Use Heat and Vinegar to Break Faucet Knob Mineral Deposits
If mineral deposits have hardened around your faucet knob, applying heat and vinegar can effectively loosen them. Start by preparing a vinegar solution: mix equal parts white vinegar and water. Use a cloth soaked in this solution and wrap it tightly around the base of the knob.
Next, apply heat carefully by warming the knob with a hairdryer for several minutes to expand the metal and soften deposits. Let the vinegar solution sit for at least 15 minutes to dissolve minerals. Finally, remove the cloth and test the knob’s movement.
- Soak a cloth in vinegar solution
- Wrap cloth securely around faucet knob
- Apply heat with a hairdryer for 3-5 minutes
- Allow solution to work for 15 minutes before removal
This method targets mineral buildup without damaging fixtures.
Troubleshoot When the Faucet Knob Won’t Budge
Three common causes prevent faucet knobs from moving: stubborn mineral buildup, a stuck or stripped screw, and internal corrosion. Start by applying faucet maintenance tips such as soaking the knob in vinegar or using a heat gun to dissolve mineral deposits.
If the knob still won’t budge, remove any decorative caps to access the screw. Check if the screw is stripped or stuck; use a screwdriver with a better grip or apply penetrating oil to loosen it.
For internal corrosion, disassemble the faucet carefully, inspecting the cartridge and valve stem. Replace any corroded parts to restore functionality. Addressing these common faucet issues methodically guarantees safe removal and prevents damage, making your repair process efficient and effective.
Frequently Asked Questions
Can I Replace Faucet Knobs Without Shutting off the Water Supply?
You can’t dance in the rain without a shield. Similarly, don’t replace faucet knobs without shutting off water. Different faucet knob types require specific installation tools, so always cut the flow first to avoid leaks and damage.
How Do I Prevent Leaks After Reinstalling Faucet Knobs?
You prevent leaks after knob installation by tightening screws securely, applying plumber’s tape on threads, inspecting O-rings for damage, and testing water flow. Proper alignment and sealing guarantee effective leak prevention during faucet knob reassembly.
Are There Eco-Friendly Products for Cleaning Faucet Knobs?
When push comes to shove, you can use eco-friendly cleaners like vinegar and baking soda for faucet knobs. These natural alternatives effectively remove grime without harsh chemicals, ensuring a safe, sustainable, and efficient cleaning process every time.
How Often Should Faucet Knobs Be Replaced or Maintained?
You should perform faucet maintenance tips every six months and replace knobs when you notice leaks, cracks, or stiffness. These are key knob replacement signs indicating wear that affects functionality and water efficiency.
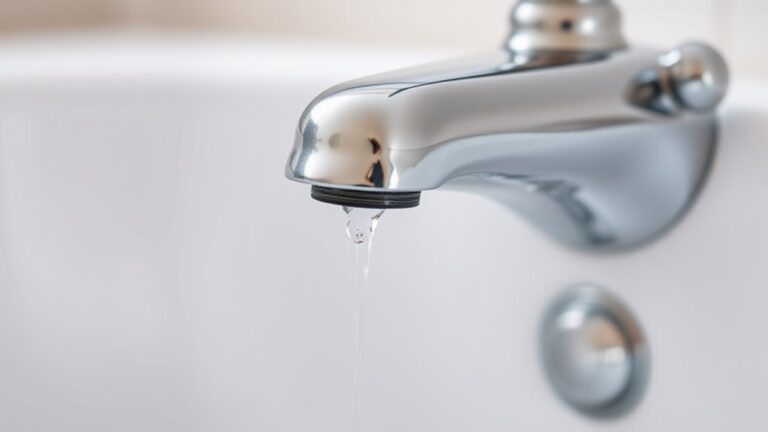
Can Damaged Faucet Knobs Cause Water Pressure Issues?
Yes, knob damage can cause water pressure issues by obstructing valve operation. You should inspect and replace damaged knobs promptly to restore proper flow and prevent further faucet mechanism wear or water pressure inconsistencies.