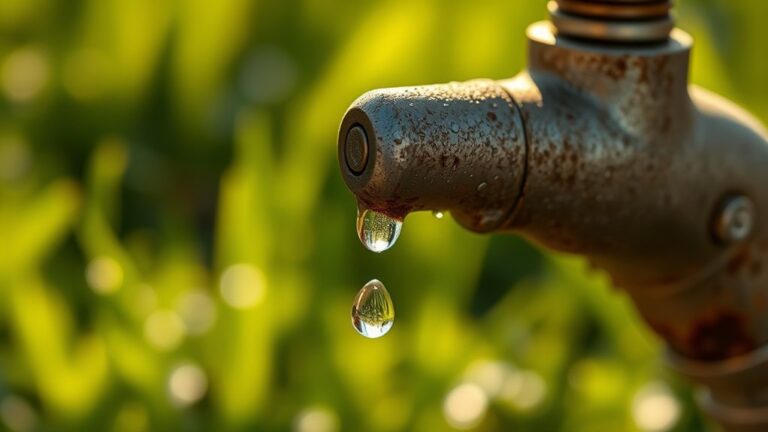
How to Remove Faucet Handle
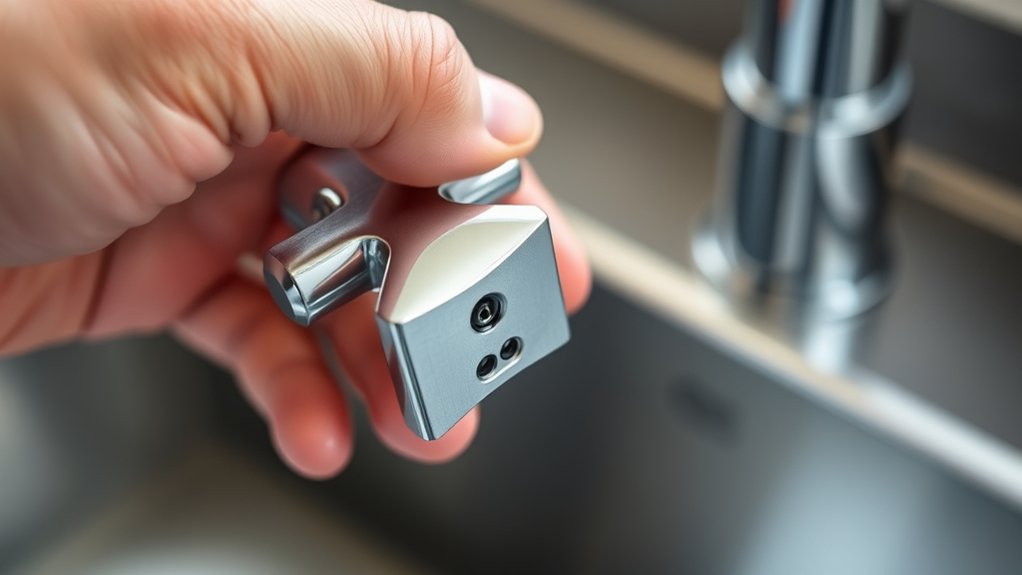
First, identify your faucet handle type—metal, plastic, or ceramic—to begin the process of how to remove a faucet handle. Remove any decorative caps to access the screws underneath.
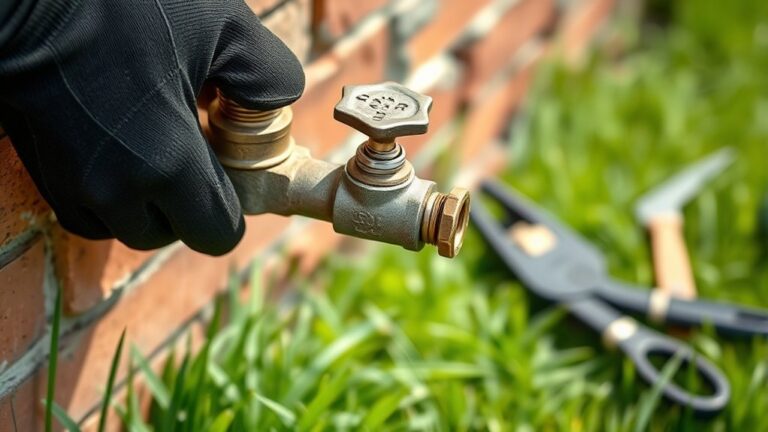
Turn off the water supply before proceeding. Use the appropriate screwdriver or hex key to remove the handle screw.
Gently pull or twist the handle off. If it’s stuck, apply penetrating lubricant and let it sit for a while. Then, use a handle puller or gently tap the handle to loosen it.
After removal, inspect and clean the components for maintenance.
Keep going to uncover detailed tips for tough cases and proper care.
Identify Your Faucet Handle Type
How do you determine which type of faucet handle you have? First, examine the handle materials. Most are metal, plastic, or ceramic. The material can hint at the handle’s mechanism.
Next, remove any decorative caps to expose the screw or retaining mechanism. Identify the cartridge type by turning the handle and observing its movement: compression valves require separate hot and cold handles; cartridge types often have a single lever moving up/down or side to side.
Cross handles typically use a stem cartridge, while single-lever handles use a cartridge cartridge. Knowing the cartridge type helps you understand how the handle is secured and how to proceed with removal. Accurate identification prevents damage during disassembly and guarantees a smooth repair process.
Tools You Need to Remove a Faucet Handle
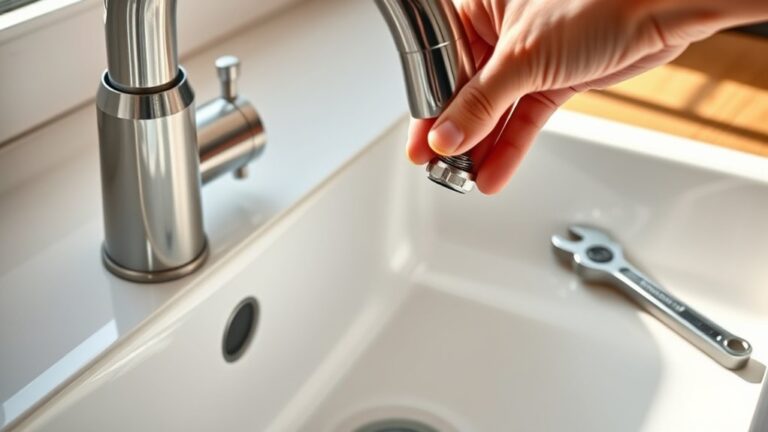
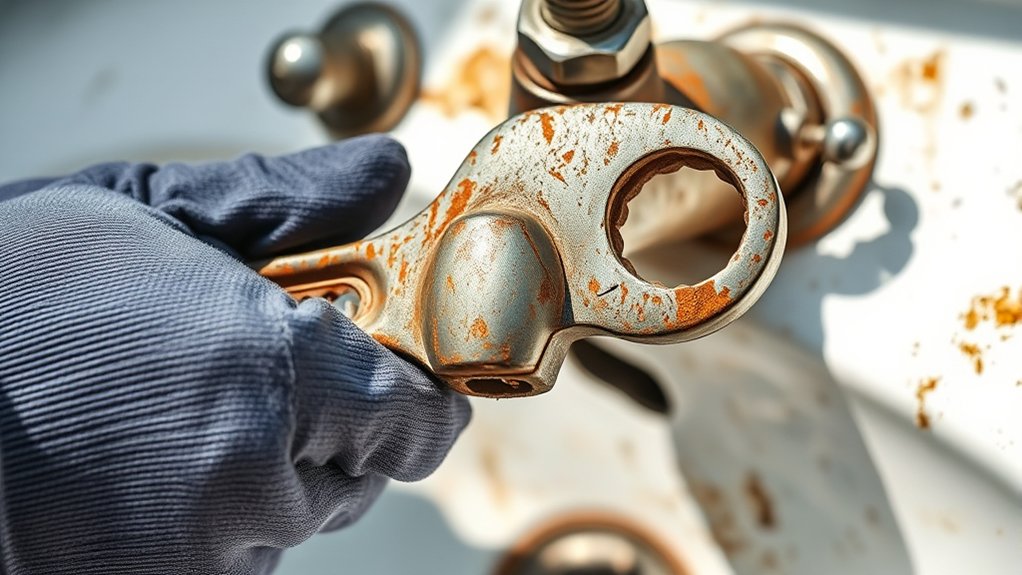
Removing a faucet handle requires a few essential tools to guarantee a safe and efficient process. First, gather a flathead and Phillips screwdriver, as most faucet handle types use screws that you’ll need to remove.
Essential tools like flathead and Phillips screwdrivers make removing faucet handles safe and efficient.
An adjustable wrench or pliers will help loosen any nuts securing the handle to the valve stem. For handles with hidden screws under decorative caps, a small pry tool or utility knife is necessary.
Additionally, a hex key (Allen wrench) is crucial for handles with hex screws. Having a cloth or rag on hand prevents scratching the faucet finish while using tools.
These tools address common faucet issues like stuck or corroded handles, ensuring you can safely detach the handle without damaging components or the faucet itself.
Step-by-Step Guide to Removing a Faucet Handle
Start by turning off the water supply to prevent leaks while you work. Proper faucet maintenance tips begin with this precaution.
Next, follow these steps to remove the faucet handle safely:
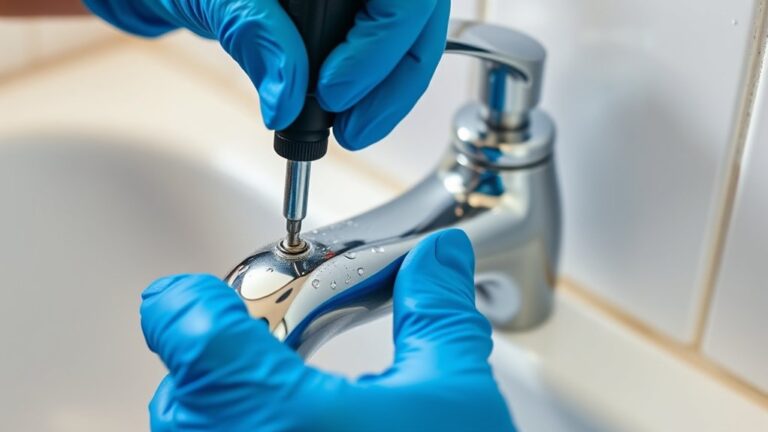
- Locate and remove the decorative cap covering the handle screw.
- Use the appropriate screwdriver or Allen wrench to unscrew and remove the handle screw.
- Gently pull the handle straight up or twist it off, depending on the model.
- Inspect the exposed parts for wear or damage, addressing any common faucet issues before reassembly.
These steps help you remove the handle efficiently, allowing for repairs or replacement. Following this guide guarantees you avoid damage and maintain your faucet’s functionality.
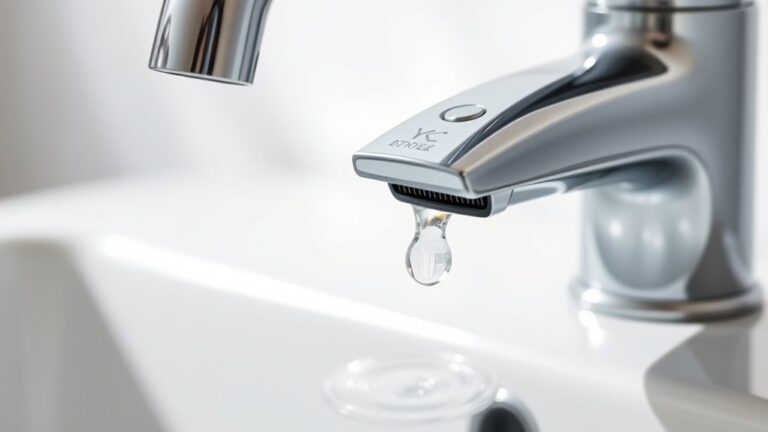
How to Remove Stuck or Corroded Faucet Handles
After you’ve removed the decorative cap and loosened the handle screw, you might find the faucet handle stuck or corroded, making it difficult to pull off. Handle corrosion often causes mineral buildup, bonding the handle to the valve stem.
To remove it, apply a penetrating lubricant around the base and let it sit for 10-15 minutes. Use a handle puller tool or gently tap the handle with a rubber mallet to break the corrosion seal. Avoid excessive force to prevent damage.
If the handle remains stuck, heating the area slightly with a hairdryer can expand metal parts and help release corrosion. Once removed, inspect for corrosion damage and proceed with handle replacement if needed to guarantee smooth operation and prevent future issues.
What to Do After Removing the Faucet Handle
Inspect the exposed valve stem and surrounding components for signs of wear, corrosion, or damage. This step guarantees you identify issues before proceeding with handle replacement.
Follow these maintenance tips to prepare:
- Clean the valve stem and area with a cloth and mild cleaner to remove debris.
- Lubricate the valve stem with plumber’s grease to guarantee smooth operation.
- Check the condition of O-rings and washers; replace if brittle or cracked.
- Confirm the new handle matches the valve stem type and size.
Completing these steps helps prevent leaks and extends faucet life. Proper maintenance after removal sets a solid foundation for efficient handle replacement and reliable faucet performance.
Frequently Asked Questions
How Do I Choose a New Faucet Handle Replacement?
You’ll choose a new faucet handle by matching faucet handle styles with your existing model. Consider materials, finish, and compatibility.
Follow installation tips precisely, like aligning the handle with the cartridge for smooth operation and secure fitting.
Can I Upgrade to a Touchless Faucet Handle?
Yes, you can upgrade to a touchless faucet handle using touchless technology. Follow installation tips carefully: guarantee power supply access, compatible faucet model, and secure sensor placement for maximum functionality and water efficiency.
What Materials Are Faucet Handles Commonly Made From?
You’ll often spot faucet handle materials like brass, zinc alloy, and stainless steel, matching common faucet finishes such as chrome, brushed nickel, and oil-rubbed bronze. These durable choices guarantee longevity and style in your plumbing fixtures.
How Often Should Faucet Handles Be Replaced?
You should replace faucet handles every 5-10 years or when you notice wear affecting function. Follow faucet maintenance tips to prevent damage, and guarantee new handles avoid handle compatibility issues for smooth installation and operation.
Are There Eco-Friendly Faucet Handle Options Available?
Yes, you can choose faucet handles made from sustainable materials like bamboo or recycled metals. These options enhance energy efficiency by promoting durable, long-lasting use and reducing environmental impact during production and disposal.