How to Fix Shower Faucet
To fix your shower faucet, first turn off the water supply and open the faucet to drain the pipes.
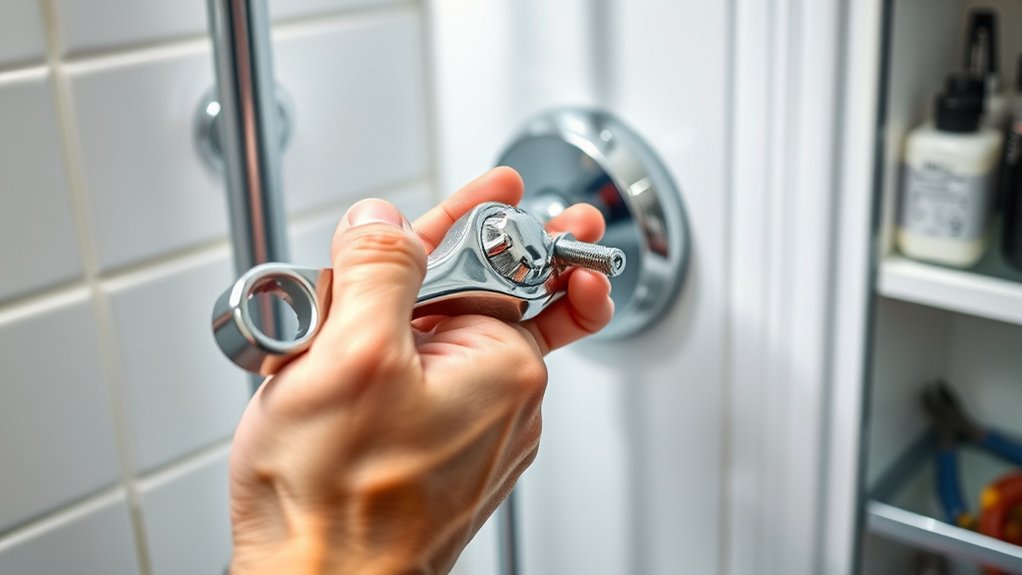
Remove the handle using appropriate tools and check for worn washers, seals, or cartridges that may be causing leaks or stiffness.
Clean any mineral buildup and inspect for corrosion.
Replace damaged parts carefully, then reassemble to guarantee a tight seal.
If water pressure or leaks persist, it might require deeper diagnosis or professional help.
Here’s how to address each issue effectively and avoid further damage.
How to Identify Common Shower Faucet Problems
How can you quickly pinpoint issues with your shower faucet? Start by observing changes in shower pressure; inconsistent or low pressure often indicates buildup or a faulty valve.
Next, listen for dripping sounds when the faucet is off, signaling worn washers or seals. Check for leaks around the faucet base, which suggest loose connections or corrosion.
Listen for drips when off and check base leaks to spot worn washers or loose connections.
Pay attention to handle stiffness or difficulty turning, typically caused by mineral deposits or internal damage. Regular faucet maintenance helps prevent these problems by ensuring components remain clean and functional.
Inspecting the faucet for visible wear and testing water flow systematically allows you to diagnose issues precisely, enabling targeted repairs without unnecessary replacements. By focusing on these key symptoms, you can efficiently identify and address common shower faucet problems.
Essential Tools Needed for Shower Faucet Repair
To tackle a shower faucet repair effectively, you’ll need a specific set of tools designed for plumbing tasks. Different faucet types require various tools, and understanding plumbing basics guarantees you select the right ones.
Here’s a breakdown of essential tools:
| Tool | Purpose | Notes |
|---|---|---|
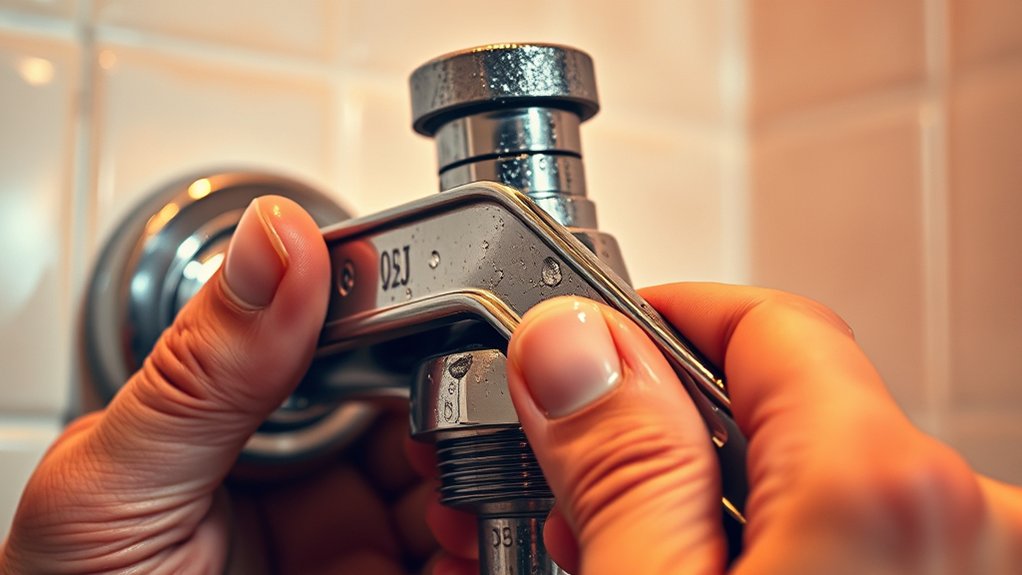
| Adjustable Wrench | Loosening/tightening nuts | Fits various sizes |
| Screwdrivers | Removing handles and screws | Phillips and flathead |
| Allen Wrenches | Accessing set screws | Common in cartridge faucets |
| Plumber’s Tape | Sealing threaded connections | Prevents leaks |
| Pliers | Gripping and turning small parts | Needle-nose or slip-joint |
Having these tools ready streamlines repairs and accommodates various faucet types, improving your efficiency and accuracy.
How to Safely Turn Off Your Shower’s Water Supply
Before you begin any repair, locate and shut off the water supply to your shower to prevent leaks and water damage. Start by identifying the main water shutoff valve for your home or the dedicated valve for the shower, often found near the bathroom or in a utility area.
Turn the valve clockwise to close it fully. If your shower lacks an individual shutoff, use the main water supply valve. Once closed, open the shower faucet to drain residual water, reducing pressure in the pipes.
Always follow safety precautions: wear gloves and verify the area is dry to avoid slips or electrical hazards if nearby outlets exist. Confirm the water supply is completely off before proceeding with any repairs to maintain a safe, effective work environment.
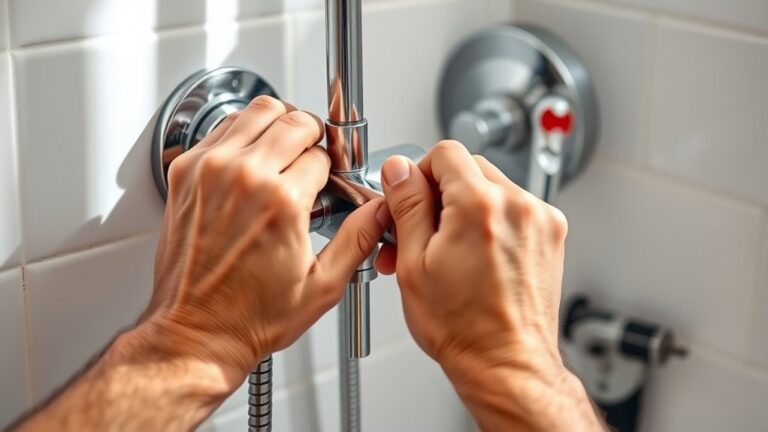
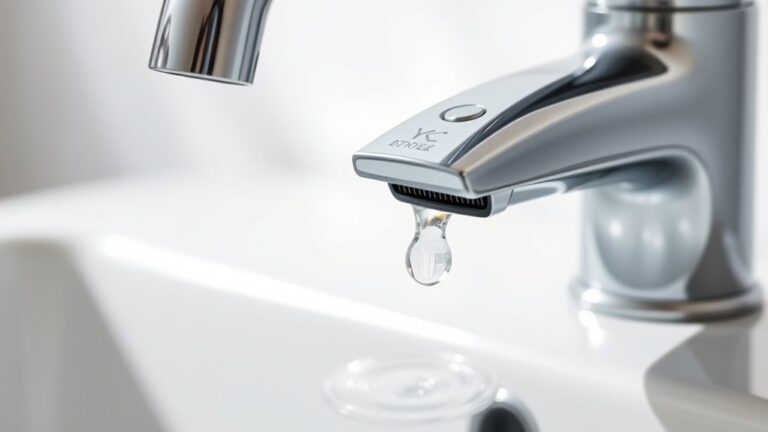
How to Fix a Dripping Shower Faucet
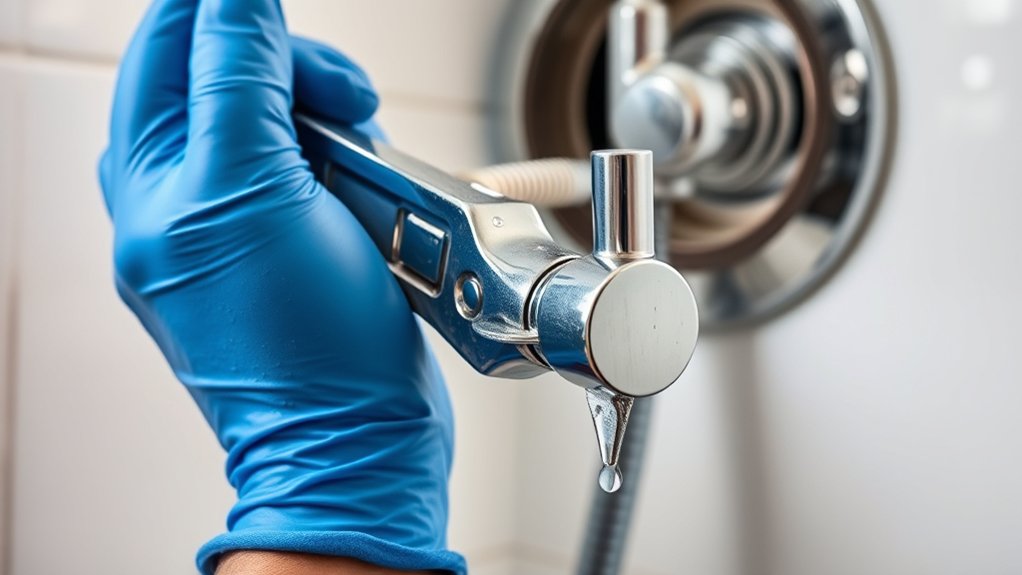
If your shower faucet keeps dripping despite being fully turned off, the issue likely lies with worn-out washers, seals, or cartridges. To fix a dripping faucet effectively, start by shutting off the water supply and removing the faucet handle carefully.
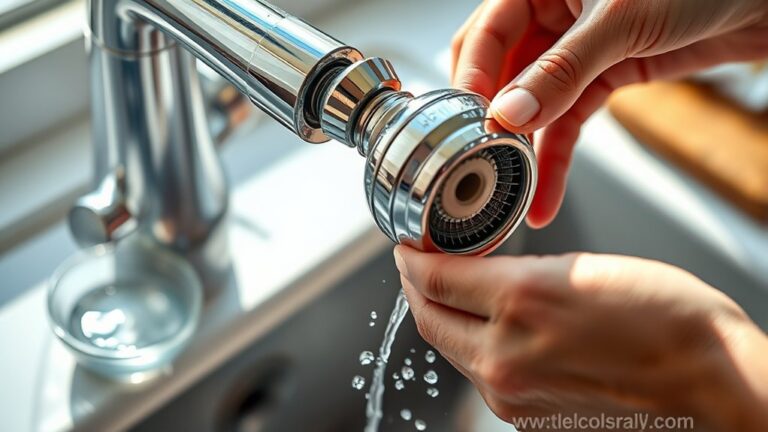
Inspect the internal components for visible damage or mineral buildup. Use these maintenance tips to guide your repair:
- Clean all parts thoroughly to remove debris that may cause leaks.
- Check for corrosion or cracks on seals and washers.
- Reassemble the faucet with properly aligned components to guarantee a tight seal.
Addressing these points prevents water waste and protects your plumbing system. Regular maintenance can stop a dripping faucet from turning into a costly problem, saving you money and frustration in the long run.
Replacing Shower Faucet Cartridges and Washers
You’ll first need to identify the type of cartridge your shower faucet uses to guarantee a proper replacement. Carefully remove the old cartridge and washers without damaging surrounding components.
Then, install new washers and the correct cartridge to restore smooth operation and prevent leaks.
Identifying Cartridge Types
Although shower faucet cartridges vary widely, identifying the correct type is crucial for a proper replacement. Different faucet brands use specific cartridge types, so matching your cartridge guarantees a secure fit and ideal function. Start by checking your faucet’s model number or brand markings, which guide you toward the right cartridge category.
Focus on these points to identify the cartridge type accurately:
- Examine the cartridge’s shape and number of ports.
- Note any unique features like seals or retaining clips.
- Consult faucet brand manuals or online databases for specifications.
Accurate identification prevents leaks, reduces frustration, and extends your faucet’s lifespan. By pinpointing the exact cartridge type, you’ll streamline the repair and avoid unnecessary purchases.
Removing Old Components
Begin by turning off the water supply to your shower to prevent leaks during the removal process. Use appropriate removal techniques to carefully extract old components like cartridges and washers without damaging the valve body.
Often, cartridge removal requires unscrewing retaining clips or nuts, while washers may need prying with a flathead screwdriver.
| Component | Removal Techniques |
|---|---|
| Cartridge | Unscrew retaining clip or nut |
| Washer | Pry gently with flathead tool |
| Valve Body | Inspect for damage post-removal |
Handle old components cautiously to avoid breaking them inside the valve. If stuck, apply penetrating oil and wait before attempting removal again. Proper removal techniques guarantee a clean valve surface, essential for effective installation of new parts.
Installing New Washers
Install new washers by carefully positioning them in the valve assembly to confirm a proper seal and prevent leaks. Selecting the correct washer types, such as rubber, silicone, or neoprene, is essential for durability and compatibility with your faucet model. Follow these installation tips to guarantee a smooth process:
- Align washers precisely to avoid twisting or damage, which can cause leaks.
- Lubricate washers lightly with plumber’s grease to ease installation and extend lifespan.
- Inspect the valve seat for corrosion or debris before placing washers to confirm a tight seal.
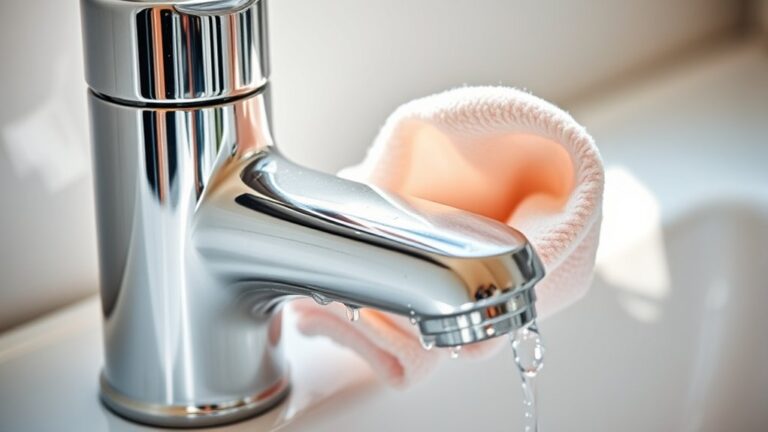
How to Fix Leaks Around the Shower Faucet Handle
Start by turning off the water supply to prevent any further leaks while you work on the shower faucet handle. Next, remove the handle by loosening the set screw, which may be hidden under a decorative cap.
Identify your faucet type, such as compression, cartridge, ceramic disc, or ball, to determine the correct repair approach. Inspect the handle and surrounding area for worn or damaged O-rings and seals, as these often cause leaks.
Replace any faulty parts with exact matches for effective handle maintenance. Apply plumber’s grease to new O-rings before reinstalling to guarantee a secure, leak-free fit.
Finally, reassemble the handle and turn the water back on, checking for leaks. Proper handle maintenance tailored to your faucet type will effectively stop leaks and extend the faucet’s lifespan.
When to Call a Plumber for Shower Faucet Repair

While replacing worn O-rings and seals can often resolve leaks around your shower faucet handle, some issues require professional expertise. You should call a plumber when the types of leaks are complex, or when signs of damage suggest deeper problems. For instance:
- Persistent leaks despite your repairs may indicate cartridge or valve failure.
- Corrosion or broken components inside the faucet stem can compromise water flow.
- Water pressure irregularities or temperature control issues often need specialized tools and knowledge.
Ignoring these signs can worsen damage and increase repair costs. A plumber will accurately diagnose the problem, ensuring safe and efficient repair. Knowing when to seek professional help saves you time, stress, and potential water damage in the long run. Don’t hesitate to consult an expert if your repairs don’t fix the issue.
Frequently Asked Questions
What Types of Shower Faucets Are Most Durable?
You’ll find shower faucets with ceramic cartridges and brass fittings most durable. Ceramic cartridges resist wear and leaks, while brass fittings prevent corrosion.
Together, they guarantee reliable performance and long-lasting functionality in your shower system.
How Often Should I Maintain My Shower Faucet?
Regularly revitalizing your reliable shower faucet requires routine maintenance. You should perform maintenance tips every six months to check for leaks, clean mineral buildup, and guarantee smooth operation. This prevents costly repairs and prolongs your faucet’s function effectively.
Can Hard Water Damage My Shower Faucet?
Yes, hard water can damage your shower faucet by causing mineral buildup that reduces faucet longevity.
You’ll want to regularly clean or install a water softener to prevent corrosion and maintain peak function over time.
Are There Eco-Friendly Shower Faucet Options?
Yes, you’ll find eco-friendly shower faucets featuring water saving technologies like aerators and flow restrictors, plus sustainable materials such as recycled metals or BPA-free plastics. These options help reduce water use and environmental impact efficiently.
How Do I Prevent Mold Around My Shower Faucet?
You prevent mold around your shower faucet by ensuring proper ventilation, drying the area after use, and performing regular faucet maintenance.
Clean and seal grout lines to inhibit moisture buildup, enhancing mold prevention effectively.