How to Clean Faucet Aerator
To clean your faucet aerator, first turn off the water and twist the aerator off by hand, using a cloth to protect its finish.
Soak the parts in vinegar for 30 minutes to dissolve mineral deposits, then scrub gently with a toothbrush.
Rinse thoroughly and reassemble the aerator carefully, guaranteeing all components return in the correct order.
Screw it back on and check for leaks or uneven flow.
Keeping your aerator maintained guarantees ideal water pressure and efficiency—explore these steps further for best results.
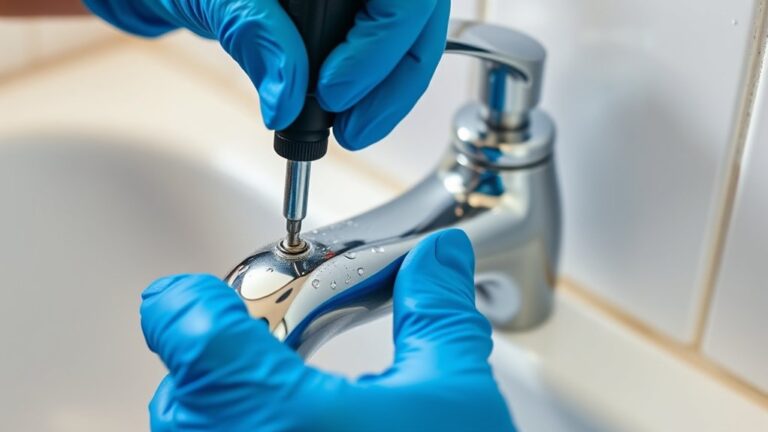
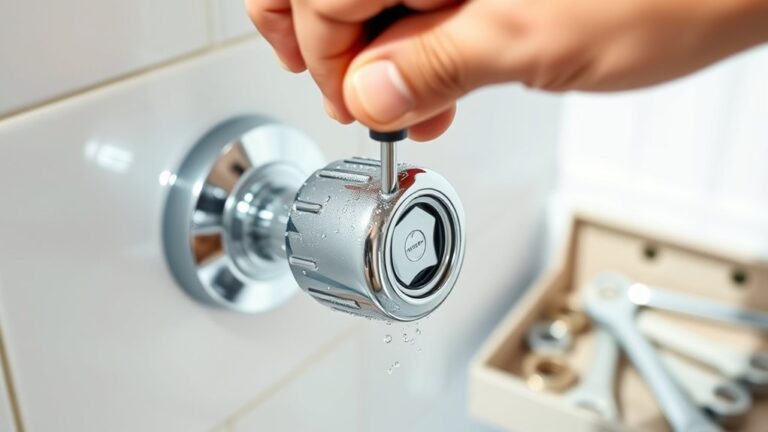
Why and How to Remove Your Faucet Aerator
Although it might seem straightforward, removing your faucet aerator requires care to avoid damage. Proper faucet maintenance guarantees you don’t strip threads or crack components. Start by turning off the water supply to prevent leaks.
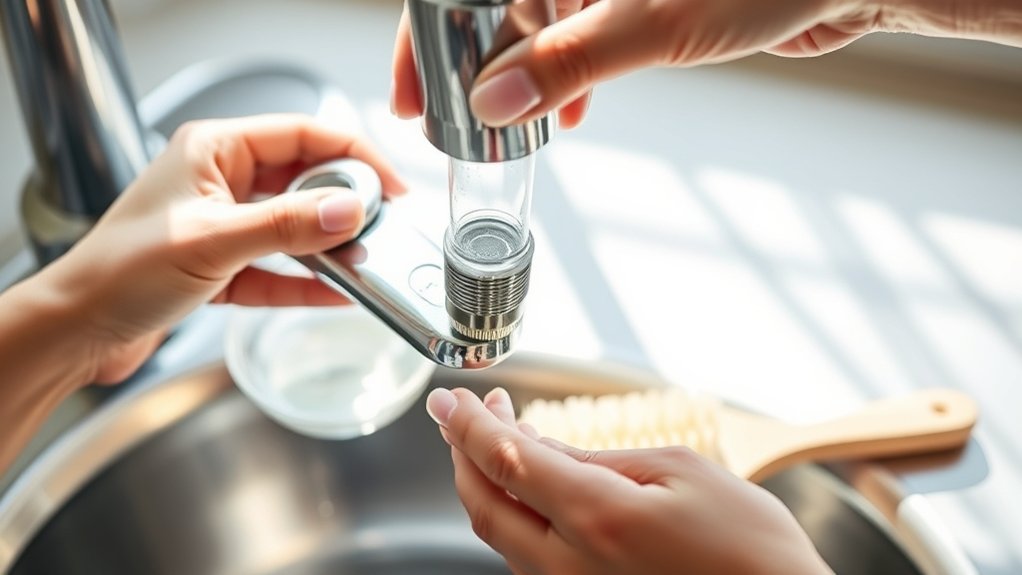
Use a cloth or rubber grip to protect the aerator’s finish, then twist it counterclockwise by hand. If it’s stuck, apply gentle penetrating oil and wait a few minutes before trying again.
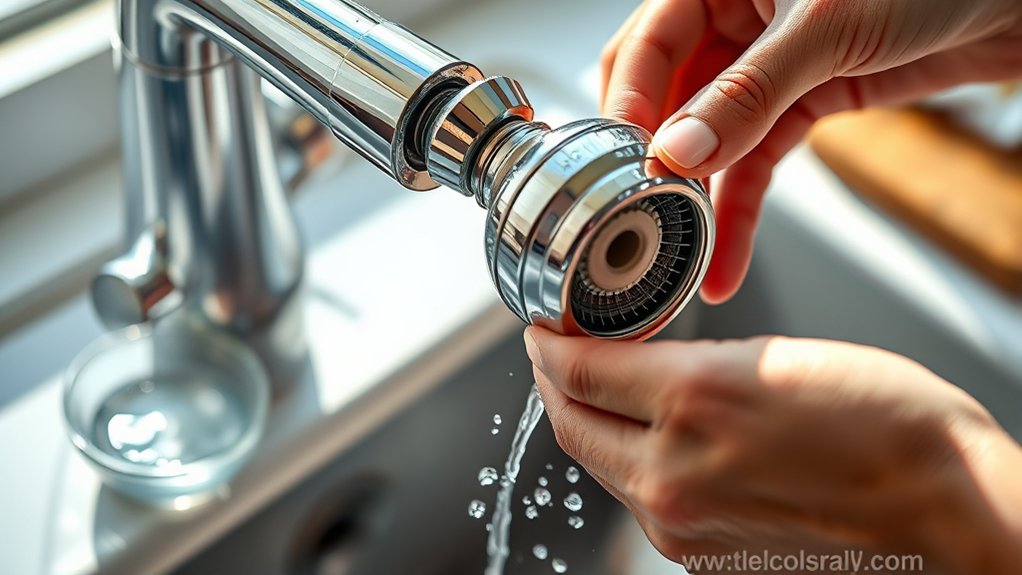
Removing the aerator regularly is essential for maintaining water efficiency, as it allows you to inspect and clean internal parts that regulate flow. This step prevents reduced water pressure and uneven spray patterns.
Clean Faucet Aerator Mineral Deposits and Debris
Start by soaking the faucet aerator components in a vinegar solution to dissolve mineral deposits and loosen debris. This step targets mineral buildup effectively without harsh chemicals. After soaking for about 30 minutes, scrub the parts gently with a small brush.
Soak faucet aerator parts in vinegar to dissolve mineral deposits, then gently scrub after 30 minutes for cleaner flow.
Use the following approach for thorough cleaning:
- Disassemble the aerator carefully to access all parts.
- Soak components in white vinegar or a commercial descaling cleaning solution.
- Use an old toothbrush to remove softened deposits and trapped debris.
- Rinse all parts under running water to wash away loosened residue.
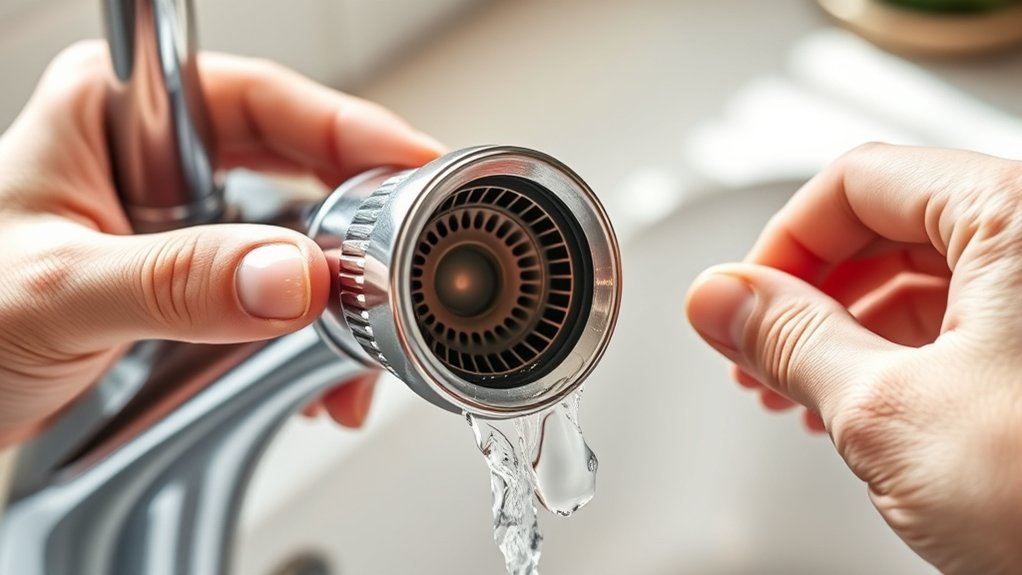
- Inspect the screen and housing for remaining buildup or damage.
This method guarantees you remove mineral buildup and debris efficiently, restoring ideal water flow and prolonging your faucet aerator’s life.
Reassemble and Test Your Faucet Aerator
Reassemble the faucet aerator by carefully aligning and securing each component in its original order. Use your faucet aerator tools, such as a small wrench or pliers with protective tape, to avoid damaging parts during reassembly.
Follow proper reassembly techniques by first inserting the screen, followed by the flow restrictor and housing, guaranteeing each piece fits snugly without forcing. Screw the aerator back onto the faucet by hand to prevent cross-threading, then tighten it gently with tools.
Once reassembled, turn on the faucet to test for leaks or irregular water flow. If you notice dripping or uneven spray, tighten components slightly or disassemble to check for misaligned parts.
Proper reassembly guarantees peak performance and prolongs your faucet aerator’s lifespan.
Keep Your Faucet Aerator Flowing: Prevention Tips
After you’ve reassembled and tested your faucet aerator to guarantee proper function, maintaining its flow requires regular preventive care. Consistent aerator maintenance promotes peak water efficiency and prolongs the lifespan of your faucet components.
To keep your aerator flowing smoothly, follow these tips:
To keep your aerator flowing smoothly, regular cleaning and timely maintenance are essential for optimal performance.
- Inspect and clean the aerator every 3-6 months to prevent mineral buildup.
- Use a vinegar soak to dissolve hard water deposits without damaging parts.
- Replace worn or damaged washers and screens promptly to maintain seal integrity.
- Avoid using harsh chemicals that can corrode metal or plastic components.
- Monitor water pressure regularly; low flow may indicate clogging or damage.
Frequently Asked Questions
Can a Faucet Aerator Affect Water Pressure?
Yes, a clogged faucet aerator can reduce water flow and lower water pressure.
Regular faucet maintenance, including cleaning or replacing the aerator, helps guarantee ideal water flow and prevents pressure issues in your plumbing system.
How Often Should I Replace My Faucet Aerator?
You should consider your faucet aerator replacement frequency every 1 to 2 years, depending on water quality. Monitoring aerator lifespan helps maintain ideal flow and prevents buildup that reduces efficiency and water pressure.
Are All Faucet Aerators the Same Size?
Think of faucet aerators like shoes; sizes vary. You’ll find different aerator types with specific threads and diameters.
Use installation tips like measuring your faucet’s size carefully to guarantee a perfect fit and avoid leaks or poor flow.
Can I Use Vinegar to Clean All Types of Aerators?
You can use vinegar to clean most aerators effectively, as its acidity dissolves mineral buildup. However, check aerator materials first; vinegar may corrode certain metals like brass or aluminum, so test compatibility before prolonged exposure.
Does Cleaning an Aerator Improve Water Taste?
Yes, regular aerator maintenance can improve water taste by reducing sediment buildup, which affects water quality.
Studies show 70% of sediment-related taste issues stem from clogged aerators, so cleaning boosts flavor and flow efficiency effectively.