How to Change a Delta Faucet Cartridge
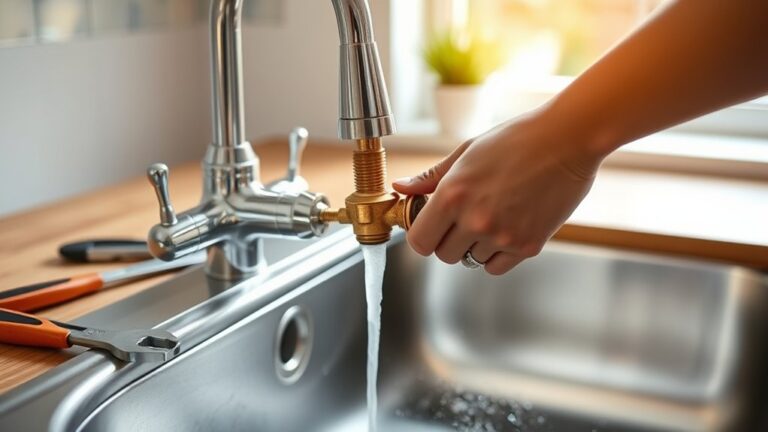
To change your Delta faucet cartridge, first shut off the water supply to prevent any leaks or spills.
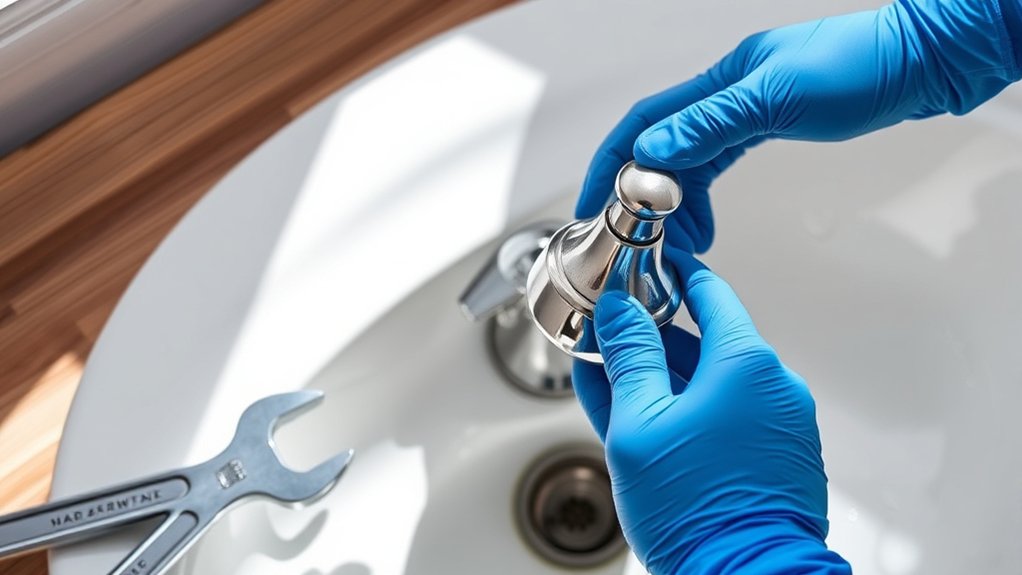
Use an Allen wrench or screwdriver to remove the handle carefully.
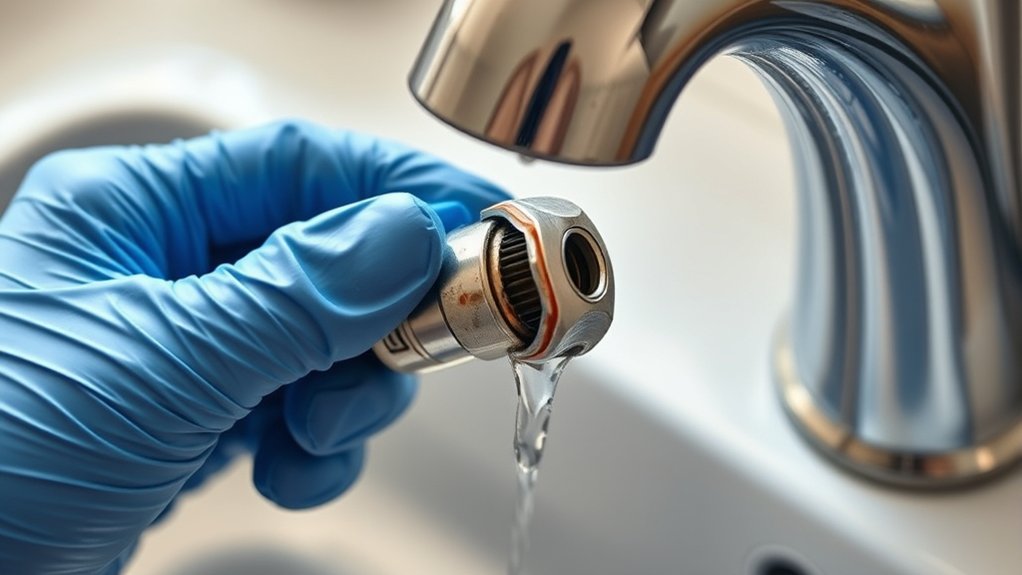
Next, take out the retainer clip or nut that holds the cartridge in place.
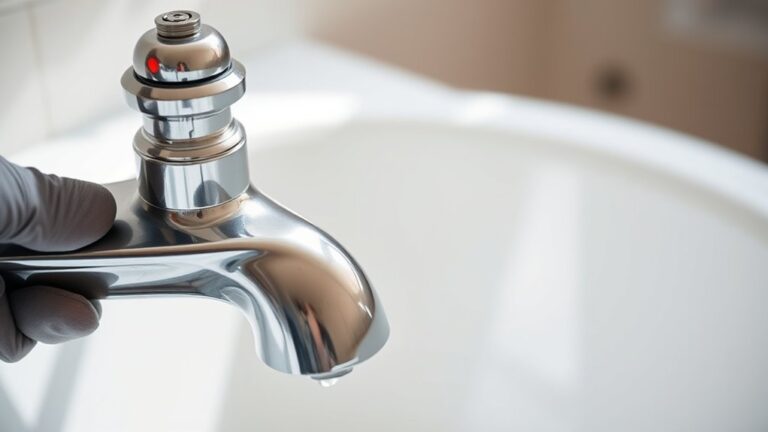
Gently pull out the old cartridge from the faucet assembly.
Align the new cartridge properly before securing it with the retainer clip or nut.
Reattach the handle once the cartridge is firmly in place.
Turn the water back on and test the faucet for any leaks and smooth operation.
If you want to fully guarantee peak performance and troubleshoot issues, keep exploring the detailed steps and tips ahead.
Signs Your Delta Faucet Cartridge Needs Replacing
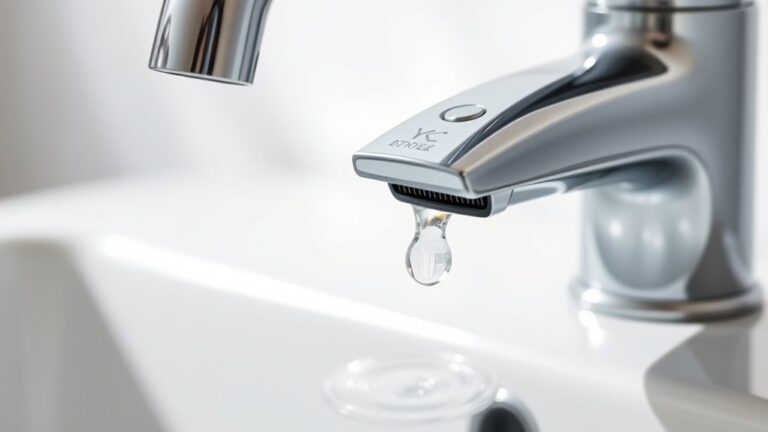
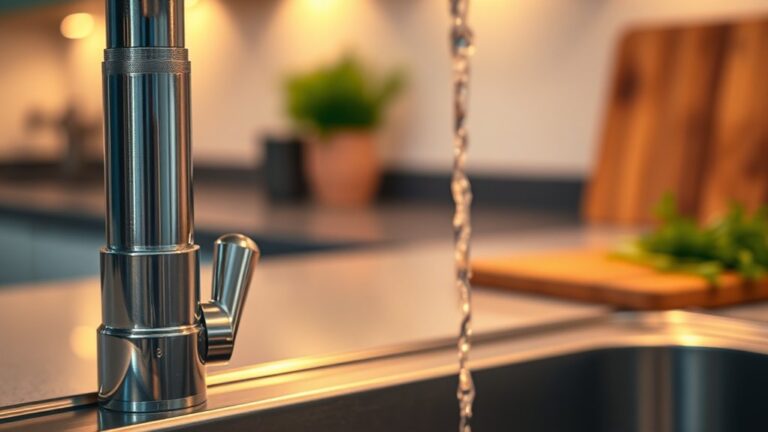
Although faucets may seem durable, you’ll know your Delta faucet cartridge needs replacing when you notice persistent leaks, difficulty controlling water temperature, or reduced water flow. These symptoms indicate that the cartridge lifespan has ended, compromising faucet performance.
Over time, mineral buildup and wear degrade the cartridge seals and internal components, causing inefficiency. If you experience inconsistent water pressure or a faucet handle that feels stiff or loose, these are technical signs the cartridge is failing.
Mineral buildup and wear damage cartridge seals, causing inconsistent water pressure and stiff or loose faucet handles.
Prompt replacement restores peak water control and prevents further damage. Monitoring cartridge lifespan and recognizing these signs guarantees you maintain reliable faucet performance and avoid costly repairs.
Don’t ignore early warnings; addressing cartridge issues promptly is essential to keep your Delta faucet functioning correctly.
Tools Needed to Replace a Delta Faucet Cartridge
To replace your Delta faucet cartridge, you’ll need a few essential tools like an Allen wrench, adjustable pliers, and a flathead screwdriver. Wearing safety gloves and goggles is recommended to protect your hands and eyes during the process.
Additionally, having a cartridge puller and plumber’s grease can make the job easier and guarantee a proper seal.
Essential Replacement Tools
Before you start replacing a Delta faucet cartridge, gather the essential tools to guarantee a smooth process. You’ll need a cartridge puller or pliers designed for faucet maintenance to remove the old cartridge efficiently.
A flat-head and Phillips screwdriver are necessary to detach the handle and retainers, while an adjustable wrench helps loosen any nuts securing the cartridge. Have a cartridge-specific replacement part ready, as different cartridge types require precise fits for ideal function.
Additionally, a small pick or needle-nose pliers can assist in removing seals or debris. Using the correct tools minimizes damage and guarantees proper installation, extending the faucet’s lifespan. Preparing these tools beforehand streamlines the replacement and supports effective faucet maintenance.
Recommended Safety Equipment
Gathering the right tools sets the stage for a safe and efficient cartridge replacement, but equipping yourself with proper safety gear protects you from potential hazards during the process. When changing a Delta faucet cartridge, you’ll want to prioritize personal protection to avoid injury from sharp edges, debris, or chemical cleaners.
1. Safety Goggles
Shield your eyes from splashing water, debris, or cleaning agents that may irritate or injure your eyes.
2. Rubber Gloves
Protect your hands from prolonged water exposure, sharp parts, and any chemical residue.
3. Kneepads or a cushioned mat
While not mandatory, they reduce strain if you work in a kneeling position for extended periods.
Using these safety items guarantees you handle the replacement confidently and with minimal risk.
Optional Helpful Accessories
Several optional accessories can streamline replacing your Delta faucet cartridge, improving both efficiency and ease. A cartridge puller is invaluable for removing stubborn cartridges without damaging internal components, ensuring cartridge compatibility.
Using a basin wrench allows you to reach tight spaces under the sink, facilitating faucet maintenance. A silicone grease lubricant helps maintain O-ring seals during reassembly, promoting longevity and smooth operation.
Additionally, a flashlight or headlamp provides better visibility in confined areas, reducing errors. While these tools aren’t mandatory, they minimize the risk of damage and speed up the process.
Prioritizing these accessories supports precise cartridge replacement, ensuring your faucet functions properly and extends its service life with minimal effort.
How to Remove Your Old Delta Faucet Cartridge
First, shut off the water supply to prevent leaks during removal. Next, use a screwdriver or Allen wrench to take off the handle carefully.
Then, remove the retainer clip or nut securing the cartridge in place.
Turn Off Water Supply
Before you begin removing your old Delta faucet cartridge, shut off the water supply to prevent leaks or water damage. Properly managing water pressure is vital across all faucet types to avoid unexpected sprays or flooding.
Follow these steps to turn off the water supply:
- Locate the shutoff valves under the sink. These valves control hot and cold water lines separately.
- Turn each valve clockwise until fully closed to stop water flow completely. If valves are stuck, use pliers gently to avoid damage.
- Open the faucet to release any residual water pressure and confirm the supply is off.
Completing this step guarantees a safe, controlled environment for cartridge removal without risking water damage or increased water pressure complications.
Remove Handle And Retainer
Loosen the set screw securing the handle using an appropriate Allen wrench or screwdriver, depending on your Delta faucet model. Different handle types, such as lever, knob, or cross, may require specific tools or methods for removal.
Once the handle is free, carefully lift it off to expose the cartridge and retainer clip. For retainer removal, locate the retainer clip securing the cartridge in place. Use needle-nose pliers or a flathead screwdriver to gently pry out the clip, taking care not to damage surrounding components.
Removing the retainer is essential for extracting the cartridge smoothly. With the handle and retainer removed, you’ll have clear access to the old cartridge for replacement. Always keep track of small parts during this process to guarantee proper reassembly.
How to Install a New Delta Faucet Cartridge
Begin installing the new Delta faucet cartridge by aligning it carefully with the valve body inside the faucet. Different cartridge types require precise orientation, so verify your cartridge matches the model for effective faucet maintenance. Follow these steps:
- Insert the cartridge fully into the valve body, aligning tabs or notches as required by your cartridge type.
- Secure the cartridge with the retainer clip or nut, tightening it evenly to prevent leaks.
- Reattach the handle and tighten the set screw, confirming the handle moves smoothly without binding.
Proper installation preserves faucet functionality and extends service life. Using the correct cartridge type guarantees a tight seal and ideal water flow. This technical approach prevents common issues linked to cartridge misalignment or improper fastening.
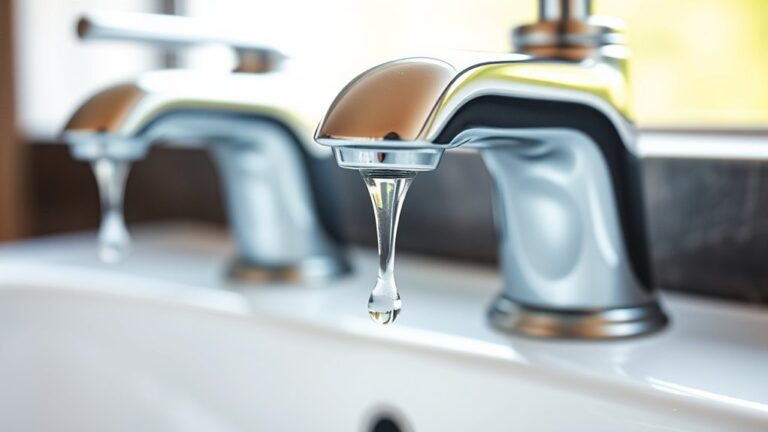
Testing Your Delta Faucet After Cartridge Replacement
Turn on your Delta faucet to verify the cartridge replacement was successful. Begin cartridge testing by gradually increasing water flow, checking for smooth handle operation and consistent water pressure.
Observe both hot and cold water functions separately to guarantee proper mixing and temperature control. Inspect around the cartridge area for leaks or drips, which indicate improper sealing or installation.
Confirm that the faucet performance meets expected standards. Handle movement should be fluid without stiffness or unusual resistance. Listen for any abnormal sounds like sputtering or whistling that could signal installation issues.
If the faucet operates correctly with no leaks, your cartridge testing is complete. This step guarantees the new cartridge functions efficiently, maintaining peak faucet performance and longevity.
Troubleshooting Common Issues When Changing Your Delta Cartridge
Once you’ve tested the faucet and identified any irregularities, addressing common issues promptly will help guarantee peak function. When changing your Delta cartridge, watch for cartridge leaks and improper operation. Use these troubleshooting steps to resolve typical problems:
- Cartridge leaks: Check the O-rings and seals for damage. Replace any worn parts and verify the cartridge is seated evenly. Tighten the retaining clip or nut as per installation tips to prevent leaks.
- Handle issues: If the handle is stiff or loose, verify correct cartridge alignment. Adjust or reposition the cartridge to fit precisely within the valve body.
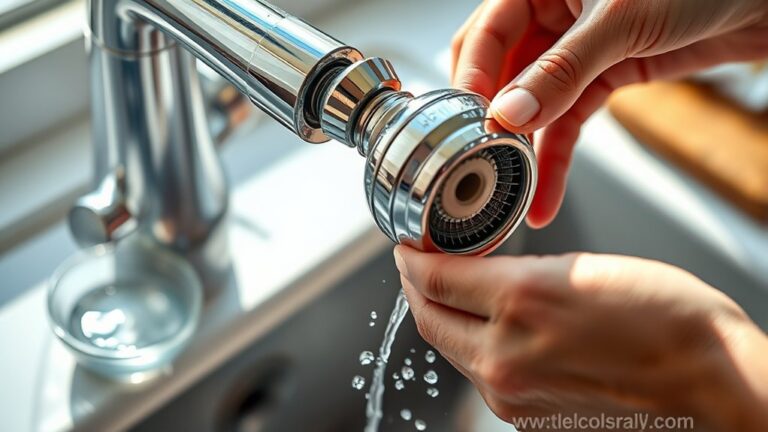
- Water flow problems: Remove debris blocking the cartridge or valve. Flush the lines before reinstalling to maintain peak flow and performance.
Following these steps guarantees a leak-free, smoothly functioning Delta faucet after cartridge replacement.
Frequently Asked Questions
How Do I Identify My Delta Faucet Model?
Picture your faucet’s handle shape and finish. Is it a single or double lever? Check the underside or back for stamped model numbers.
Compare faucet types and model features online or in manuals to pinpoint your exact Delta faucet model quickly.
Can I Use a Universal Cartridge for My Delta Faucet?
You can’t rely on universal compatibility for Delta faucets since cartridge types vary by model. Always match your cartridge to your specific Delta faucet to guarantee proper fit and function, preventing leaks or damage.
How Often Should I Replace My Delta Faucet Cartridge?
If your cartridge lifespan dips below two years, like Mark’s leaking faucet, replace it promptly. Follow maintenance tips: clean aerators, avoid harsh chemicals, and monitor for drips to extend cartridge lifespan and guarantee peak function.
Are There Any Warranties on Delta Faucet Cartridges?
Yes, Delta offers warranty details covering various cartridge types, typically including a lifetime limited warranty. You’ll want to check your specific model’s documentation for exact coverage and conditions to guarantee your cartridge is protected.
Where Can I Buy Genuine Delta Replacement Cartridges?
You can buy genuine Delta replacement cartridges from Delta’s official website, authorized dealers, or reputable home improvement stores. Always verify cartridge compatibility with your faucet model to confirm proper replacement options and avoid installation issues.