How to Test Your Whirlpool Oven Digital Display in 7 Easy Steps
To test your Whirlpool oven’s digital display effectively, start by ensuring it’s plugged into a functional outlet and check the circuit breaker for any trips. This initial step is crucial for diagnosing common power-related issues.
Next, inspect the display panel carefully for any visible damage and clean it if necessary to ensure clear visibility.
Press each button on the control panel to confirm that they respond correctly and take note of any error codes that might appear. These codes can provide valuable clues about underlying problems.
If the display is still unresponsive, try performing a power reset by unplugging your oven briefly and then plugging it back in.
Finally, consult your Whirlpool oven user manual for specific troubleshooting tips tailored to your model. Following these guidelines will help you identify and potentially fix digital display issues.
Keep reading to discover detailed steps that will assist you in resolving common problems with your oven’s display.
Key Takeaways
- Ensure the oven is plugged into a working outlet with proper voltage (240V for electric, 120V for gas).
- Check the circuit breaker and reset it if tripped, then test the outlet voltage with a multimeter.
- Inspect the display panel for physical damage, moisture, or debris that may affect functionality.
- Press each display button to verify responsiveness and clean around unresponsive buttons.
- Look for and note any error codes on the digital display, then consult the owner’s manual for diagnosis.
Check the Oven’s Power Supply
Before diving into complex troubleshooting, start by checking your oven’s power supply. First, make sure your oven is properly plugged into a working outlet. Remember, electric ovens need 240 volts, while gas ovens require 120 volts.
Although you shouldn’t inspect the circuit breaker or outlet in detail yet, a quick glance to verify the plug fits snugly is helpful. Next, check the thermal fuse using a multimeter to see if it has continuity. A blown fuse will cut power to your oven and stop the digital display from working.
If you notice any issues or aren’t comfortable testing electrical parts, it’s best to contact a licensed electrician to avoid safety risks and verify proper repairs.
Inspect the Circuit Breaker and Outlet
Start by checking the circuit breaker to make sure it hasn’t tripped, as this can cut power to your oven’s display.
Next, inspect the outlet for any damage or discoloration that might signal a problem.
Using a multimeter to test the outlet’s voltage can confirm if it’s supplying the correct power.
Check Circuit Breaker
If your Whirlpool oven display isn’t turning on, you’ll want to check the circuit breaker and outlet to make sure they’re supplying power correctly. Start by inspecting your circuit breaker panel to see if the breaker for the oven has tripped. If it has, flip it off and then back on to reset it.
Next, examine the outlet for any visible damage or discoloration, which could signal electrical problems. Use a multimeter to test the outlet’s voltage—electric ovens need 240 volts, gas ovens require 120 volts. If the voltage is off or the outlet looks faulty, it’s best to call an electrician to avoid risking further damage or safety hazards.
Test Power Outlet
Two key steps in testing your oven’s power supply are checking the circuit breaker and inspecting the outlet. Start by confirming the breaker hasn’t tripped; if it has, reset it to restore power.
Next, examine the outlet carefully for any visible damage like burn marks or discoloration, which could signal a faulty connection. Avoid using extension cords or power strips, as they often can’t supply enough power for your oven.
To be thorough, use a multimeter to measure the voltage at the outlet—it should read about 240 volts for proper oven operation. If you find no power or notice damage, it’s best to call a licensed electrician to check wiring or replace the outlet.
These checks help guarantee your Whirlpool oven’s display receives reliable power.
Examine the Display Panel for Visible Damage
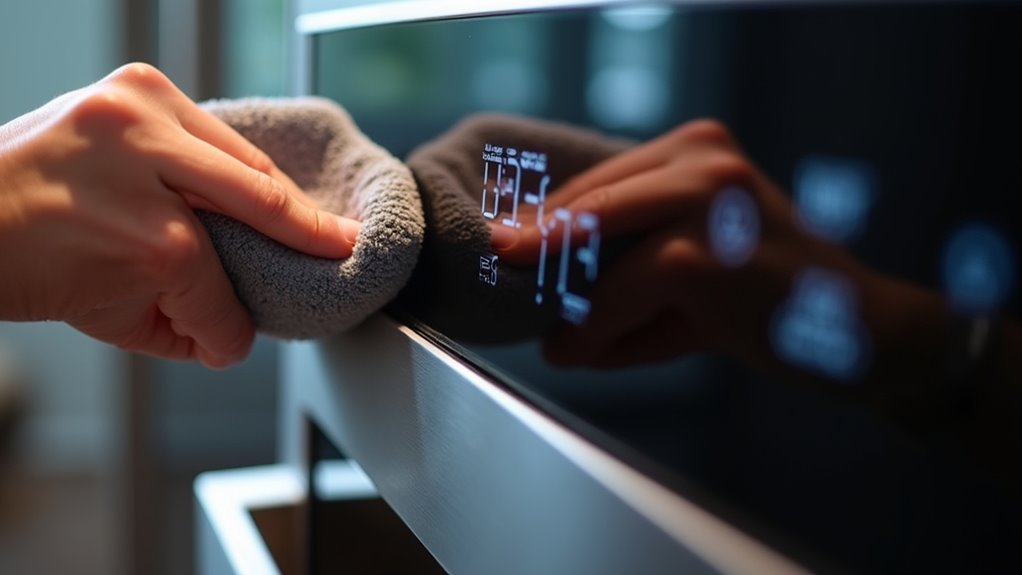
Start by carefully inspecting the display panel for any physical cracks or scratches that might affect its performance. Don’t forget to check around the edges for signs of moisture or water damage, which can cause malfunctions.
Catching these visible issues early can help you determine if the display needs repair or replacement.
Inspect for Physical Cracks
A careful visual inspection of your Whirlpool oven’s display panel can reveal cracks or damage that might be causing functionality issues. Start by closely examining the screen for any visible cracks, chips, or scratches. Look for signs of wear like discoloration or peeling, which may indicate the display is deteriorating.
Make sure the panel is clean and free from debris that could interfere with its operation. If you spot any physical cracks or significant damage, you’ll likely need to replace the entire display panel to restore proper function. Be sure to document any issues you find and refer to your owner’s manual for specific repair or replacement instructions.
Catching these problems early can save you from more extensive repairs later on.
Check for Moisture Exposure
Although moisture may not always be obvious, it can seriously affect your Whirlpool oven’s display panel. Start by inspecting the panel closely for signs like discoloration, bubbling, or corrosion—these often indicate water damage.
Check inside the display area for any condensation or moisture buildup, which can disrupt how the digital display works. Also, look for cracks or breaks that might let moisture seep in and harm internal parts.
Make sure your oven isn’t placed in a humid spot, as excessive moisture can cause damage over time. If you notice any moisture-related issues, let the panel dry completely before testing the oven again.
Should problems continue, it’s best to seek professional help to avoid further damage.
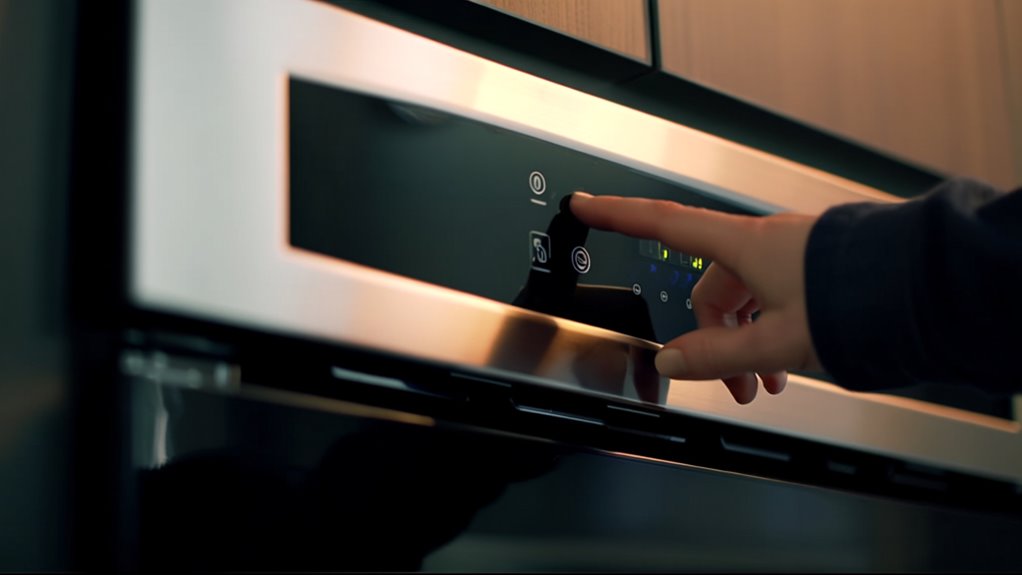
Test the Display Buttons for Responsiveness
To check if your Whirlpool oven’s display buttons are working properly, press each one and watch for immediate responses on the screen. Make sure the oven is plugged in and powered on before starting.
Here’s how to test button responsiveness effectively:
- Press each button individually and observe if the display changes instantly.
- Note any buttons that are delayed or fail to respond.
- Gently clean around unresponsive buttons to remove any debris that might be blocking them.
- If problems persist, consult your owner’s manual or contact a professional to inspect the control board.
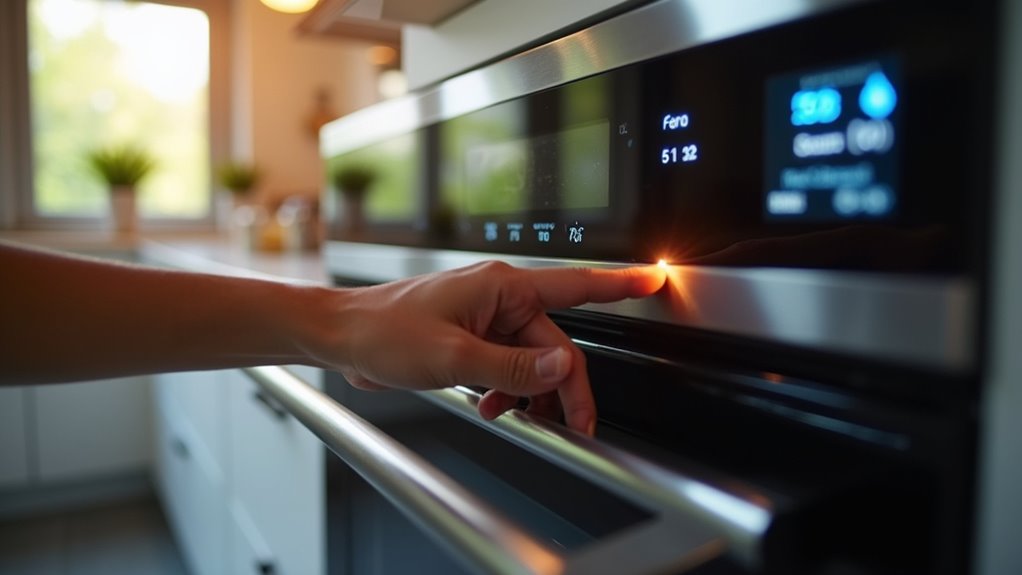
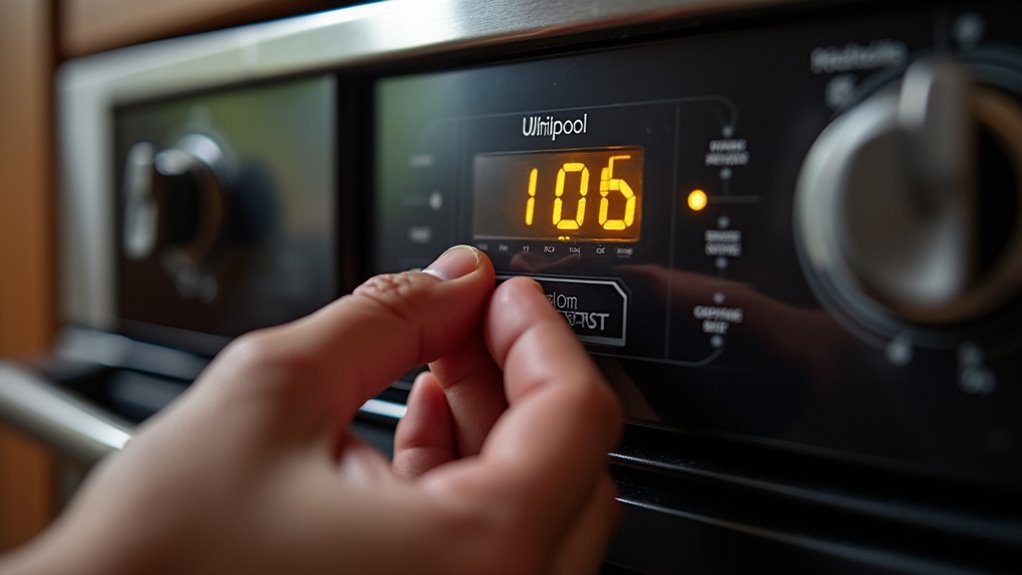
Look for Error Codes on the Digital Display
How do you know if your Whirlpool oven is signaling a problem? One clear sign is when the digital display shows an error code. These codes, like E1 for temperature sensor issues or E2 for control board malfunctions, point directly to specific problems.
When you see an error, be sure to note the exact code—it’s essential for diagnosing the issue accurately. You can usually find explanations for these codes in your owner’s manual, which helps guide your troubleshooting efforts. Staying updated on Whirlpool recalls or fixes related to these error codes can also save you time and frustration.
Checking the digital display regularly for error codes is a straightforward way to catch issues early before they worsen.
Perform a Power Reset on the Oven
One simple way you can troubleshoot your Whirlpool oven’s display is by performing a power reset. This helps clear minor glitches and can restore normal function. Here’s how to do it:
Try a power reset to clear minor glitches and restore your Whirlpool oven’s display function quickly.
- Unplug the oven or turn off its circuit breaker for at least 30 seconds.
- Confirm the oven door is fully closed during this time to allow a proper reset.
- Plug the oven back in or switch the circuit breaker back on.
- Wait a few minutes for the oven to fully reboot before checking the display.
If the display still doesn’t respond, you might need to check for blown fuses or other power issues. Performing this reset is a quick, easy step before moving on to more detailed troubleshooting.
Consult the User Manual for Troubleshooting Tips
If resetting the power didn’t fix your Whirlpool oven’s display, your next step should be consulting the user manual. It contains model-specific troubleshooting tips that’ll guide you through diagnosing display issues, checking power supply, and interpreting error codes. Make certain to follow any safety instructions while working on your oven.
Here’s a quick glance at what to look for in the manual:
| Section | What You’ll Find | Why It Matters |
|---|---|---|
| Troubleshooting | Steps to reset the digital display | Helps fix unresponsive screens |
| Power Supply Check | How to verify power connections | Guarantees display receives power |
| Error Codes | List of display error codes | Identifies specific control issues |
| Safety Precautions | Warnings and guidelines | Keeps you safe during repairs |
Frequently Asked Questions
How Do I Test My Whirlpool Oven Control Board?
To test your Whirlpool oven control board, first unplug the oven for safety. Then, use a multimeter to check for continuity at the test points specified in your manual.
Look closely for any burnt spots or corrosion on the board, as these indicate issues. If the board isn’t responding or shows errors, it might need recalibration or replacement.
If you’re unsure, it’s best to call a professional to avoid damage or injury.
How Do I Run a Diagnostic on My Whirlpool Oven?
To run a diagnostic on your Whirlpool oven, start by pressing the “Cancel” button to put it in standby mode.
Then, hold both the “Broil” and “Bake” buttons together for about five seconds until you see “F1” on the display. Use the control panel to navigate through tests like the temperature sensor or door lock.
When you’re done, press “Cancel” again to exit diagnostic mode and return to normal operation.
Why Is the Display on My Whirlpool Oven Not Working?
Think of your oven’s display like a lighthouse guiding ships—if the light’s out, something’s blocking the power. Your Whirlpool oven’s screen might not be working because a fuse blew, a circuit breaker tripped, or the control board’s malfunctioning. It’s like the lighthouse keeper forgot to turn the light on.
Also, check if the oven door’s fully closed; sometimes the display won’t light up unless it’s secure.
Why Is the Digital Display Not Working on My Oven?
Your oven’s digital display might not be working because of a blown fuse, a tripped circuit breaker, or a faulty power outlet cutting off electricity. It could also be due to a malfunctioning control board or safety features triggered by an improperly closed oven door.
Sometimes, burnt wires or a bad infinite switch disrupt the display. You’ll want to check these areas carefully to pinpoint the issue and get your display back up and running.
Conclusion
Now that you’ve walked through these simple steps, testing your Whirlpool oven’s digital display won’t feel like maneuvering through a maze in the dark.
By checking the power, buttons, and error codes, you’ll shine a light on what’s wrong and know exactly how to fix it.
Remember, a little patience goes a long way—soon, your oven will be back to working like a charm, making your kitchen time smooth and stress-free.
Using these troubleshooting tips ensures your Whirlpool oven digital display functions properly, helping you maintain efficient cooking and avoid costly repairs.