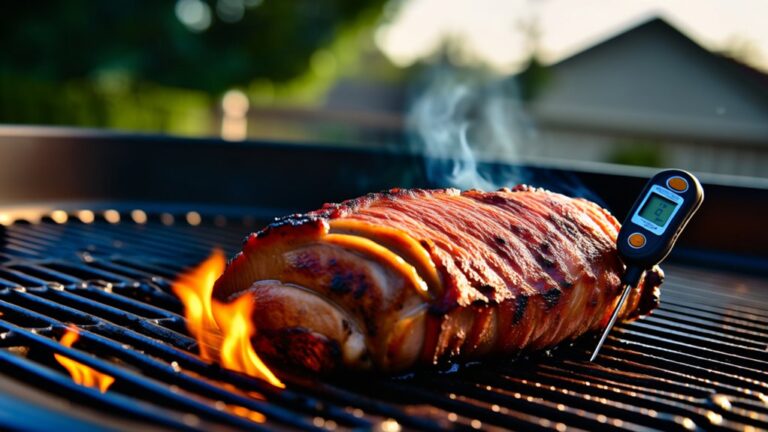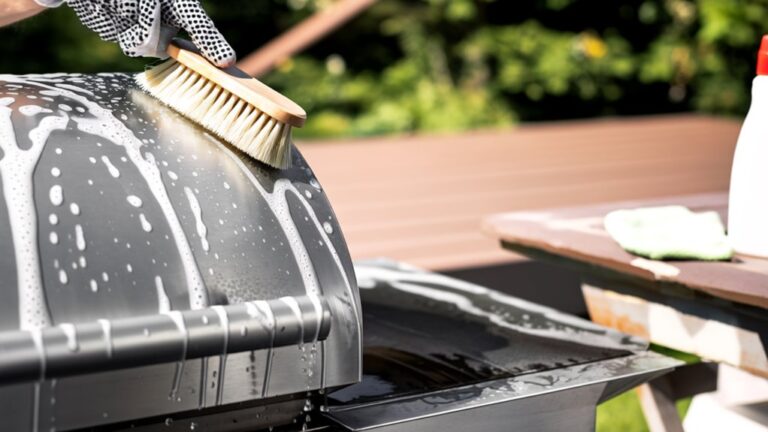
How to Clean Grill Grates Overnight in 8 Easy Steps
To clean grill grates overnight effectively, start by gathering baking soda, vinegar, a large sealable bag, and a scrub brush.
These common household items are essential for a deep clean that removes grease and buildup.
Mix 2 cups vinegar with 1 cup baking soda in the bag, then add your cool grates.
Seal it tightly to prevent leaks and let them soak for 8 hours or overnight.
After soaking, gently scrub any stubborn spots, rinse thoroughly, and dry completely to prevent rust.
Keep going to discover tips that protect and maintain your grates for lasting use.
Key Takeaways
- Remove cool grill grates and place them in a large garbage bag for easy handling and soaking.
- Mix 2 cups vinegar and 1 cup baking soda in the bag to create a fizzing cleaning solution.
- Seal the bag tightly to prevent leaks and soak grates overnight (8 hours) in a cool, safe spot.
- After soaking, scrub grates gently with a nylon brush and baking soda paste for stubborn residue removal.
- Rinse thoroughly with warm water, dry completely, and apply a thin vegetable oil layer to protect grates.
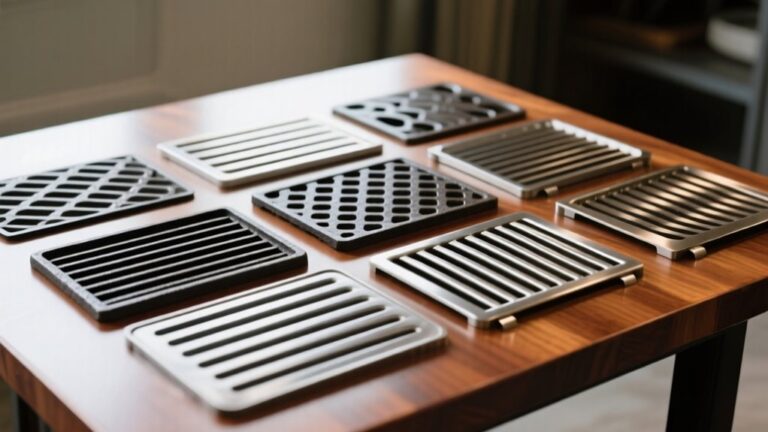
Gather Your Cleaning Supplies
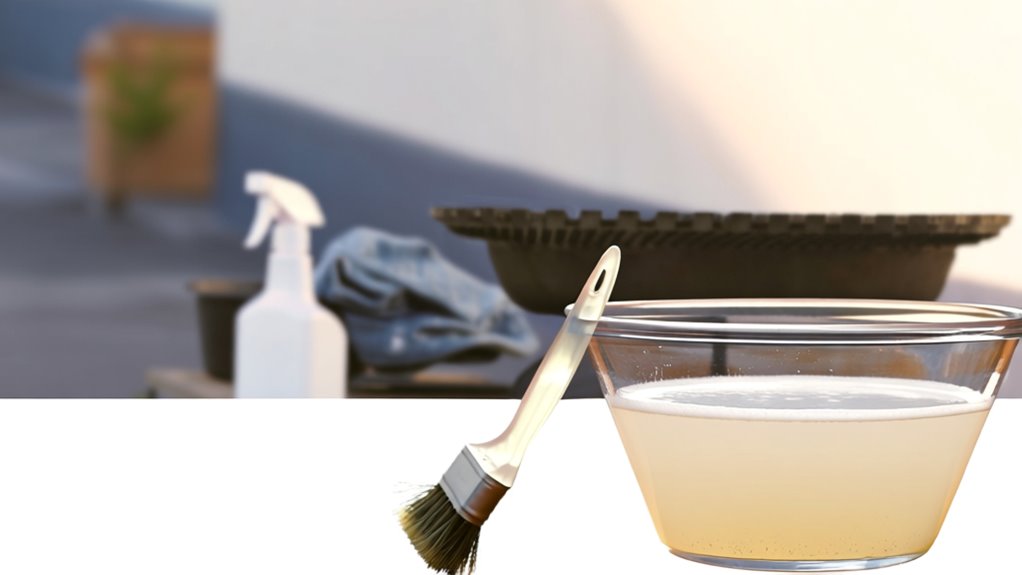
Before you start cleaning, you’ll want to gather a few essential supplies: baking soda, white vinegar, a large garbage bag, rubber bands or string, and a scrub brush. These cleaning supplies are key to tackling tough grime on your grill grates. Once you’ve gathered everything, make certain your grill grates are cool before removing them from the grill.
The baking soda and white vinegar will be combined later to form a powerful cleaning solution. For now, focus on having your garbage bag ready—choose one large enough to hold the grates comfortably. After placing the grates inside, you’ll seal the bag tightly using rubber bands or string.
This setup will allow the cleaning solution to work effectively overnight without spills. Gathering these supplies ahead of time helps you streamline the process and guarantees your grill grates get the deep clean they need with minimal effort the next day.
Prepare a Vinegar and Baking Soda Solution
Although it might seem simple, mixing 2 cups of vinegar with 1 cup of baking soda in a large garbage bag creates a powerful cleaning solution that works wonders on grill grates. This blend tackles grease and grime effectively, offering a thorough deep clean.
Here’s how to prepare your vinegar and baking soda solution for an overnight soak:
- Grab a large garbage bag and pour in 2 cups of vinegar.
- Slowly add 1 cup of baking soda—expect some fizzing as they react.
- Gently mix the vinegar and baking soda to activate the cleaning solution.
- Avoid adding water; the concentrated mix is designed to break down stubborn grease.
This solution lets you soak your grill grates overnight, loosening caked-on residue. After soaking, don’t forget to rinse the grates thoroughly with water to remove any leftover cleaning solution, leaving them fresh and ready for your next cookout.
Place Grill Grates in a Sealable Bag
One of the easiest ways to soak your grill grates overnight is by placing them in a large sealable bag. This method helps contain any mess and allows the cleaning solution to work effectively. Once you’ve prepared your vinegar and baking soda mixture, place grill grates in a sealable bag and carefully pour the cleaning solution inside.
Make certain the grates are fully submerged to tackle caked-on grease and grime. Seal the bag tightly with a rubber band or string to prevent leaks and guarantee the solution covers every surface. Then, let the grates soak for 8 hours or overnight in a cool spot.
This extended soak time allows the vinegar and baking soda to break down stubborn residue. After soaking, remove the grates from the bag and rinse thoroughly with water to eliminate any leftover debris. This step is essential for best results and makes your grill grates much easier to clean and ready for your next barbecue.
Pour the Cleaning Solution Over the Grates
Pour the cleaning solution carefully over the grill grates, making certain they’re fully covered. This step is vital to guarantee a thorough cleaning and to loosen stubborn food residue. Follow these simple steps:
Pour the cleaning solution fully over the grates to ensure thorough cleaning and loosen tough residue.
- Prepare the cleaning solution by mixing 2 cups of vinegar and 1 cup of baking soda to create an effective Baking Soda Paste.
- Place your grill grates inside a large sealable bag or container.
- Pour the cleaning solution slowly over the grates, making sure every inch is submerged for an even grates soak.
- Check that the solution reaches all surfaces to break down grease and grime effectively.
This soaking process allows the cleaning solution to work overnight, penetrating tough food residue and making it easier to clean your grill grates thoroughly the next day. Proper coverage guarantees you won’t need excessive scrubbing, saving you time and effort while maintaining your grill’s condition.
Seal the Bag and Set Aside Overnight
Once you’ve coated the grill grates evenly with the cleaning solution, seal the bag tightly to keep everything contained. Use a rubber band or string to secure the sealed bag, ensuring no leaks occur. This step is essential for the soak grill grates method, as the mixture of vinegar and baking soda needs to stay in contact with the grime and grease.
The combination triggers a powerful reaction that breaks down caked-on debris during the soaking process. Store the sealed bag in a cool place and let it sit overnight, usually 8 to 12 hours, for best results. This extended soak allows the cleaning solution to penetrate deeply, loosening stubborn buildup.
After the soaking period, you’ll simply rinse the grates thoroughly with water to wash away any remaining residue. This process makes cleaning easier and gets your grill grates ready for the next cookout.
Remove Grates and Inspect for Residue
Before you start cleaning, make sure the grill grates are completely cool to avoid burns, then remove them from the grill for a thorough inspection. Taking this step allows you to properly inspect the grates and prepare for the cleaning process.
Here’s what to focus on when you remove grates and inspect residue:
- Look closely for any visible residue or grease buildup on all surfaces.
- Pay special attention to hard-to-reach spots between and under the grates where grime often hides.
- Check for any signs of wear or damage such as flaking, rust, or corrosion.
- Assess whether the residue is light enough for cleaning or if severe damage means replacing the grates.
Scrub Stubborn Spots Gently
When tackling stubborn spots, use a soft scrubber like a nylon brush or scourer sponge to protect your grill’s surface. Don’t press too hard—gentle back-and-forth motions work best to lift grime without damaging the finish.
This careful approach helps keep your grates clean and in great shape for your next cookout.
Use Soft Scrubbers
Although stubborn spots on your grill grates can be frustrating, using soft scrubbers like nylon-bristled brushes or scour sponges will help you remove grime without scratching delicate surfaces such as porcelain or enamel. To clean effectively, follow these steps:
- Apply a baking soda paste to the grill grates and let it sit for 10 minutes to loosen grease and food particles.
- Use a nylon-bristled brush or a damp scour sponge to gently scrub the affected areas, focusing on valleys and grooves.
- Avoid harsh scrubbers on cast iron to protect its non-stick surface; soft scrubbers work best here.
- Combine soft scrubbing with natural cleaning solutions like vinegar to break down tough grime while preserving your grates.
This method guarantees thorough cleaning without damaging your grill.
Avoid Excessive Force
Since applying too much force can easily damage your grill grates, especially those with porcelain or cast iron coatings, you’ll want to scrub stubborn spots gently. To clean grill grates effectively, avoid excessive force by using a nylon-bristled brush or crumpled aluminum foil for gentle scrubbing. These tools help remove tough debris without scratching or wearing down the surface.
For particularly stubborn grime, apply a baking soda paste and let it sit overnight to loosen residue, reducing the need for vigorous scrubbing. Incorporating regular maintenance guarantees grime doesn’t build up, making cleaning easier and protecting your grates. By handling your grill grates with care and using gentle techniques, you’ll preserve their coating and extend their lifespan while keeping them in top cooking condition.
Rinse and Dry Grill Grates Completely
Two key steps you shouldn’t skip after soaking your grill grates are rinsing and drying them thoroughly. First, rinse the grill grates with warm water to wash away any leftover baking soda and vinegar. Use a sponge or cloth to scrub any stubborn spots gently.
Here’s how to properly rinse and dry your grill grates:
- Rinse the grates under warm running water to remove all residues.
- Wipe down the grates with a sponge or cloth, focusing on tough areas.
- Dry the grill grates completely using a clean towel or let them air dry to prevent rust.
- Once dry, apply a thin layer of vegetable oil to protect the surface and maintain seasoning.
Make sure to store your grill grates in a dry place to avoid moisture buildup, which can lead to rust and deterioration over time. This simple routine keeps your grill grates in top shape for your next cookout.
Frequently Asked Questions
How to Clean Grill Grates Overnight?
To clean grill grates overnight, you’ll want to soak them in a solution that breaks down grease and grime. Mix vinegar and baking soda in a sealed bag, then fully immerse your grates inside. Let them sit for 8-12 hours in a cool spot.
The next day, rinse them thoroughly with water. Don’t forget to dry them completely and apply a thin layer of vegetable oil to keep them rust-free and in great shape.
How to Clean Grill Grates Overnight With Vinegar and Baking?
Imagine your grill grates soaking in a soothing vinegar and baking soda bath, melting away grime like magic overnight. You just toss 2 cups of vinegar and 1 cup of baking soda into a large bag, slip the grates inside, and seal it up tight.
Let them rest for 8-12 hours. When you wake up, rinse thoroughly and scrub gently if needed. Your grill grates will be sparkling, ready for your next cookout!
Why Do Mexicans Use Onions to Clean Grills?
Mexicans use onions to clean grills because their natural acidity breaks down grease and grime effectively. When you rub a hot grill with an onion, its moisture creates steam that loosens stubborn residue.
Plus, the sulfur compounds in onions have antimicrobial properties, helping kill bacteria. It’s a traditional, eco-friendly method that avoids harsh chemicals, making your grill clean and safe for cooking without much hassle.
What’s the Best Homemade Grill Grate Cleaner?
The best homemade grill grate cleaner you can use combines 2 cups of vinegar with 1 cup of baking soda. This powerful mixture breaks down tough grease and grime naturally. Just soak your grates in this solution overnight inside a sealed bag, then rinse them off.
It’s simple, effective, and avoids harsh chemicals. You’ll be amazed at how easily the residue comes off, leaving your grill ready for the next cookout.
Conclusion
Cleaning your grill grates overnight is like giving your grill a restful spa day—it wakes up fresh and ready to sizzle. Just like a garden thrives after a night of rain, your grates soak up the vinegar and baking soda solution, loosening grime effortlessly.
By morning, you’ll find them sparkling clean, making every BBQ feel like a fresh start. Stick with these simple steps, and your grill will thank you with every delicious meal.
Using this easy overnight cleaning method not only saves time but also ensures your grill grates stay in top condition. With clean grill grates, you’ll enjoy better tasting food and a safer cooking experience every time you fire up the grill.