How You Can Grill Ribs Perfectly Every Time
To grill ribs perfectly every time, start by choosing tender baby back or meaty spareribs and removing the membrane for better flavor.
Applying a balanced dry rub enhances the taste, making your ribs irresistibly delicious. Let the rub rest on the meat before cooking to absorb all the spices.
Set your grill for indirect heat at 225-250°F, then use the 2-2-2 method: two hours unwrapped, two wrapped in foil, and two with sauce for a tender, juicy finish.
This technique ensures your ribs come out moist and flavorful every time. Keep your meat thermometer handy to monitor the perfect doneness.
With these simple steps, you’ll master every part of the grilling process.
Soon, you’ll be serving mouthwatering ribs that impress friends and family. Perfect ribs are just a grill away!
Key Takeaways
- Choose the right rib cut and remove the membrane to enhance tenderness and flavor absorption.
- Generously apply a balanced dry rub with salt, sugar, smoked paprika, and garlic powder, then rest ribs in the fridge.
- Set up your grill for indirect cooking at 225-250°F, using coals or burners on one side only.
- Cook ribs low and slow: 2-2-2 method for baby backs or 3-4 hours for spareribs, targeting 190-203°F internal temperature.
- Rest ribs 10-15 minutes after grilling, then slice between bones for juicy, tender servings.
Selecting the Best Cut of Ribs for Grilling
When choosing ribs for grilling, you’ll want to focus on four main cuts: baby back ribs, spareribs, St. Louis style, and country style. Baby back ribs are the most tender and leanest, making them easier to cook evenly and quicker than other cuts. They usually weigh between 1.5 to 2.5 pounds and are ideal if you want a balance of tenderness and shorter cooking time.
Spareribs are larger and meatier but contain more fat and connective tissue, which adds flavor but means they need longer cooking time and can be tougher to cut apart afterward. St. Louis style ribs are basically spareribs trimmed to a uniform shape, which helps with even cooking and neat presentation. Country style ribs come from the shoulder area and are meatier but less traditional for grilling.
To get the best tenderness, always opt for fresh ribs and consider the thickness, as it considerably affects how long you’ll need to cook them.
Essential Tools and Ingredients for Perfect Ribs
To grill ribs perfectly, you’ll need the right tools like a reliable meat thermometer and sturdy BBQ utensils to handle the heat and flavor. Don’t forget to pick quality ribs and prepare a flavorful seasoning rub with ingredients like brown sugar and smoked paprika.
These essentials will set you up for tender, delicious ribs every time. Additionally, removing the thin membrane from the back of the ribs helps ensure tenderness and better flavor absorption.
Must-Have Grill Tools
Grilling perfect ribs requires a handful of essential tools that you’ll rely on from start to finish. To guarantee tender, flavorful ribs, you’ll need a reliable meat thermometer to hit that ideal 190-203°F internal temperature, plus sturdy tongs for safely flipping and handling the ribs on the grill.
A quality basting brush helps you layer on sauces or marinades, creating a rich, caramelized glaze. Don’t forget Reynolds Disposable Roasting Pans lined with aluminum foil—they make cleanup easy and keep ribs moist with apple juice or cider vinegar during cooking.
Here’s a quick checklist of must-haves:
- Meat thermometer
- Tongs
- Basting brush
- Reynolds Disposable Roasting Pans with aluminum foil
Using varied seasoning blends also amps up your rib game without extra hassle.
Key Seasoning Ingredients
Five key ingredients form the foundation of a well-balanced BBQ rub that’ll bring out the best in your ribs: salt, sugar, smoked paprika, garlic powder, and black pepper. These components balance sweetness, smokiness, and heat to enhance the ribs’ natural flavors. To tenderize the meat and boost flavor penetration, apply your seasoning rub generously and let the ribs rest in the fridge for at least an hour or overnight.
During grilling, placing a foil pan with apple juice nearby keeps the ribs moist and adds subtle sweetness without overpowering. Don’t hesitate to experiment with different BBQ rubs or spice blends to create unique profiles. Mastering these key seasoning ingredients guarantees your ribs will be perfectly flavorful and tender every time.
Choosing Quality Ribs
Selecting the right ribs is essential for a successful BBQ, and you’ll want to choose between baby back ribs for their tenderness and quicker cook time, or spareribs if you prefer a meatier cut that requires longer grilling.
When choosing quality ribs, always pick fresh ribs with good marbling to guarantee juiciness and flavor. A prominent meat layer is also key for the best texture.
Before grilling, season the ribs generously using a homemade rub to enhance their natural taste without overpowering it.
Keep these tips in mind:
- Opt for fresh ribs over frozen for better tenderness and flavor
- Look for visible marbling and thick meat coverage
- Use a homemade rub with brown sugar, smoked paprika, garlic powder, and black pepper
- Season the ribs evenly before cooking to maximize taste and texture
Removing the Membrane for Better Flavor and Texture
To get the most flavor and tenderness from your ribs, you’ll want to remove the membrane on the back. This thin layer can block seasonings and make the ribs tough when grilled or smoked.
With just a paring knife and a bit of patience, peeling it off is simple and makes a big difference in your cooking.
Why Remove Membrane
Although it might seem like a small step, removing the membrane from the back of your ribs makes a big difference in flavor and texture. When you remove the membrane, you avoid that tough, chewy texture that can ruin tender ribs.
Plus, without it, your seasoning and marinades can better penetrate the meat, ensuring a more flavorful end product.
Here’s why you should always remove the membrane:
- Enhances seasoning penetration for deeper flavor
- Prevents chewy texture, delivering tender ribs
- Allows ribs to absorb marinades more effectively
- Improves overall cooking consistency and taste
Easy Removal Techniques
When you want your ribs to turn out tender and flavorful, removing the membrane is an essential step you shouldn’t skip. Start by using a small paring knife to carefully separate the edge of the membrane—a tough connective tissue—from the bone. Then, grip it with a paper towel for better hold and pull it off in one smooth motion.
Removing the membrane before applying your dry rub allows for better seasoning penetration, ensuring the flavors soak directly into the meat. This step greatly improves the tenderness of the ribs, making them easier to eat and enhancing their overall taste. If you’re unsure about doing it yourself, don’t hesitate to ask your butcher for help.
Proper membrane removal guarantees better flavor and texture every time.
Impact on Cooking
Since the membrane acts as a barrier, removing it allows your seasoning rub to penetrate the meat more effectively, boosting the ribs’ flavor. That silver skin, if left on, can cause a chewy texture, making your ribs less tender. When you peel it off before grilling, you guarantee the spices touch the meat directly, improving flavor absorption and bark formation.
This simple step enhances the entire cooking process, especially during low and slow grilling.
Consider these benefits of removing the membrane:
- More consistent flavor throughout the ribs
- Tender texture without the tough silver skin
- Better caramelization and bark development
- Enhanced seasoning penetration during grilling
Removing the membrane is an essential step to perfect ribs every time.
Crafting the Ultimate Homemade Dry Rub
To craft the ultimate homemade dry rub, you’ll want to balance sweetness, smokiness, and spice by combining brown sugar, smoked paprika, garlic powder, onion powder, and chili powder. Start with 1/2 cup brown sugar and 1/4 cup smoked paprika, then add a tablespoon each of garlic powder, onion powder, and chili powder for a well-rounded flavor profile.
Removing the membrane from the back of your ribs is essential—it improves seasoning penetration and guarantees the rub soaks in deeply, enhancing every bite. Apply the dry rub generously on both sides and let the ribs rest in the fridge for at least an hour, or overnight if you have time.
For a subtle kick, consider adding a teaspoon of cayenne pepper. You can also experiment with unique ingredients like coffee grounds or smoked salt to create a distinctive rub that elevates your grilling game. Mastering this dry rub sets the foundation for perfectly flavorful ribs every time.
Setting Up Your Grill for Indirect Cooking
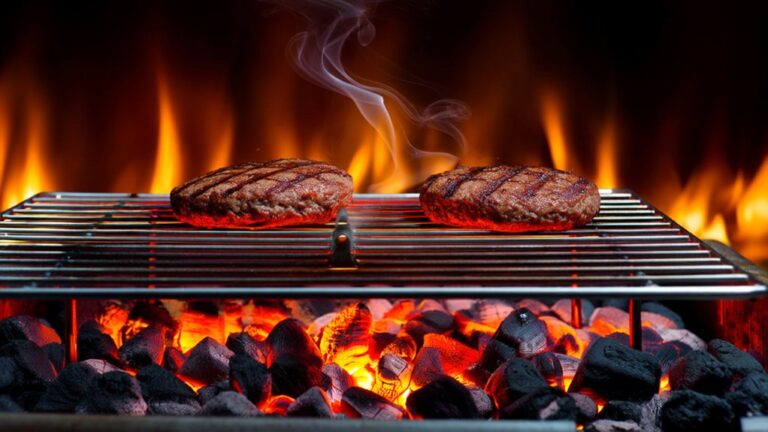
To set up your charcoal grill for indirect cooking, pile the hot coals on one side, leaving the other side empty for a cooler cooking zone. Keep your grill temperature steady between 225-250°F by adjusting vents or burners as needed.
This control helps your ribs cook slowly and evenly, locking in flavor and tenderness.
Arranging Charcoal for Indirect
Setting up your charcoal grill for indirect cooking starts with arranging the coals on one side, leaving the other side empty so your ribs cook gently without direct heat. This method uses indirect heat to achieve ideal rib grilling, preventing flare-ups and burning. Use a chimney starter to light the charcoal until covered with ash, then spread them evenly on one side.
Close the lid and adjust air vents to maintain a cooking temperature between 225-250°F. While cooking, monitor the ribs closely, aiming for an internal temperature of 190-203°F for tenderness.
- Arrange coals on one side for indirect heat
- Use a chimney starter for even lighting
- Maintain consistent cooking temperature (225-250°F)
- Monitor the ribs’ internal temperature for doneness
Managing Grill Temperature Control
While indirect cooking is ideal for tender ribs, managing your grill’s temperature control is key to getting it right. On a gas grill, turn on some burners and leave at least one off to create a cooler zone. For charcoal, pile coals to one side, leaving the opposite side clear for indirect cooking.
Aim to maintain a grill temperature between 225-250°F for perfect low and slow cooking. To keep consistent heat, monitor the grill regularly with a thermometer and adjust vents or burners as needed. Adding soaked wood chips to the coals during the first hour will boost the smoky flavor.
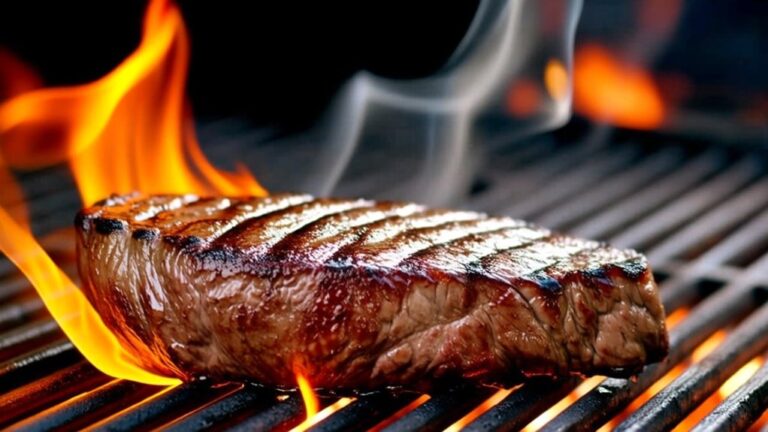
Mastering the Low and Slow Cooking Technique
Although it takes patience, mastering the low and slow cooking technique is key to grilling ribs that are tender and full of flavor. You’ll want to maintain a consistent grill temperature between 225-250°F, using indirect heat to keep the ribs from burning while cooking evenly. This method encourages deep flavor penetration and ideal tenderness.
Keep these tips in mind:
- Place ribs on the cooler side of the grill to utilize indirect heat effectively.
- Cook baby back ribs for about 2 hours and spareribs for 3-4 hours, targeting an internal temperature of 190-203°F.
- Apply a dry rub or marinade and let the ribs rest beforehand to boost flavor absorption.
- Baste regularly with glaze or sauce near the end to build a caramelized crust and enhance taste.
Using the 2-2-2 Method for Tender Ribs
The 2-2-2 method breaks down rib cooking into three simple phases that make achieving tender, flavorful ribs easier than you might think. First, grill your ribs meatier side up for 2 hours at a steady grill temperature of 225-250°F.
Next, wrap them in foil with a splash of apple cider vinegar and cook for another 2 hours to tenderize the meat. Finally, unwrap the ribs, brush on BBQ sauce, and grill for a last 2 hours, basting occasionally for caramelization.
| Phase | Details |
|---|---|
| 1st 2 hours | Meatier side up, grill temp 225-250°F |
| 2nd 2 hours | Wrapped in foil with apple cider vinegar |
| Last 2 hours | Unwrapped, brushed with BBQ sauce, basted |
Following this 2-2-2 method guarantees tender ribs with perfect cooking time and flavor every time.
Applying Glaze and Achieving the Perfect Char
After unwrapping your ribs and brushing on BBQ sauce, it’s time to focus on applying the glaze and getting that perfect char. Apply glaze during the last 30 minutes of grilling to let it caramelize without burning, enhancing the sweet flavor and appearance. Use a basting brush to evenly coat your ribs with a glaze like marmalade mixed with apple cider vinegar.
To achieve the best char, raise your grill temperature to medium-high (375-400°F) during this final phase. Make certain to monitor the internal temperature, aiming for 190°F-203°F to guarantee tenderness and a sticky crust. Rotate the ribs every 5-7 minutes while applying glaze for even charring and to avoid overly burnt areas.
Raise grill to medium-high and rotate ribs every 5-7 minutes for perfect char and tenderness.
- Apply glaze evenly with a basting brush
- Increase grill heat to medium-high for caramelization
- Rotate ribs regularly to prevent burning
- Monitor internal temperature for perfect tenderness and crust
Resting and Serving Your Grilled Ribs
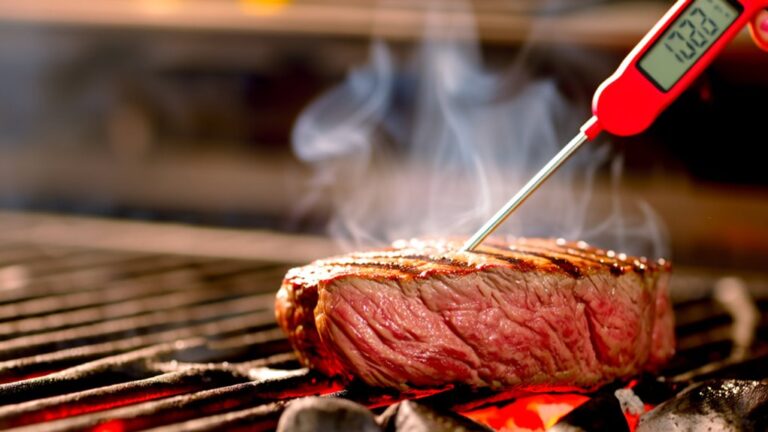
Once your ribs come off the grill, you’ll want to let them rest for 10-15 minutes so the juices can redistribute, making the meat juicier and more tender when you serve it. This resting period is essential for enhanced tenderness and flavor.
Before resting, use a meat thermometer to confirm the internal temperature has reached 180°F-190°F—this assures your ribs are perfectly cooked. When it’s time to serve, slice the ribs between the bones; this makes portioning easier and allows the tender meat to slide off effortlessly.
Resting not only locks in moisture but also improves the overall eating experience. By following these steps, you’ll consistently serve juicy, tender ribs that impress every time. Remember, patience during the rest phase is just as important as the grilling itself to achieve that perfect bite.
Pairing Ribs With Delicious Side Dishes
Although perfectly grilled ribs are the star of the meal, pairing them with the right side dishes can elevate your barbecue experience. When serving BBQ ribs, you’ll want sides that complement the smoky, tender meat while adding texture and flavor variety.
Consider these delicious options:
- Creamy macaroni and cheese adds a rich, comforting texture that balances the ribs’ smoky flavor.
- Cole slaw offers a crunchy, tangy contrast, bringing freshness and brightness to the plate.
- Cornbread serves as a slightly sweet, hearty side that soaks up the rib juices beautifully.
- Baked beans, flavored with brown sugar and spices, provide a sweet and savory element that pairs perfectly with BBQ ribs.
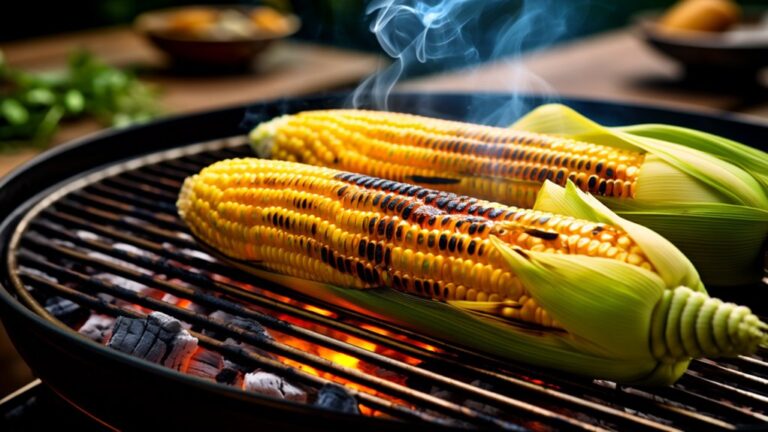
To round out the meal, include some grilled vegetables like corn on the cob or asparagus for color, nutrition, and added smoky flavor. These side dishes will make your rib feast unforgettable every time.
Frequently Asked Questions
What Is the Secret to Grilling Ribs?
The secret to grilling ribs is cooking them low and slow using indirect heat at around 225-250°F. You’ll want to remove the silver skin to let flavors soak in better. Don’t forget to apply a flavorful rub an hour before grilling and baste with a glaze near the end for caramelization.
Keep an eye on the internal temp, aiming for 180-190°F, so your ribs turn out tender and juicy every time.
Should Ribs Be Wrapped in Foil When Grilling?
Think of ribs like a treasure chest—you want to keep the jewels inside safe and moist. Yes, you should wrap ribs in foil while grilling. Wrapping acts like a protective shield, locking in juices and tenderness.
It’s like giving your ribs a warm hug, preventing them from drying out and ensuring even cooking. Just remember to unwrap them near the end for that perfect caramelized finish and smoky flavor.
What Is the Best Way to Grill Ribs on a Gas Grill?
The best way to grill ribs on a gas grill is by using indirect heat at around 300°F. You’ll want to remove the silver skin, then generously apply a dry rub and let the ribs rest in the fridge.
Place them on the cooler side of the grill in a foil pan with unsweetened apple juice to keep them moist. Cook for 1-2 hours until tender, then baste with BBQ sauce in the last 30 minutes.
How Many Times Do You Flip Ribs on the Grill?
You only flip ribs once on the grill—imagine flipping them a dozen times and ending up with a sad, dried-out mess!
Flip them gently halfway through cooking, usually after about an hour at 300°F. This single flip helps lock in juices and creates that irresistible crust.
Use tongs carefully, and don’t fuss too much—you want to let the heat do its magic without disturbing the ribs too often.
Conclusion
Grilling ribs is more than just cooking—it’s a ritual that transforms simple cuts into a feast of smoky tenderness. Like a painter with a brush, you craft each layer of flavor, turning fire into comfort and patience into joy. Every bite symbolizes warmth, connection, and celebration.
So, embrace the process, trust your hands, and let your grill tell a story that brings everyone closer, one perfect rib at a time. By mastering these techniques, you can grill ribs perfectly every time, creating unforgettable moments around the fire. Remember, great grilling is the key to delicious ribs that everyone will savor.