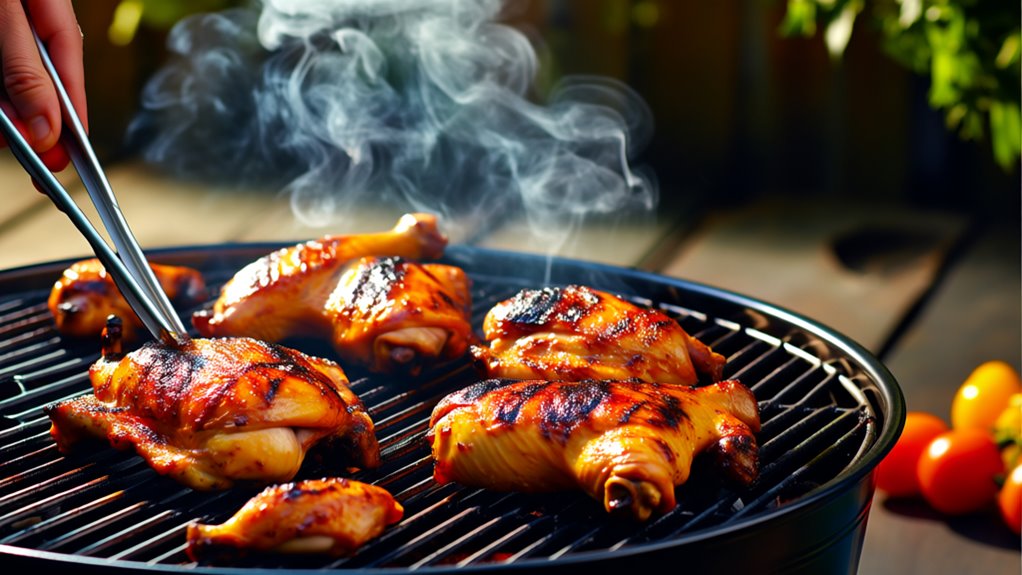
How Do You Make BBQ Chicken on the Grill in 7 Easy Steps
To make BBQ chicken on the grill, start by brining the chicken to keep it juicy and tender.
Preheat your grill and oil the grates to prevent sticking. These initial steps are key to achieving perfectly cooked BBQ chicken every time.
Next, sear the chicken skin-side down on high heat to create those desirable grill marks.
After searing, move the chicken to indirect heat to cook through evenly. This method ensures the chicken remains flavorful and moist.
When the chicken is nearly cooked, apply your favorite BBQ sauce.
Finish grilling to set the glaze, giving the chicken a delicious, sticky coating.
Finally, let the chicken rest before serving to lock in the juices.
Follow these simple steps, and you’ll enjoy tender, flavorful BBQ chicken that’s perfect for any occasion.
There’s always more to discover when perfecting this classic dish!
Key Takeaways
- Brine chicken for 2-3 hours to enhance moisture and flavor, then pat dry before grilling.
- Preheat grill to medium heat, clean and oil grates to prevent sticking.
- Sear chicken skin-side down on high heat for 2 minutes, then move to indirect heat to cook through.
- Apply BBQ sauce when internal temperature reaches 150-153°F, grill 3-5 minutes to set glaze.
- Rest chicken 5-10 minutes after grilling to redistribute juices before serving with sides.
Prepare the Chicken With Brining
To get juicy, flavorful BBQ chicken, start by brining your meat. Brining helps the chicken retain moisture and enhances its taste by soaking it in a saltwater solution. Use 1 tablespoon of salt per cup of water for a basic brine.
For bone-in, skin-on chicken, soak it for up to 3 hours; if you’re using boneless or skinless pieces, limit the brining to 2 hours to avoid overly salty or rubbery meat. You can add equal parts sugar to the brine for a subtle sweetness, but make sure the brine tastes like ocean water—this balance is key for flavor infusion.
After brining, rinse the chicken and pat it dry before grilling. Keep in mind, reaching the proper internal temperature is essential for safe, juicy BBQ chicken. This preparation step sets you up for perfectly moist and flavorful grilled chicken every time.
Preheat and Oil the Grill Grates
Start by heating your grill to medium, which is the ideal temperature for cooking chicken evenly and achieving a nice sear. Before you place your chicken on the grill, make sure to preheat and oil the grill grates properly to prevent sticking and enhance flavor.
Begin by heating your grill to medium and oiling the grates to ensure even cooking and prevent sticking.
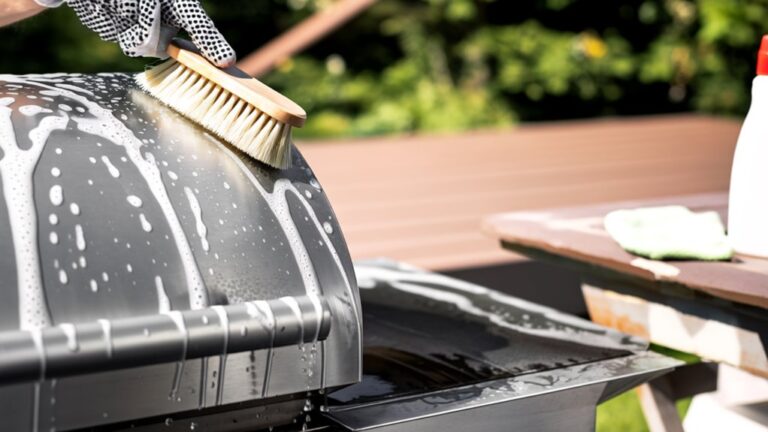
Here’s how to prepare the grill grates:
- Scrub the grill grates with a grill brush to remove any residue or debris.
- Wait until the grill reaches medium heat before proceeding.
- Use a paper towel or brush dipped in oil to apply a light, even coating on the grates.
- Monitor the grill grates during cooking and reapply oil as needed to maintain the non-stick surface.
Sear the Chicken Skin-Side Down
To get that crispy skin, you’ll want to sear the chicken skin-side down on a hot grill. Keep the heat high but watch the timing carefully—about 2 minutes is usually perfect for developing grill marks without burning.
Once you’ve nailed the sear, you can flip the chicken and move it to indirect heat to finish cooking.
Achieving Crispy Skin
Although it might be tempting to rush the process, achieving crispy skin on your BBQ chicken begins with searing it skin-side down over high heat. Start by preheating your grill to high heat to get that perfect golden crust and grill marks. Remember to:
- Clean and oil the grill grates to prevent sticking
- Sear the chicken skin-side down for about 2 minutes
- Shift the chicken to indirect heat to cook through evenly
Monitor the internal temp, aiming for 165-170°F for safety and juiciness. This method crisps the skin without burning it, while indirect heat finishes cooking the chicken inside. Keep an eye on the internal temp to guarantee tender, juicy meat beneath that irresistible crispy exterior.
Optimal Heat Settings
When you preheat your grill to a high heat of around 400-450°F, you’ll create the perfect environment to sear the chicken skin-side down, locking in flavor and crispiness. Place the chicken on the grill for about 2 minutes to get those ideal grill marks.
Then, move it to medium-low heat to cook through without burning. Keep an eye on the internal temperature, aiming for 150-153°F before flipping to add your BBQ sauce. Finish cooking until the chicken reaches 165-170°F for juicy, safe-to-eat meat.
| Step | Heat Setting (°F) | Internal Temperature (°F) |
|---|---|---|
| Sear Skin-Side Down | 400-450 | – |
| Cook Through | Medium-Low | 150-153 |
| Apply BBQ Sauce | Medium-Low | 150-153 |
| Finish Cooking | Medium-Low | 165-170 |
Timing for Searing
Getting the heat right sets the stage for perfect searing. As a grill master, you’ll want to preheat your grill to high heat, then place the chicken skin-side down. Don’t move it for at least 2 minutes to let the skin crisp and develop those signature grill marks.
Here’s what to keep in mind:
- Sear the chicken skin-side down for about 2 minutes without disturbance.
- Watch closely to avoid charring; adjust heat as needed.
- Flip the chicken to sear the other side briefly.
- Move to indirect heat and continue cooking until the internal temperature hits 165ºF.
Check every few minutes until cooked through. This timing guarantees a crispy crust and juicy interior every time.
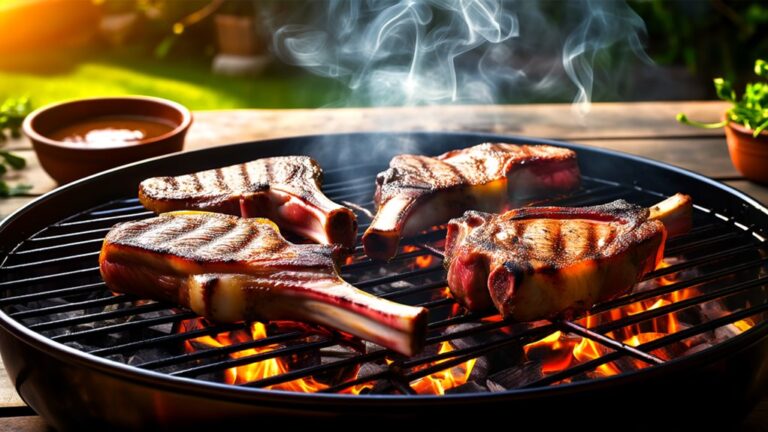
Cook Over Indirect Heat
After searing, move your chicken to the cooler side of the grill to cook it over indirect heat. This setup prevents burning and helps the meat cook evenly while keeping it juicy.
Make sure to monitor the temperature and aim for an internal 165ºF for perfectly cooked chicken every time.
Benefits of Indirect Heat
Although indirect heat takes a bit longer, it guarantees your chicken cooks evenly without burning the outside or drying out the inside. Using indirect heat helps you achieve juicier meat by retaining moisture and preventing proteins from drying out. It also assures even cooking throughout, so your chicken reaches the safe temperature of 165ºF without charring.
Here are some benefits of cooking over indirect heat:
- Reduces flare-ups, minimizing charring and uneven spots
- Allows flavors from marinades and rubs to penetrate deeper
- Lets you sear first, then finish cooking gently for crispy skin
- Provides a safer way to grill fattier cuts like thighs and drumsticks
Setting Up Indirect Zones
To take full advantage of indirect heat, you’ll need to set up your grill with separate cooking zones. On a gas grill, preheat first, then turn on only one side of the burners to create a hot zone and a cooler zone. For a charcoal grill, light one side of the charcoal, leaving the other side unlit.
After searing your chicken over direct heat, move it to the cooler side to finish cooking using the radiant heat from the hot side. Maintain a temperature for at least 350-375ºF to guarantee even cooking without drying out the chicken. You can place a drip pan under the chicken to catch drippings and avoid flare-ups while adding flavor to your sauces.
Timing and Temperature Control
Grilling chicken perfectly means managing your time and temperature carefully, especially when cooking over indirect heat. Start by searing the chicken over direct heat for about 2 minutes per side to lock in juices and create grill marks. Then, move it to indirect heat, lowering the temperature to medium-low, and cook for 12-14 minutes.
Keep these tips in mind: Use an instant-read thermometer to check internal temperature, aiming for 150-153°F before saucing. Apply BBQ sauce only after reaching this temperature to avoid burning sugars. Continue grilling for 3-5 minutes post-sauce, guaranteeing the chicken hits 165-170°F for safety.
Avoid touching the bone when measuring temperature for accuracy. Mastering timing and temperature guarantees juicy, flavorful BBQ chicken every time.
Apply BBQ Sauce at the Right Time
When your chicken reaches an internal temperature of about 150-153 degrees Fahrenheit, it’s the perfect moment to start applying BBQ sauce. At this stage, the chicken is nearly cooked, ensuring the sauce won’t burn from prolonged heat exposure. Use a brush to evenly apply BBQ sauce, focusing on the sides facing up so the flavors soak in well.
After coating one side, flip the chicken and grill for another 3-5 minutes to let the sauce set and develop a rich glaze. This timing—about 10-12 minutes before the chicken finishes cooking—prevents the sugars in the sauce from burning. Once done, remove the chicken from the grill and let it sit for a few minutes; this helps the juices redistribute and the sauce to settle.
Don’t forget to save some BBQ sauce to serve alongside so everyone can add more if they want. This approach guarantees flavorful, perfectly glazed BBQ chicken every time.
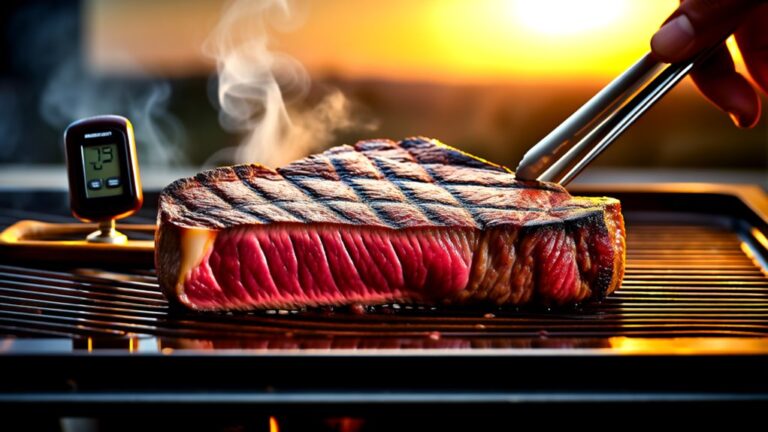
Finish Grilling and Check Internal Temperature
Although you’ve already applied the BBQ sauce, you’ll need to keep grilling the chicken until it reaches a safe internal temperature of 165-170°F. This guarantees it’s cooked through and safe to eat.
Keep grilling with BBQ sauce until chicken reaches a safe 165-170°F for perfect doneness and flavor.
Here’s how to finish grilling and check the internal temperature effectively:
- Continue grilling for 3-5 minutes after basting to let the sauce caramelize without burning.
- Use an instant-read thermometer to check the internal temperature in the thickest part of the chicken.
- Remove the chicken once it hits 165-170°F to prevent drying out.
- Let the chicken rest for a few minutes after grilling so the juices redistribute, making it juicy and flavorful.
Rest and Serve Your Grilled BBQ Chicken
Once your chicken has reached the perfect temperature and had a few minutes to rest, it’s ready to be served. Letting it rest for about 5-10 minutes allows the juices to redistribute, ensuring each bite is moist and flavorful. Before serving, you can pat the chicken dry gently with paper towels if there’s any excess moisture on the skin, which helps keep it crispy.
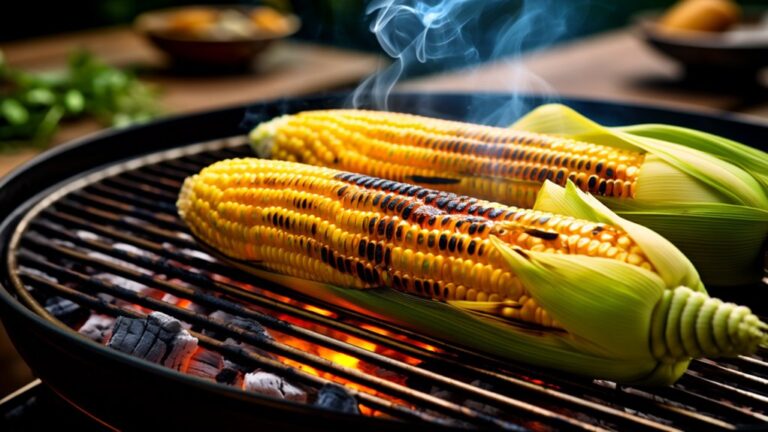
Serve your grilled BBQ chicken with extra BBQ sauce on the side for those who want an added kick. Pair it with fresh sides like cucumber salad and corn on the cob to create a balanced meal perfect for summer. If you have leftovers, store them in an airtight container in the fridge for up to four days.
When reheating, consider placing the portions back on the grill briefly to maintain that delicious crispy texture you worked hard to achieve.
Frequently Asked Questions
How Do You Barbecue Chicken on a Grill?
To barbecue chicken on a grill, start by seasoning your chicken with a dry rub for great flavor. Preheat your grill to medium, oil the grates, and place the chicken skin-side down until crispy.
Flip it, then brush with BBQ sauce. Lower the heat and cook until the internal temperature hits 165ºF. Let it rest a few minutes before serving.
This way, you’ll get juicy, flavorful BBQ chicken every time.
What Are the Steps to Grilling Chicken?
Grilling chicken is like conducting a symphony—you need rhythm and timing. First, season your chicken well. Preheat your grill to medium, then sear the chicken skin-side down for a couple of minutes to get those perfect grill marks.
Flip it, cook a bit more, then move it to indirect heat. Brush with BBQ sauce and keep basting until it hits 165°F inside. Let it rest before serving for juicy, flavorful results.
Do You Put Barbecue Sauce on Chicken Before or After Baking?
You should put barbecue sauce on chicken after it’s mostly cooked, not before baking. Applying sauce too early can cause it to burn because of the sugar content, leading to a charred outside and undercooked inside.
Wait until the chicken reaches around 150-153°F internally, then baste it during the last 10-12 minutes. This way, you get a flavorful glaze without burning or flare-ups.
What Are the Secrets to Great Barbecue Chicken?
Did you know the USDA recommends cooking chicken to an internal temperature of 165ºF for safety? The secret to great barbecue chicken is balancing flavor and technique. You’ll want to use a flavorful dry rub, sear over high heat, then finish cooking over indirect heat to keep it juicy.
Don’t forget to oil the grill grates to prevent sticking and add BBQ sauce in the last 10-12 minutes to avoid burning but get that perfect caramelized glaze.
Conclusion
Now that you’ve nailed these 7 easy steps, imagine hosting a backyard cookout where your perfectly grilled BBQ chicken steals the show—juicy, smoky, and full of flavor.
Like Sarah, who followed this guide last summer and wowed her friends with tender, saucy chicken everyone raved about, you’ll find grilling BBQ chicken is simpler than you thought.
So fire up that grill, trust the process, and get ready to enjoy delicious BBQ chicken on the grill every time!