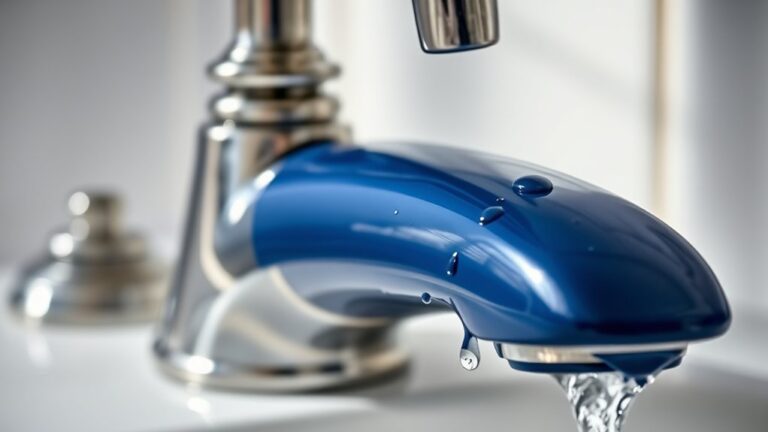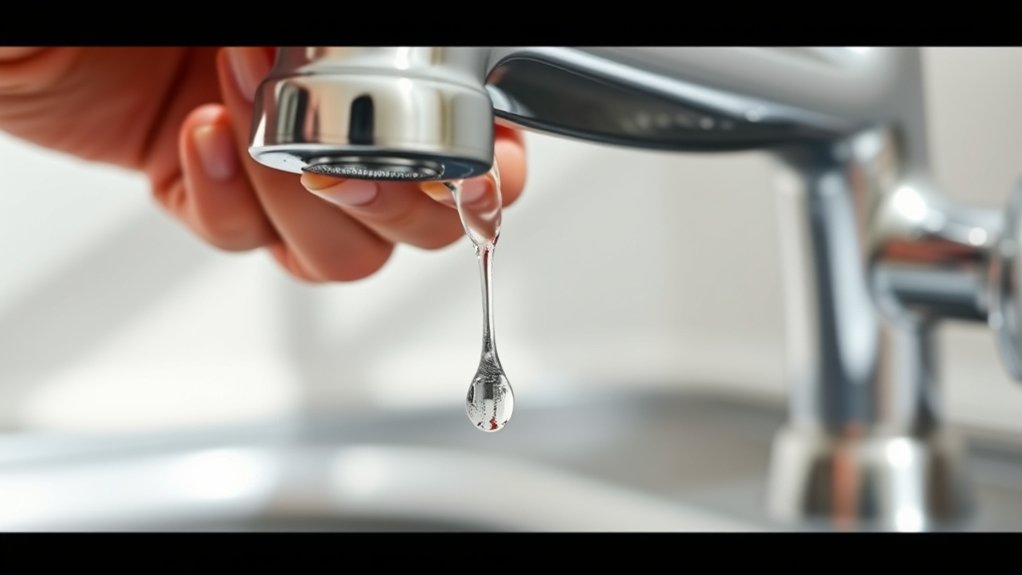
How to Stop a Dripping Faucet
To stop a dripping faucet, first identify your faucet type—compression, cartridge, ball, or disc. Knowing the type helps you understand the specific parts involved and the best way to fix the leak.
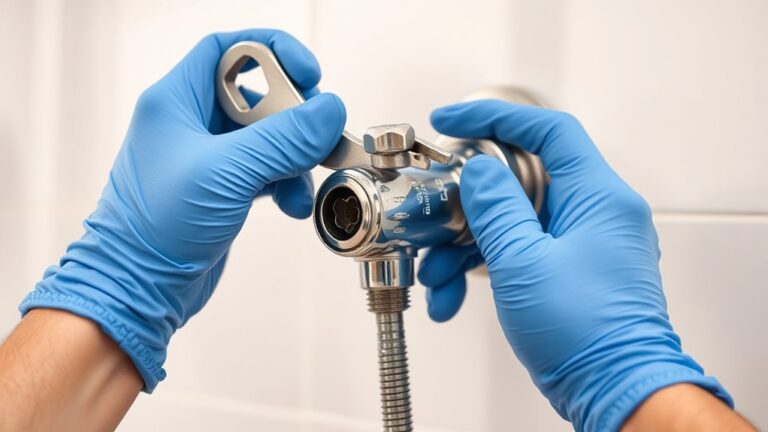
Next, turn off the water supply to prevent further dripping.
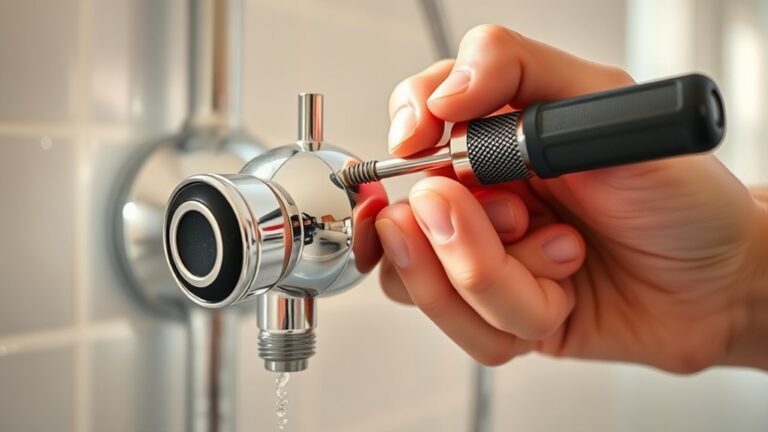
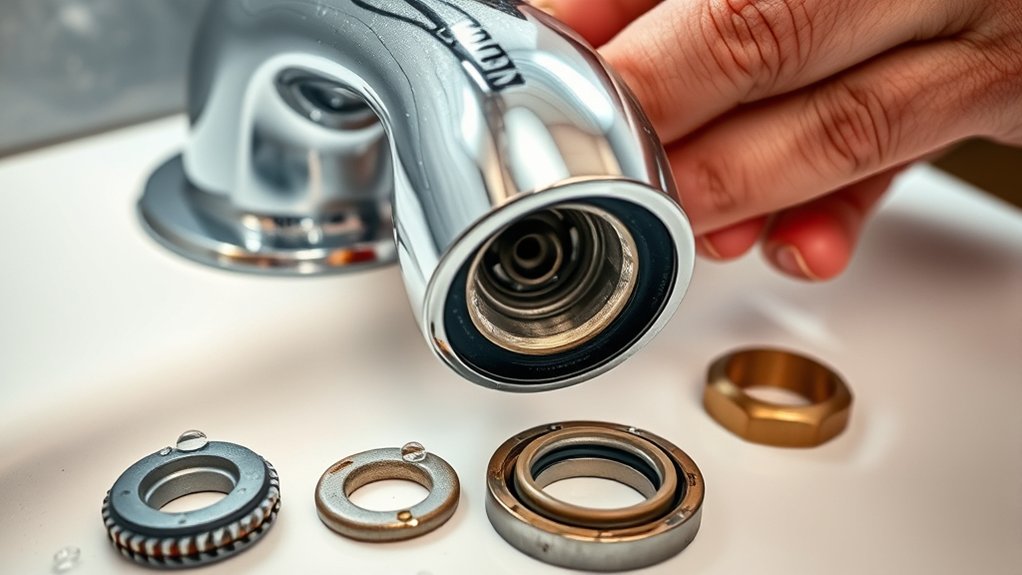
Use basic tools like an adjustable wrench and screwdrivers to remove the handle. Inspect washers, O-rings, and valve seats for wear or damage. These components are often the cause of leaks and may need replacing.
Replace any faulty parts with exact matches to ensure a proper fit. Lubricate O-rings to maintain smooth operation.
Then, reassemble the faucet carefully to avoid any misalignment.
Regular maintenance can prevent leaks from developing. However, if issues persist, understanding the specific causes and solutions will help you fix the problem permanently.
How to Fix a Dripping Faucet
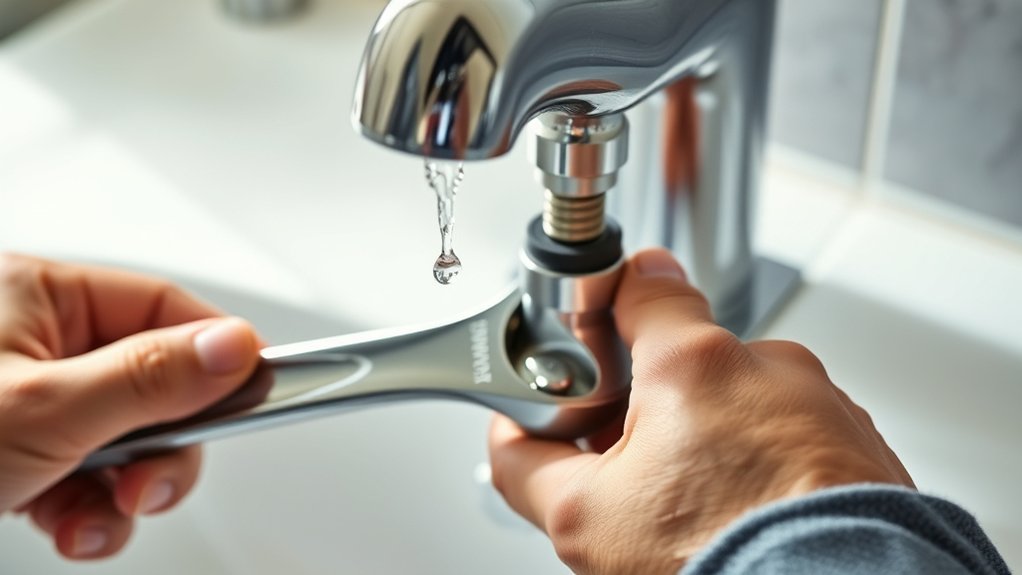
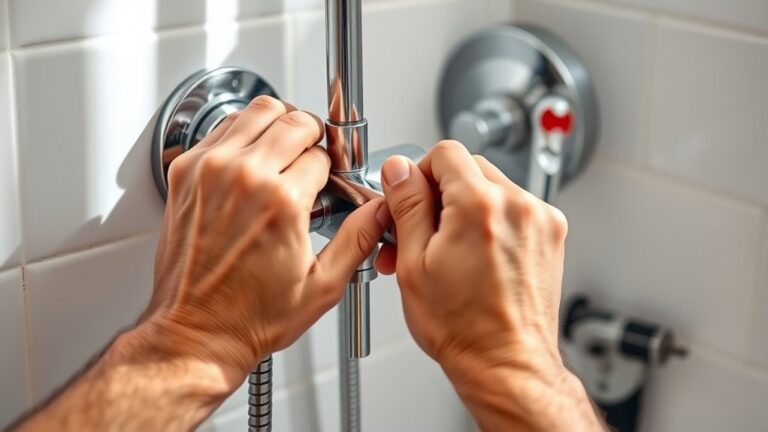
To fix a dripping faucet, start by turning off the water supply to prevent leaks while you work. Next, open the faucet to release residual water and reduce pressure.
Use a wrench to carefully remove the faucet handle and access the internal components. Inspect the washer, O-ring, and valve seat for wear or damage, as these often cause dripping sounds and water waste.
Remove the faucet handle with a wrench and inspect the washer, O-ring, and valve seat for damage.
Replace any faulty parts with exact matches to guarantee a tight seal. Reassemble the faucet, tighten all connections, and turn the water supply back on.
Test the faucet to confirm the dripping has stopped. Addressing these components promptly helps eliminate dripping sounds and reduces unnecessary water waste, saving you money and conserving resources effectively.
Identify Your Dripping Faucet Type
You need to identify the type of faucet you have before fixing the drip. Common types include compression, cartridge, ball, and ceramic disc faucets, each with distinct drip patterns. Recognizing these patterns helps pinpoint the cause and select the right repair method.
Common Faucet Types
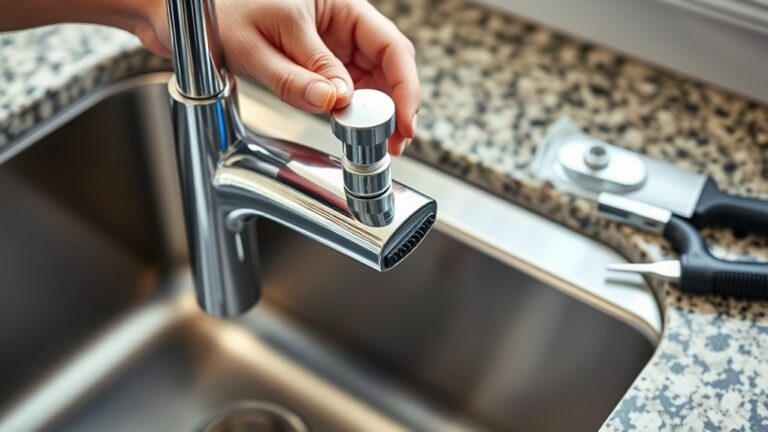
Although faucets may look similar, they operate using different mechanisms that require specific repair approaches. You’ll find four common types: compression faucets, cartridge faucets, ball faucets, and disc faucets.
Compression faucets use separate hot and cold handles that press down on a washer to stop water flow. Cartridge faucets feature a movable cartridge that controls water mixing. Ball faucets use a single handle with a ball bearing to regulate temperature and flow.
Disc faucets employ ceramic discs inside the valve body for smooth operation and durability. Identifying your faucet type is essential for effective faucet maintenance and repair.
Each design demands distinct replacement parts and techniques, so knowing your faucet type helps you stop leaks efficiently without unnecessary trial and error.
Recognize Drip Patterns
Each faucet type produces distinct drip patterns that can help you pinpoint the source of the leak. For compression faucets, expect a steady, rhythmic drip frequency due to worn washers.
Cartridge faucets often show irregular drip intervals caused by damaged seals or O-rings. Ball faucets may produce inconsistent drips because of faulty springs or seats.
Ceramic disc faucets generally have a low drip frequency, but when they leak, it’s usually a persistent, slow drip from damaged ceramic discs. Recognizing these patterns allows you to identify the faulty component quickly, minimizing water waste.
Tracking the drip frequency also helps estimate water loss over time, guiding you on whether a repair or replacement is more cost-effective. Accurate identification guarantees you address the issue efficiently, saving both water and money.
What Tools You Need to Fix a Dripping Faucet
You’ll need a few essential tools to fix your dripping faucet efficiently. Start by selecting the right wrench to avoid damaging fittings, and gather replacement parts like washers and O-rings based on your faucet type.
Having these tools and parts ready will streamline your repair process.
Essential Tools Overview
Before you begin fixing a dripping faucet, gather the essential tools to guarantee a smooth and efficient repair process. Start with basic plumbing essentials: an adjustable wrench, a set of screwdrivers (both flathead and Phillips), and replacement washers or O-rings.
Include a pair of needle-nose pliers for gripping small components and a cloth or rag to catch drips and protect surfaces. A hex key set is also handy for faucets with Allen screws.
These tools cover most repairs and align with important faucet maintenance tips, ensuring you can address leaks promptly without unnecessary delays. Having everything on hand saves time and prevents frustration during the process.
Organizing your workspace and tools upfront is vital for effective faucet maintenance and minimizing water waste.
Choosing The Right Wrench
Selecting the right wrench is essential for efficiently loosening or tightening faucet components without causing damage. Among wrench types, adjustable wrenches offer versatility with variable wrench sizes, ideal for different nuts and bolts.
Pipe wrenches provide superior grip strength on rounded plumbing parts but can mar soft finishes if used improperly. Choose wrench materials like chrome-vanadium steel for durability and corrosion resistance.
Proper wrench usage involves applying steady pressure to avoid slippage and stripping. Regular wrench maintenance, including cleaning and lubrication, guarantees smooth operation and extends lifespan.
For faucet repairs, an adjustable wrench often suffices, but keep a pipe wrench handy for stubborn fittings. Matching wrench size and type to the specific faucet component secures effective and safe repairs, saving you time and preventing further issues.
Replacement Parts Checklist
At least six essential tools and replacement parts are needed to fix a dripping faucet effectively. You’ll need an adjustable wrench, screwdriver set, plumber’s tape, and a basin wrench for hard-to-reach areas.
For replacement part types, stock up on faucet cartridges, O-rings, washers, and valve seats specific to your faucet model. Faucet seal options include rubber, silicone, and neoprene, each offering different durability and flexibility.
Before starting, identify your faucet type to guarantee compatibility. Having these tools and parts ready prevents delays and assures a smooth repair.
Keep replacement parts organized and labeled. Using the correct faucet seal options will restore watertight integrity and stop leaks efficiently, saving time and avoiding unnecessary replacements.
Common Causes of Dripping Faucets and Prevention Tips
Although a dripping faucet might seem minor, it often signals specific issues like worn-out washers, damaged seals, or corroded valve seats. These components weaken over time, causing leaks that waste water and increase your utility bills.
To prevent this, focus on regular faucet maintenance: inspect washers and seals every six months and clean the valve seat to avoid corrosion buildup. Tighten loose parts promptly to maintain a proper seal.
Addressing these issues early helps you conserve water effectively and avoid costly repairs. Remember, consistent maintenance not only stops leaks but also extends your faucet’s lifespan. Prioritize these steps to guarantee efficient water conservation and prevent dripping before it worsens.
When to Replace Parts or the Whole Dripping Faucet
If your faucet continues dripping despite routine maintenance, it’s time to evaluate whether replacing specific parts or the entire unit is necessary. Consider the faucet lifespan; most faucets last 10-15 years. If yours is older, replacement may be more cost-effective than ongoing repairs.
Assess repair costs. If part replacements or labor exceed 50% of a new faucet’s price, opting for a full replacement makes sense. Also, evaluate the faucet’s material and design; outdated or low-quality models often lead to recurrent leaks.
Prioritize replacing worn-out washers, cartridges, or O-rings when repair costs remain low and the faucet is relatively new. However, if multiple components fail or the faucet shows corrosion, installing a new unit guarantees long-term reliability and prevents future drips efficiently.
Troubleshooting Persistent Dripping Faucet Leaks
Why does your faucet keep dripping even after repairs? Persistent leaks often result from compromised seal integrity or improper installation. To troubleshoot, inspect washers, O-rings, and valve seats for wear or damage.
Even minor imperfections disrupt water flow, wasting water and undermining water conservation efforts. Use this table to pinpoint common causes and solutions:
| Issue | Solution |
|---|---|
| Worn washer | Replace with exact size |
| Damaged O-ring | Install new O-ring |
| Corroded valve seat | Clean or replace valve seat |
| Loose parts | Tighten components |
| Faulty cartridge | Replace cartridge |
Addressing these issues restores proper seal integrity and stops leaks efficiently, ensuring you conserve water and avoid unnecessary repairs.
Frequently Asked Questions
Can a Dripping Faucet Increase My Water Bill Significantly?
Like a slow leak in a dam, a dripping faucet can quietly hike your water bill. You’ll want to prioritize water conservation and regular plumbing maintenance to prevent costly waste and guarantee your system runs efficiently.
Are There Eco-Friendly Faucets That Prevent Dripping?
Yes, you’ll find eco-friendly faucets made with sustainable materials and advanced faucet designs that minimize dripping. These faucets use durable seals and efficient valves to reduce leaks, saving water and lowering your environmental impact effectively.
How Do Hard Water Deposits Affect Faucet Performance?
Picture mineral buildup like stubborn crusts inside your faucet. Hard water deposits cause corrosion and blockages, making faucet maintenance essential.
They lead to plumbing issues by restricting flow and damaging seals, so regular cleaning prevents costly repairs.
Can a Dripping Faucet Cause Mold or Mildew Issues?
Yes, a dripping faucet can cause mold or mildew issues by increasing moisture levels. You should prioritize mold prevention through effective moisture control.
Fix leaks promptly to avoid water accumulation that fosters microbial growth in your home environment.
Is It Safe to Use Homemade Solutions to Stop Dripping?
You shouldn’t dance with fire using homemade remedies for dripping faucets, as safety concerns arise from unknown chemical reactions or damage. Stick to tested methods or consult a professional to guarantee your fix is secure and lasting.