How Hard Is It to Paint Kitchen Cabinets
Painting kitchen cabinets yourself is quite challenging because it demands thorough prep, careful sanding, and the right primer to guarantee paint adheres and lasts.
This process requires attention to detail and patience to achieve a professional finish.
You’ll need to remove hardware, apply thin, even coats with quality paint, and allow multiple drying stages—expect at least 3-4 days for an average kitchen.
Precision and patience are key to avoiding drips or peeling.
If you want to master each step and avoid common mistakes, keep exploring the details ahead.
How Hard Is It to Paint Kitchen Cabinets Yourself?
How challenging is it to paint kitchen cabinets yourself? It requires careful preparation, mastery of specific painting techniques, and a good eye for cabinet color selection.
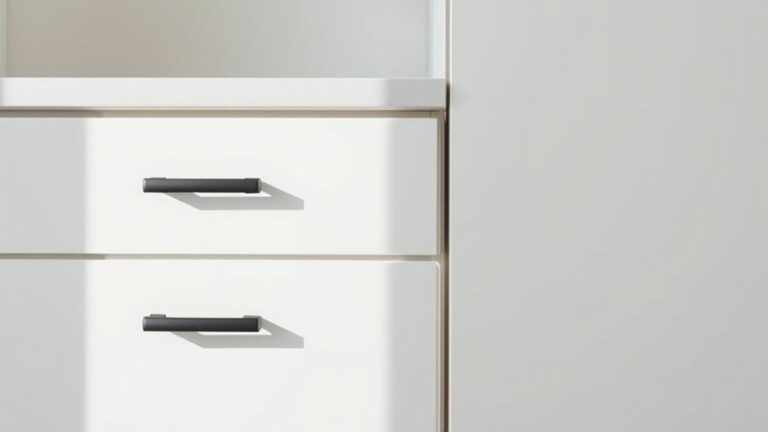
You’ll need to remove all doors and hardware, sand surfaces thoroughly to guarantee adhesion, and apply a high-quality primer to prevent peeling. Choosing the right cabinet color involves considering lighting and kitchen style for a durable, even finish.
You must use smooth, controlled brush strokes or a high-grade sprayer to avoid drips and uneven texture. Drying times between coats are critical to achieving a professional look.
While it’s not impossible, painting cabinets demands patience, precision, and technical skill to avoid common pitfalls like brush marks or color inconsistencies. With the right approach, you can transform your kitchen effectively.
When Should You Hire a Pro Instead of DIY?
While painting kitchen cabinets yourself can be rewarding, certain situations call for professional expertise to secure superior results. If your experience level is limited or your project complexity is high, such as intricate cabinet designs or extensive surface prep, hiring a pro makes sense.
Consider cost considerations carefully; though DIY might save money upfront, professionals can reduce potential risks like uneven finishes or damage, preserving your cabinets’ integrity. A pro’s skill guarantees your aesthetic goals and desired finish meet exact standards, especially with specialty paints or finishes.
Also, factor in time commitment; professionals complete jobs efficiently, freeing you from prolonged disruptions. Ultimately, investing in expert painting delivers long term benefits, maintaining durability, appearance, and value, which DIY efforts may not consistently achieve.
What Tools and Materials Do You Need for Painting Kitchen Cabinets?
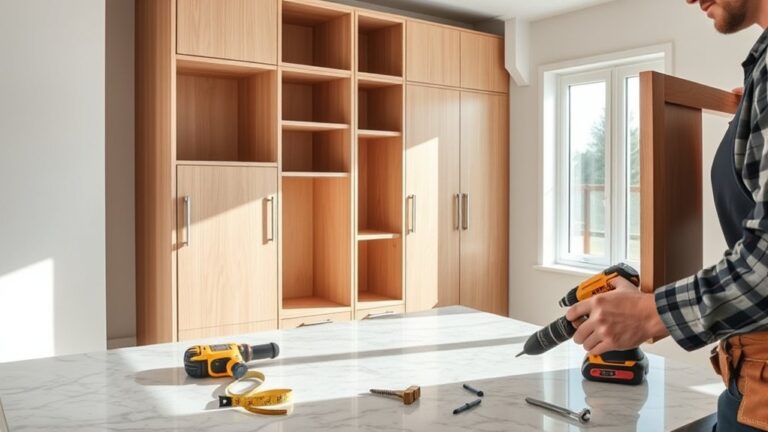
Preparing to paint your kitchen cabinets requires gathering specific tools and materials that guarantee a high-quality finish and efficient workflow. You’ll need to choose among paint sprayer options for smooth, even coats or brushes and rollers for detail work.
Don’t forget to remove and label cabinet hardware for easy reassembly. Sandpaper and primer are essential to prep surfaces and enhance adhesion. Protective gear and drop cloths safeguard your workspace.
| Tool/Material | Purpose | Notes |
|---|---|---|
| Paint sprayer options | Even paint application | Choose HVLP or airless |
| Sandpaper | Surface prep | Use fine grit (220+) |
| Primer | Adhesion and coverage | Oil-based or shellac |
| Cabinet hardware | Removal and reinstallation | Label for organization |
| Protective gear | Safety and cleanliness | Masks, gloves, drop cloths |
Which Paint Types Work Best for Kitchen Cabinets?
When choosing paint for your kitchen cabinets, you’ll need to weigh oil-based and latex options carefully. Oil-based paints offer superior durability and a smooth finish but require longer drying times and stronger solvents for cleanup.
Latex paints dry faster and clean up easily with water, yet you should select high-quality, cabinet-specific formulas to guarantee lasting resistance to wear.
Oil-Based Vs. Latex
Choosing between oil-based and latex paint greatly impacts both the application process and the durability of your kitchen cabinets. Oil-based paint offers a smoother finish and better adhesion, which allows you to use refined brush techniques to minimize visible strokes.
However, it requires longer drying times and strong ventilation due to fumes. Latex paint dries faster, cleans up with water, and resists yellowing, making it more user-friendly for beginners.
When it comes to color selection, latex paints generally provide a wider variety of hues and maintain color vibrancy over time. Ultimately, your decision hinges on balancing ease of use, drying time, and the desired finish quality.
Understanding these factors guarantees you choose the best paint type to achieve professional results on your cabinets.
Durable Cabinet Paint Options
Although kitchen cabinets endure frequent use and exposure to moisture, selecting the right paint can greatly enhance their durability and appearance. When choosing durable cabinet paint options, focus on durability factors such as adhesion, resistance to chipping, and moisture tolerance.
Alkyd paints, a modern oil-based option, offer excellent hardness and smooth finishes, making them ideal for cabinets. High-quality water-based acrylic latex paints also perform well due to improved durability and easier cleanup.
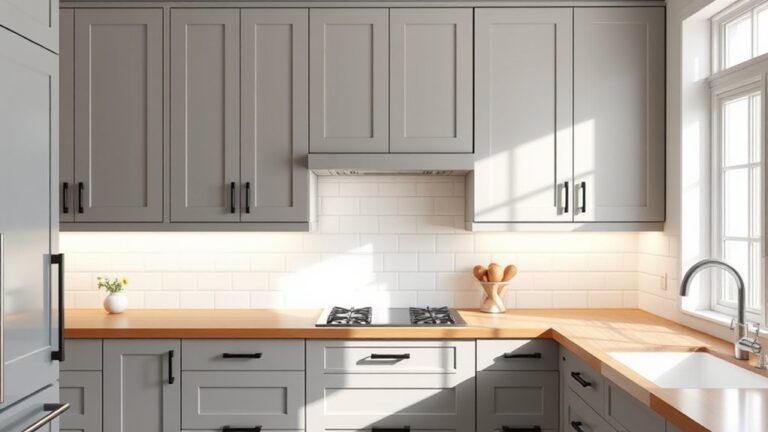
Regarding paint finishes, semi-gloss and satin are your best bets. They provide a balance between durability and ease of cleaning without showing imperfections. Flat or matte finishes, while aesthetically pleasing, lack the resilience needed for kitchen environments.
Prioritize paints formulated specifically for cabinetry to guarantee longevity and maintain a professional look over time.
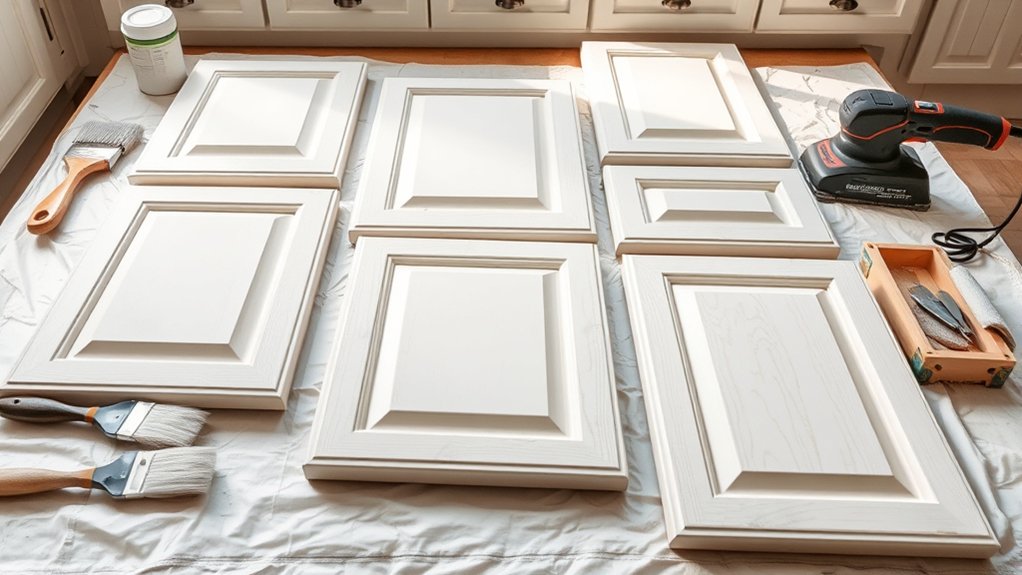
How to Prep Kitchen Cabinets and Hardware for Painting
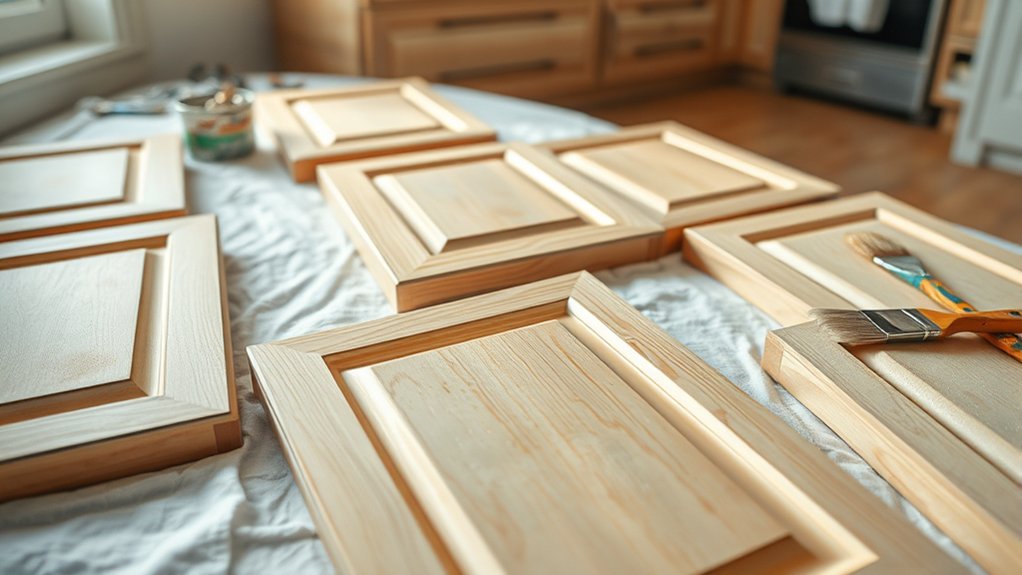
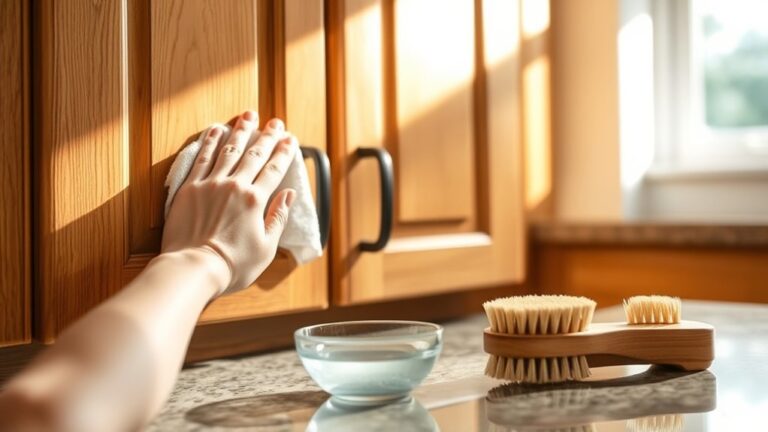
Properly prepping your kitchen cabinets and hardware is essential to guarantee a durable, smooth paint finish. Start with thorough cabinet cleaning to remove grease and dirt, ensuring paint adhesion.
Next, perform hardware removal carefully to avoid damage. Sand surfaces lightly to create a profile for paint adherence. Use a high-quality degreaser and tack cloth for final cleaning before priming.
| Step | Material/Tool | Purpose |
|---|---|---|
| Cabinet Cleaning | Degreaser, sponge | Remove grease and contaminants |
| Hardware Removal | Screwdriver set | Enable painting cabinet faces |
| Sanding | Fine-grit sandpaper | Create surface texture |
| Dust Removal | Tack cloth | Eliminate residual dust |
| Primer Application | High-quality primer | Enhance paint adhesion |
How to Avoid Common Cabinet Painting Challenges
To avoid common cabinet painting challenges, you need to focus on thorough surface preparation, ensuring all dirt and old finishes are removed.
Choose a paint formulated specifically for cabinetry to guarantee durability and a smooth finish. Finally, apply paint with controlled strokes and thin coats to prevent drips and runs.
Proper Surface Preparation
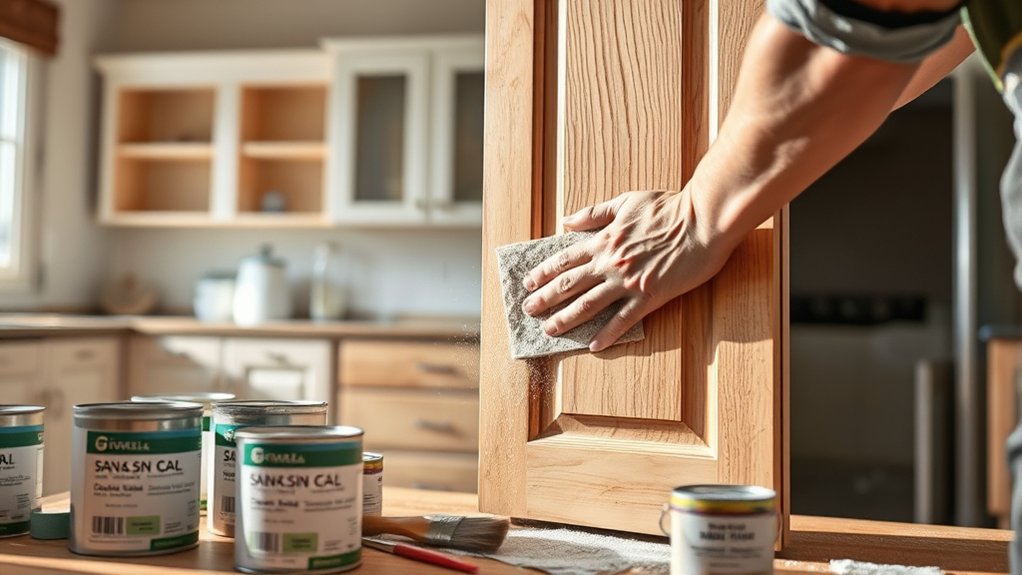
Since the quality of your paint job depends heavily on the surface beneath, you need to thoroughly clean, sand, and prime your cabinets before applying any paint.
Start with surface cleaning using a degreaser to remove oils and dirt. Follow with sanding techniques: use medium-grit sandpaper to smooth surfaces and remove old finishes, then fine-grit for a flawless base.
Proper priming seals the wood and enhances paint adhesion, preventing peeling or bubbling.
| Step | Key Action |
|---|---|
| Surface Cleaning | Degrease and wipe thoroughly |
| Initial Sanding | Medium-grit (120-150) sanding |
| Final Sanding | Fine-grit (220+) smoothing |
| Dust Removal | Vacuum and tack cloth cleaning |
| Priming | Apply high-quality primer |
This preparation guarantees durability and a professional finish.
Choosing The Right Paint
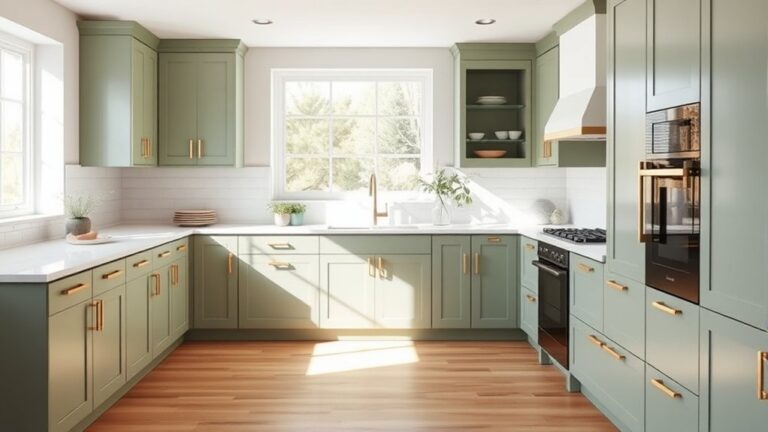
Selecting the right paint is essential to achieving a durable, smooth finish on your kitchen cabinets and avoiding common pitfalls like chipping, streaking, or uneven coverage. Start by focusing on color selection. Opt for shades that complement your kitchen’s lighting and style, ensuring longevity and aesthetic appeal.
Next, evaluate finish options: semi-gloss or satin finishes are preferable due to their balance of durability and ease of cleaning. Avoid flat or matte finishes, which tend to show wear quickly.
Choose a high-quality, cabinet-specific acrylic latex or alkyd paint for superior adhesion and resilience. Properly formulated paints reduce the risk of peeling and provide uniform coverage.
Preventing Drips And Runs
Few issues frustrate cabinet painters more than drips and runs, which can ruin an otherwise flawless finish. To achieve effective drip control and run prevention, you must apply thin, even coats and use high-quality brushes or sprayers. Avoid overloading your applicator to minimize excess paint accumulation.
| Step | Technique | Benefit |
|---|---|---|
| Surface Prep | Clean, sand smooth | Guarantees paint adhesion |
| Thin Coats | Multiple light layers | Prevents paint pooling |
| Brush Handling | Use angled brush | Controls paint flow |
| Sprayer Settings | Adjust pressure low | Limits overspray & runs |
| Dry Time | Allow full drying | Avoids dragging paint |
Consistent technique and patience are essential for drip control and run prevention, guaranteeing a professional cabinet finish.
How Long Does It Take to Paint Kitchen Cabinets Properly?
How much time you’ll need to paint kitchen cabinets properly depends on several critical factors, including the number of cabinets, the type of paint, and the preparation involved. Time factors such as sanding, priming, drying, and applying multiple coats all add up.
Surface conditions greatly impact the timeline. Rough, damaged, or glossy surfaces require extra prep to guarantee adhesion and a smooth finish. For an average kitchen with 15-20 cabinet doors and drawers, expect at least 3-4 days.
This includes thorough sanding, cleaning, priming, and two to three coats of paint with appropriate drying times between. Rushing any step compromises durability and appearance. By anticipating these time factors and evaluating surface conditions upfront, you can plan a realistic schedule that guarantees a professional-quality result without shortcuts.
How to Achieve a Professional Kitchen Cabinet Paint Finish
Although painting kitchen cabinets may seem straightforward, achieving a professional finish requires meticulous preparation and technique. Start by choosing the right color selection; consider how it complements your kitchen’s lighting and style.
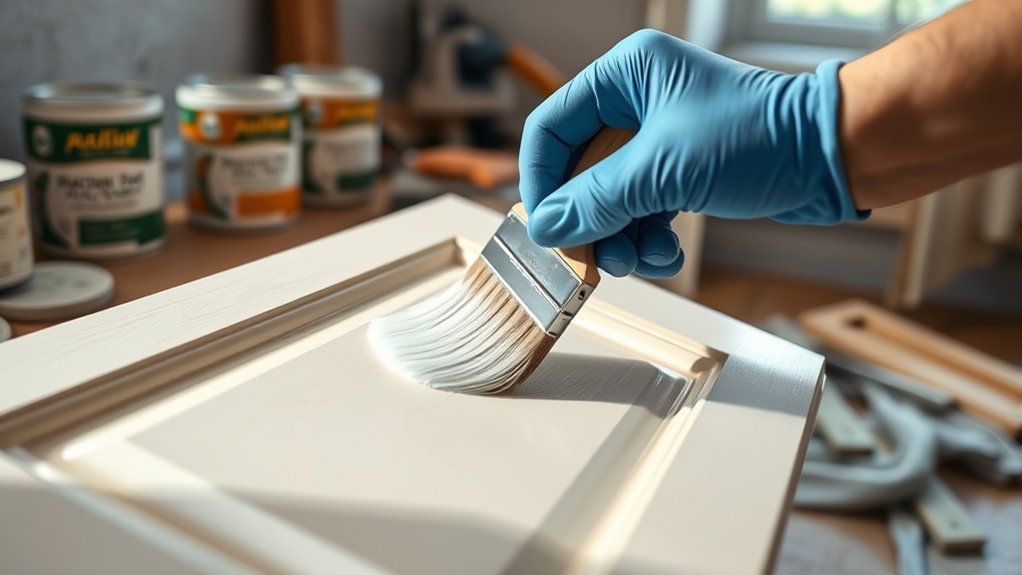
Next, sand the surfaces thoroughly to facilitate paint adhesion, then apply a quality primer. Use a high-quality brush or sprayer for smooth, even coats.
When selecting finish options, opt for semi-gloss or satin for durability and easy cleaning. Apply multiple thin coats instead of one thick coat to prevent drips and uneven texture.
Allow sufficient drying time between coats and lightly sand between layers to achieve a flawless surface. Finally, reinstall hardware carefully to avoid damaging the fresh paint.
Following these steps guarantees a durable, professional-looking cabinet paint finish.
How to Maintain and Protect Painted Kitchen Cabinets
To keep your painted kitchen cabinets looking sharp, clean them regularly with a soft cloth and mild detergent to avoid surface damage. You’ll want to prevent paint chipping by handling doors gently and avoiding abrasive cleaners.
When small imperfections appear, use precise touch-up techniques to maintain a seamless finish.
Regular Cleaning Tips
Since painted kitchen cabinets endure frequent contact with moisture, grease, and food particles, maintaining their finish requires consistent and careful cleaning. Use appropriate cleaning supplies, such as mild detergents and non-abrasive cloths, to avoid damaging cabinet surfaces.
Establish a cleaning frequency based on kitchen use; high-traffic kitchens need more frequent attention. Focus on stain removal and grease buildup promptly to prevent paint deterioration. Surface disinfecting during routine checkups helps maintain hygiene without compromising the finish.
| Task | Recommended Method |
|---|---|
| Grease Buildup | Use degreaser with microfiber |
| Stain Removal | Mild soap and warm water |
| Surface Disinfecting | Diluted vinegar or gentle spray |
Regular maintenance preserves your cabinets’ appearance and prolongs paint life effectively.
Preventing Paint Damage
Maintaining a consistent cleaning routine helps minimize wear on painted kitchen cabinets, but protecting the paint requires proactive measures beyond just cleaning. For effective cabinet care, avoid abrasive cleaners and harsh chemicals that can degrade the paint finish.
Use soft cloths and mild detergents to preserve the surface integrity. Install bumpers on doors and drawers to prevent chipping from impacts. Keep moisture away by promptly wiping spills; excess water can cause paint to bubble or peel.
Consider applying a clear polyurethane topcoat for enhanced paint protection, especially in high-traffic areas. Regularly inspect cabinet edges and corners, as these spots are prone to damage.
Touch-Up Techniques
Address minor scratches and chips promptly to prevent further damage and keep your kitchen cabinets looking pristine. Start by cleaning the affected area thoroughly, removing grease and dust. Use fine-grit sandpaper to lightly scuff the damaged spot, ensuring better paint adhesion.
When applying your touch-up paint, use a small, fine brush for accuracy. Master blending colors by mixing small amounts of your cabinet paint to match the existing finish precisely. Apply thin layers, allowing each to dry before adding more, which helps avoid visible brush strokes or buildup.
After the paint cures, consider lightly buffing with a soft cloth to even out the surface sheen. These touch-up techniques will extend your cabinets’ lifespan and maintain their professional appearance with minimal effort.
Tips for Keeping Your Painted Cabinets Looking Fresh
Although painted cabinets can transform your kitchen, keeping them looking fresh requires consistent care and attention. You need to apply proper cabinet care techniques to maintain the finish and extend its life. Protective coatings play a vital role in shielding your cabinets from daily wear and moisture.
Proper care and protective coatings are essential to keeping painted cabinets fresh and durable.
Here are three essential tips for maintaining your painted cabinets:
- Clean Gently: Use a soft cloth with mild soap and water to avoid damaging the paint. Avoid abrasive cleaners that strip protective coatings.
- Address Wear Promptly: Inspect your cabinets regularly. Touch up chips or scratches immediately to prevent peeling.
- Control Humidity: Keep kitchen humidity low, as excessive moisture can degrade paint and coatings faster.
Frequently Asked Questions
Can I Change Cabinet Colors Without Repainting?
Why repaint when cabinet stains can reinvent your space? You can change cabinet colors by applying new stains, aligning with current color trends.
This method preserves wood texture while offering a fresh, technical upgrade without repainting hassles.
Are There Eco-Friendly Paints for Kitchen Cabinets?
Yes, you’ll find eco friendly options specifically formulated for kitchen cabinets, balancing low VOCs with excellent paint durability. These paints resist moisture and wear, ensuring your cabinets stay protected while minimizing environmental impact effectively.
How Do I Fix Peeling Paint on Cabinets?
Peeling paint is like flaking tree bark. Start with thorough paint preparation: sand, clean, and prime. This guarantees strong adhesion.
Regular cabinet maintenance prevents future peeling, keeping your cabinets smooth and durable for years to come.
Can I Use a Paint Sprayer for Cabinets?
You can use various sprayer types like HVLP or airless for cabinets. They deliver smooth paint finishes but require proper technique and prep to avoid drips and guarantee even coverage on your cabinet surfaces.
What Is the Cost Difference Between DIY and Professional Painting?
You’ll find the cost comparison shows DIY saves 50-70% versus professionals, mainly on labor. DIY benefits include control over materials and timing, but requires skill and time.
Professionals guarantee quality but at a premium price.